Soups and Stocks

Although spring definitely feels like it might be on the way some days are still pretty cold and so a warming soup is just what’s needed, here’s some thoughts on soup I wrote for Francoise Murat & Associates newsletter in January. I think I might just have soup for lunch tomorrow.

January is a funny month. For some people it feels slow and difficult, winter is most definitely with us, its cold and its dark, summer seems such a long way off whichever way you look at it. For others it’s a chance to think afresh of a new year with new challenges, making resolutions and feeling energised by the possibilities. But what has this got to do with soup? Well the versatility of soup and the range of recipes out there mean it can work for whichever way you see January. It can be warming and comforting or bright, lively and refreshing. Hearty or light, you can make it whichever way suits you best.

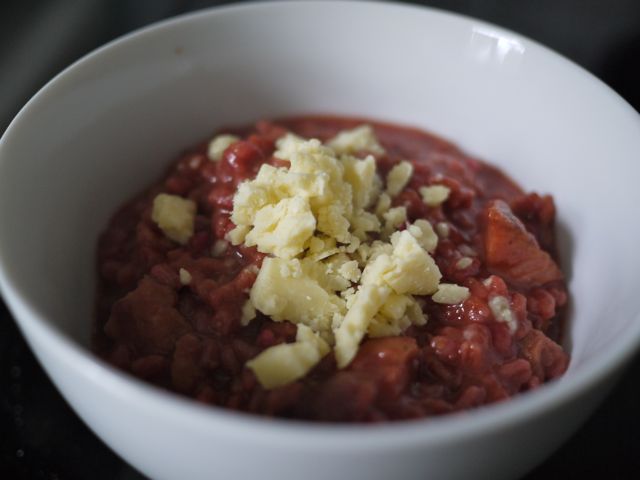
Roasted root vegetable soup with cheese

To make really good soup though you need some good stock. Water will work in many recipes but I’ve rarely made a soup that isn’t enhanced by using stock rather than water, there is an extra layer of flavour and complexity. People will compliment you on the simplest of soups if you’ve used stock. Making stock doesn’t have to be complicated; it can be as simple as simmering a few vegetables in water with or without a few herbs right up to making a consommé, essentially a beautiful clarified reduced stock. I usually make stocks with the carcass left over from a roast chicken or the bone from a rib of beef, or keep the liquid from cooking boiled ham and use that as a stock, I like doing this because each stock carries some of the flavours of the original meal and it makes best use of the meat you’ve bought. You can also get bones or chicken wings specifically and make a stock with those. Most recipe books will explain how to make a range of stocks but ‘A Celebration of Soup’ by Lindsey Bareham is particularly thorough, if you can track down a copy, with recipes for just about every type of stock you can imagine. Stock is perfect for freezing and then always to hand. If you don’t have a freezer then some good quality stock or bouillon cubes will give you a better result than plain water.

So you have your stock. Where might you head next? These are the things I think about when building a soup:

Thick or thin: Do I want a broth with interesting chunky additions or do I want something thick and velvety smooth in texture. Clearly you can pick somewhere between these two but I like to decide which direction I’m heading on this one before anything else.

Herbs or spices: I usually either head for something based round European flavours and herbs or something mainly based round spices whether Indian, Mexican, Middle or Far Eastern. Then I narrow down a bit to a more specific cuisine British, French, Italian, Spanish, Moroccan, Chinese, Thai, Indian and so on.

Then I take a look in the fridge and the cupboards and see what fits with the ideas I’ve got. Of course a little bit of tweaking happens at this stage when I find a critical part of my genius soup is sadly unavailable, but usually it is easy to stay fairly close to the original idea. If there is left over roast meat that might feature, sometimes there are roasted root vegetables that can be included, or beans of various types, pearl barley or lentils, tinned tomatoes or passata, chorizo or pancetta or salami, fresh ginger or chilli, mushrooms, potatoes (roast potatoes are lovely in soup), peas and so on …… but not all in the same soup. I rarely follow a recipe specifically but I do always take a look in a few books to help my ideas and also make sure I’m not making some horror of clashing ingredients. Sticking to a few key ingredients and combinations that you know work from your other cooking really helps and of course, so does making a soup to a particular recipe every now and then to expand your repertoire.

Here are guidelines to 3 quick soups I make quite often (all recipes for 2).

Beany Pork Soup

  • 500ml stock (preferably ham but chicken or vegetable also work)
  • 1 tins of beans (e.g. chickpea, haricots, butter, red kidney) including the liquid in the tin if its got no added salt
  • Pancetta, salami, chorizo, bacon, left over boiled ham or roast pork, whichever you have
  • Onion (chopped)
  • Oil (rapeseed or olive)
  • Herbs or spice to complement

Sauté the onion in some oil and when translucent add the meat that you are using and toss with the onions, allow to cook through if the meat is raw. Add the stock and the beans. Add your chosen spices and seasoning and simmer gently until it is properly heated through, about 20 minutes. Serve with bread. I sometimes add finely shredded cabbage, greens or spinach to this soup or if there are cold cooked potatoes a couple of those to make it thicker and heartier (mush them in with a fork) or leftover cooked pearl barley.

Roast Root Vegetable Soup

  • 500ml of stock
  • 500ml of roast vegetables (i.e. put them in jug to see how much you have), any mix you like. I particularly like it when there is beetroot as it makes the soup an amazing colour
  • Onion (chopped)
  • Oil (the same as you used to roast the vegetables)
  • Herbs or spices of your choice
  • Cheese to sprinkle on top

Sauté the onion in some oil and when translucent add the stock and the root vegetables. Add your chosen spices and seasoning and simmer gently until it is properly heated through, about 20 minutes. Either whizz in a blender, food processor or using a stick blender or mash with a potato masher. The texture can be anything from velvety smooth to quite chunky but it should all be well combined, this isn’t a broth with bits soup more a liquidy puree. Serve with cheese sprinkled on top and bread.

Spicy Soup

  • 500ml of stock
  • fresh ginger and chilli finely sliced
  • other spices of your choice
  • chicken or beef or prawns or vegetables, cut in small pieces (except prawns)
  • spring onions or garlic finely chopped
  • rapeseed oil

Have the stock already heated in a separate pan. Sauté the spring onions or garlic in the oil until softened. Add the ginger and chilli and sauté for a few minutes. Add any further spices and sauté briefly. Add the meat, vegetables or prawns and cook on a high heat like you would a stir-fry. Add the hot stock and bring to the boil. Serve immediately and add Asian seasoning such as soy sauce or nam pla if you wish. You can add noodles to the stock (cooking to the packet instructions).

2011 bread experiments #1

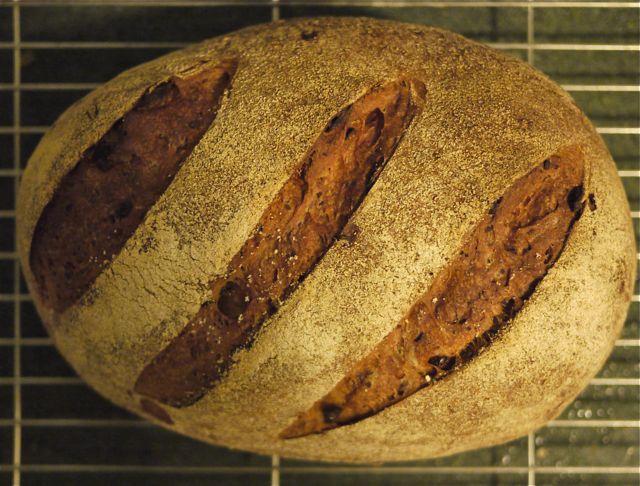
So what was loaf one then and how did I select it? I used a random number generator which lead me to Dan Lepard’s The Handmade Loaf p161, which has a picture on…so i flipped forward to the first recipe after that to find on p163

WHITE LOAF WITH GRATED CHESTNUTS

Sounded yum. It uses the usual Dan Lepard low knead technique that I’m a big fan of and have written about here.

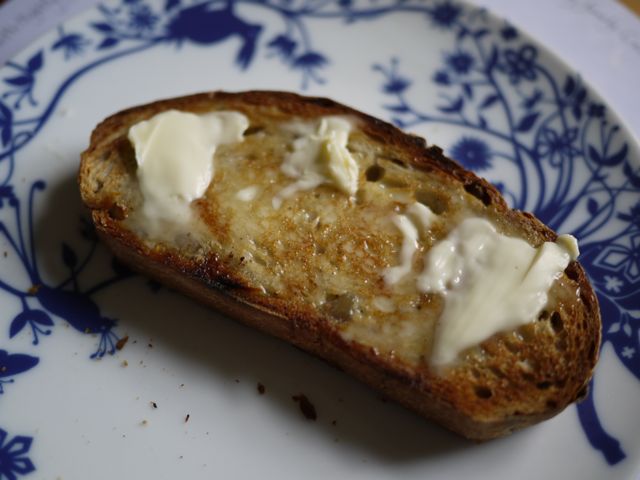
It was pretty easy to make and came out with a lovely soft crumb. It made fantastic cheese sandwiches and wonderful toast.

Definitely one to repeat.

I haven’t found the recipe online anywhere so just some pictures this time.

2011 bread experiments ‘the rules’

In my last post I talked about some of the bread I made in 2010 and said I was going to challenge myself to make a different loaf each week in 2011. To make its a bit more fun I decided to select two of my bread baking books and I’m going to bake my way through them both but in a RANDOM manner.

Here’s the rules I’ve set myself:

  1. I must select the bread to be baked randomly, using either a random number generator or by asking for numbers from people on Twitter.
  2. If the selected page doesn’t have a recipe on it then I moved forward in the book to the next nearest recipe.
  3. If the recipe is a sweet bread or bun I can skip in and do another random generated page number. WHY? because we eat so little sweet stuff I know it will get wasted.
  4. If the selection is something I’ve already made I do the next nearest recipe in the book moving forward page number wise.
  5. I blog each loaf at least with a picture and whether I think its a great recipe.

The two books are River Cottage Bread Handbook and The Handmade Loaf. I’ve used both a bit last year so I know they are good.

So what loaf is going to be first….

Many loaves

I’ve been making my own bread since I went on a Dan Lepard course in 2009 and I’m a real convert to his low knead method of making bread. This year I found out about his quick loaf recipe and blogged about it here. I started making it and varying it: 100% white, 50:50 white/wholemeal, 100% wholemeal, 30:70 rye/white.

And so on, and on, and on.

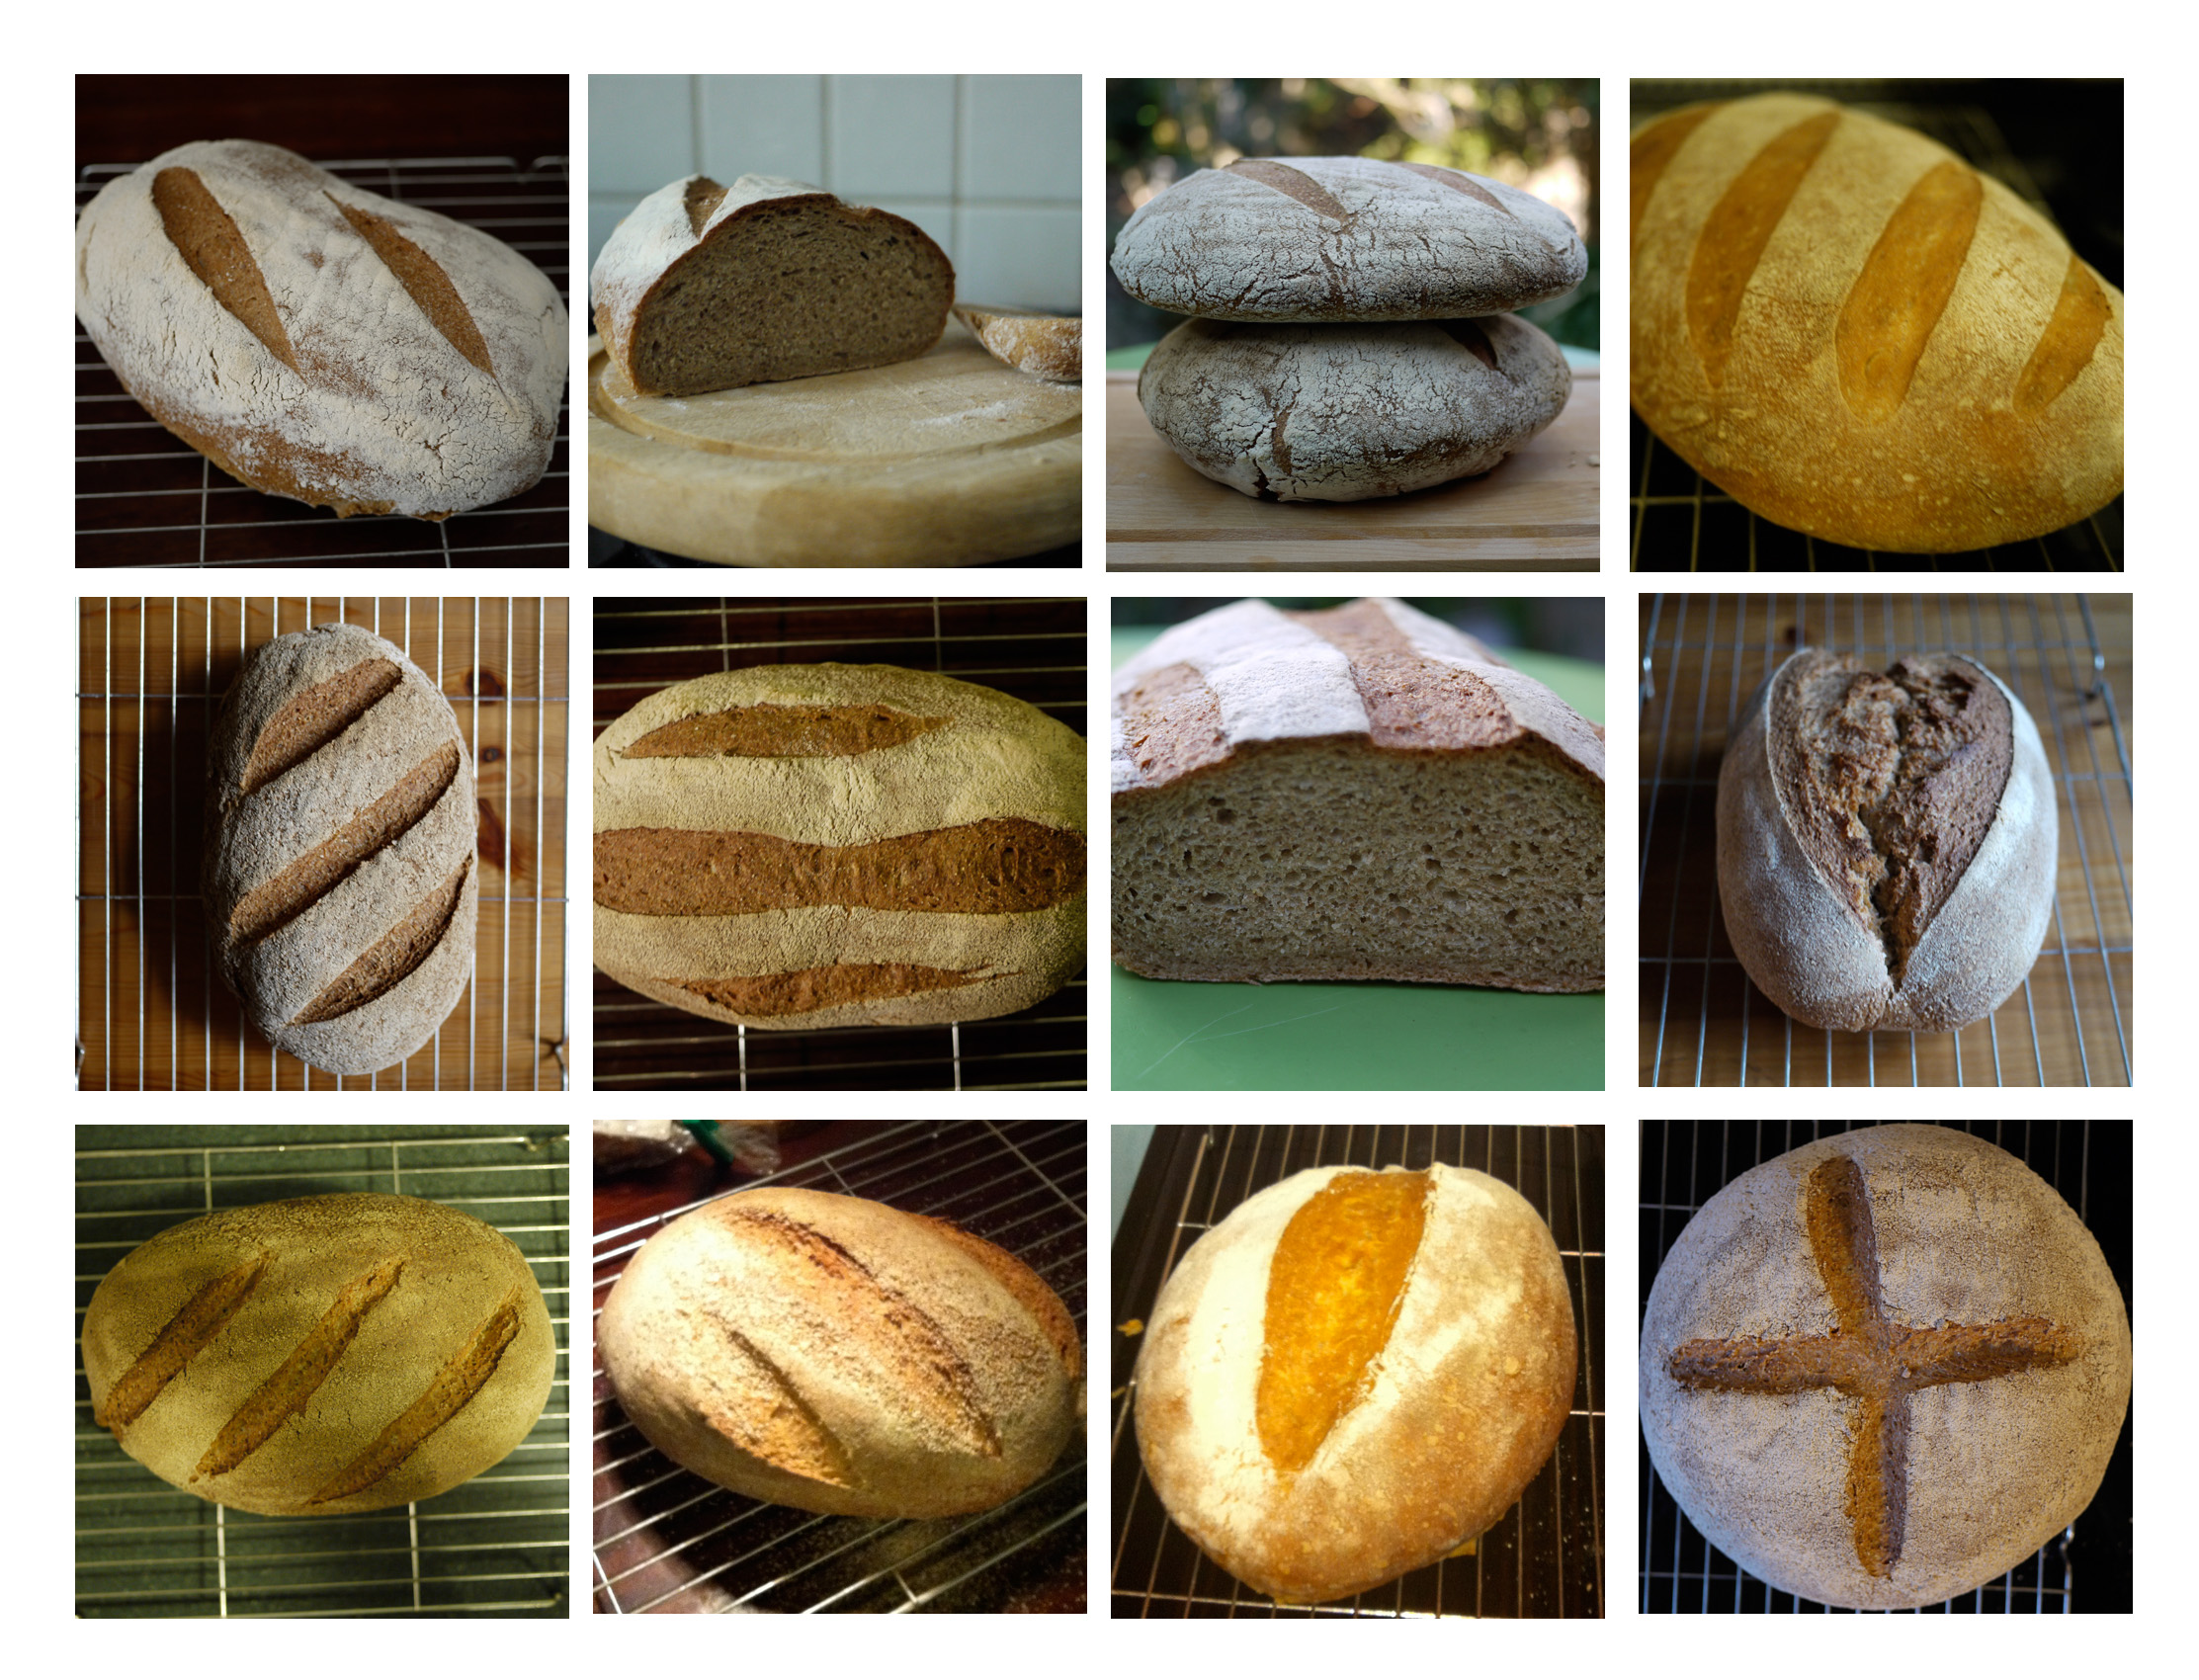
Here’s just some of the ‘quick’ loaves I’ve made this year.

And for 2011 I’ve decided I’m going to carry on experimenting and make a different loaf each week. Proper bread is so much better.

Festive menu, part 3 (all about chestnuts)

Yesterday I told you about the cheese terrine we had for starters today its all about the chestnuts…mainly so you can make the chestnut stuffing from my festive menu but also so I can share my most recent blog for Francoise Murat Design on Christmassy foods and which also includes a fab chestnut jam and a chocolatey chestnut cake…so here it is….. (first posted 8 December the cakes are actually made now!)

One of the wonderful things about Christmas is the fact that there are lots of chances to cook up delicious meals and food gifts for friends and family. Some people will have started their Christmas preparation months ago baking Christmas cakes which are now slowly being ‘fed’ brandy or whisky to make them extra moist and tasty ahead of being decorated. I’m not quite that organised although I have ear marked some of my chutneys, pickles, fruit vodkas and vinegars as gifts and I’m planning on making lavender shortbreads and perhaps cheese biscuits too. The fruit is now soaking in whisky ready to make the cakes and I think I might try my hand at some home cured gravadlax.

For lots of people the big decision is what meat to have for the Christmas meal, should it be turkey or the supposedly more traditional goose, a classic English roast beef or perhaps a stuffed loin of pork. For me though it’s all about the trimmings and the other meals, the roast is almost irrelevant. I’ve often joked that you could easily serve me a plate piled with all the trimmings and I wouldn’t notice if the roast meat was missing. I just love the extras so much and they are the things that most of us only decide to do for Christmas…..stuffings, bread sauce, fruit jelly, sausages wrapped in bacon, about 5 types of vegetables all with little twists, proper gravy made from real stock, tons of crispy roast potatoes…we might do some of these some of the time but we almost never do so many together and of course that’s just the ‘main’ course…there will be a starter when perhaps normally there wouldn’t, there’ll be dessert and mince pies and cake and then somewhere in all this there’ll be a groaning table of cold cuts, pates, pork pies, cheeses, breads, smoked salmon following by an array of cheesecake, trifle, gooey chocolate cake…and lots of citrus fruit too to balance it all out.

My particular favourites are homemade mince pies with proper crumbly delicate pastry, baked ham, the sausages wrapped in bacon, roasted root vegetables, braised cabbage with lardons and a splash of white wine, chestnuts tossed with Brussels sprouts and butter, super crispy roast potatoes. Give me those over the festive period and I’ll be happy but there is one thing that that I wouldn’t ever go without at Christmas regardless of what else I chose to cook and that’s chestnut stuffing. Even if I’m not having turkey or chicken or pork I still make some in a sort of terrine style and eat it with chutney or pickle or as a sandwich filling. I love it, it’s the stuffing we always had at Christmas when I was growing up, so it’s a Christmas must (the recipe is from my Grandma). Its tasty and moist without being heavy, lots of stuffing’s use pork mince, which makes them very rich. This is simpler and with a little adaptation could easily be made into a fantastic vegetarian version as a terrine.

I really like chestnuts, their sweet mealiness lends itself well to a range of different dishes, savoury and sweet. They are good in wintery stews particularly with game. They are delicious roasted and eaten straight from the skins. And they work in cakes and breads, particularly with chocolate but they also have a long heritage as a flour substitute in southern Europe.  When I was doing a trial batch of the stuffing last week for this blog post I also decided to play around with some other chestnut ideas so as well as a stuffing I think everyone will like, for chestnut fans I’ve a chestnut jam recipe and also a chocolate and chestnut cake. So stop worrying about whether to have turkey, goose or beef, focus on the extras and I’ll bet almost no one notices which roast you serve.

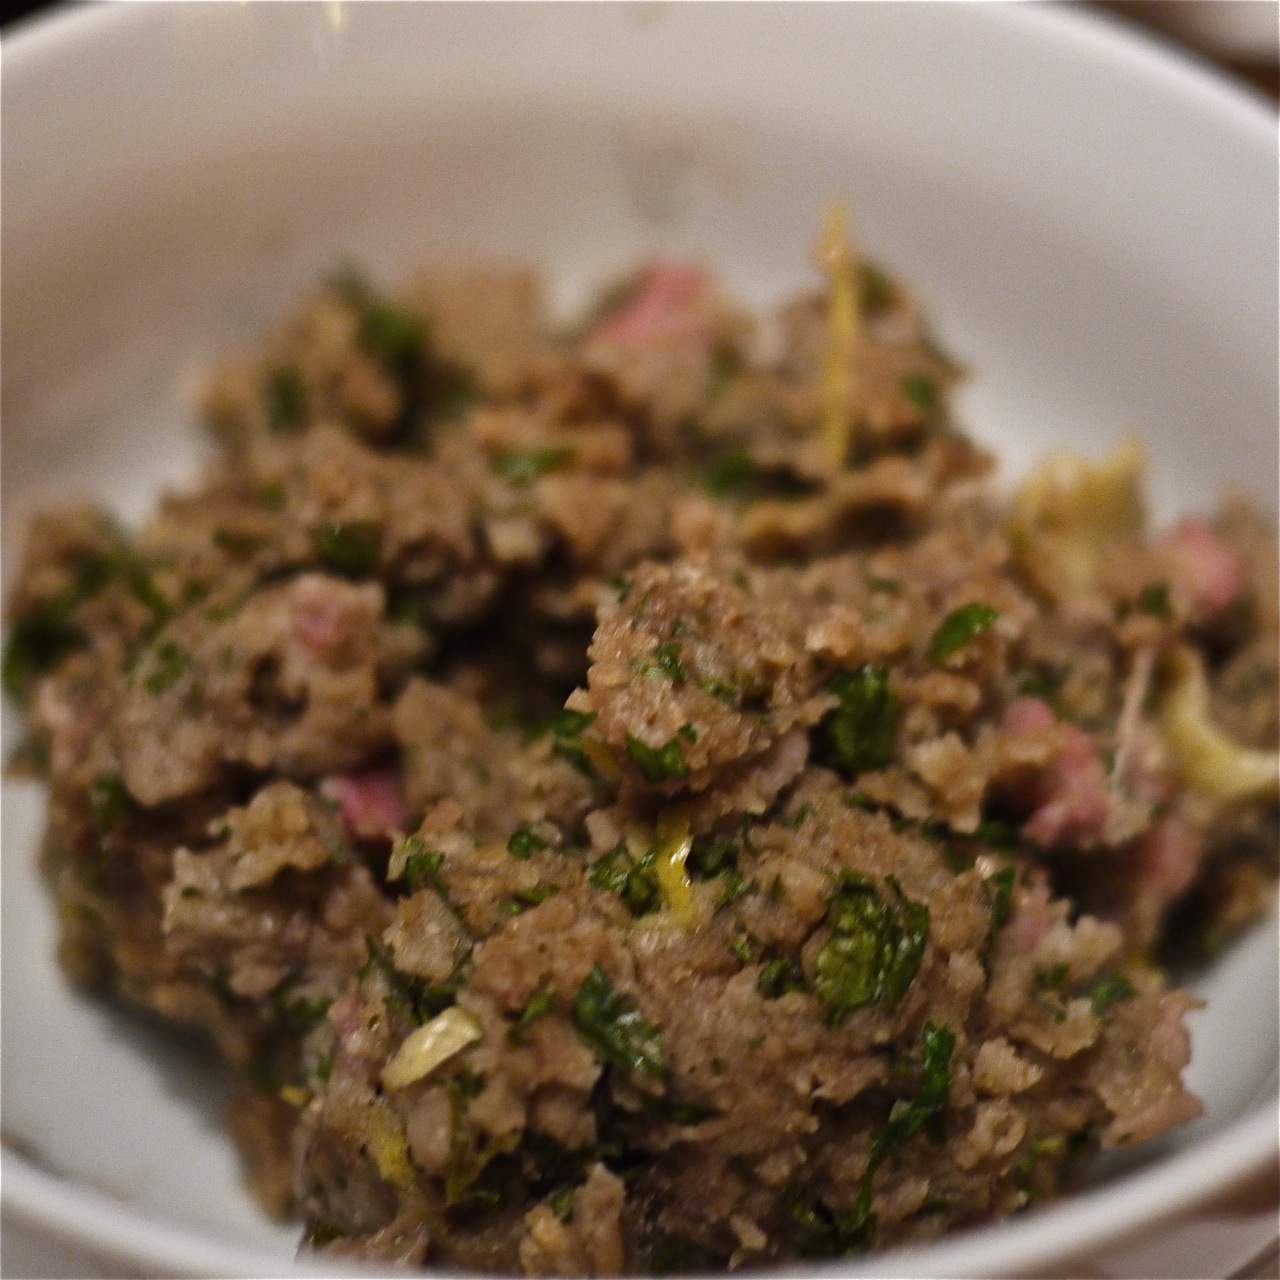
Chestnut Stuffing

The way I like to cook means this recipe is just a starting point, pick your favourite herbs to go in the mix, don’t use bacon if you want a vegetarian version and perhaps add gently softened onions instead (or even as well if you like).

  • 1 tin chestnut puree
  • 8 oz breadcrumbs
  • 3 rashers streaky bacon cut into small pieces
  • zest 1 lemon (and the juice if you like)
  • 2 medium eggs, beaten
  • big handful of fresh parsley, chopped
  • 1 tbsp of fresh thyme
  • salt and pepper

Break up the chestnut puree with a fork; add all the ingredients except the eggs and mix. Once mixed add the egg and bring together. Use to stuff turkey, chicken or loin of pork. Bake any you can’t fit in the meat in a dish or terrine. You can line this with streaky bacon and fold over the top or simply dot the top with butter. Cook the extra stuffing for at least 40 mins at R6 (200C), you may need to cover the top with foil half way through the cooking time.

Chestnut Jam

  • 2 tins of whole cooked chestnuts (i.e. 400g) or whatever weight you have of cooked peeled chestnuts
  • For each 100g of chestnuts you need 75ml water and 100g of sugar
  • Lemon zest
  • Vanilla pod

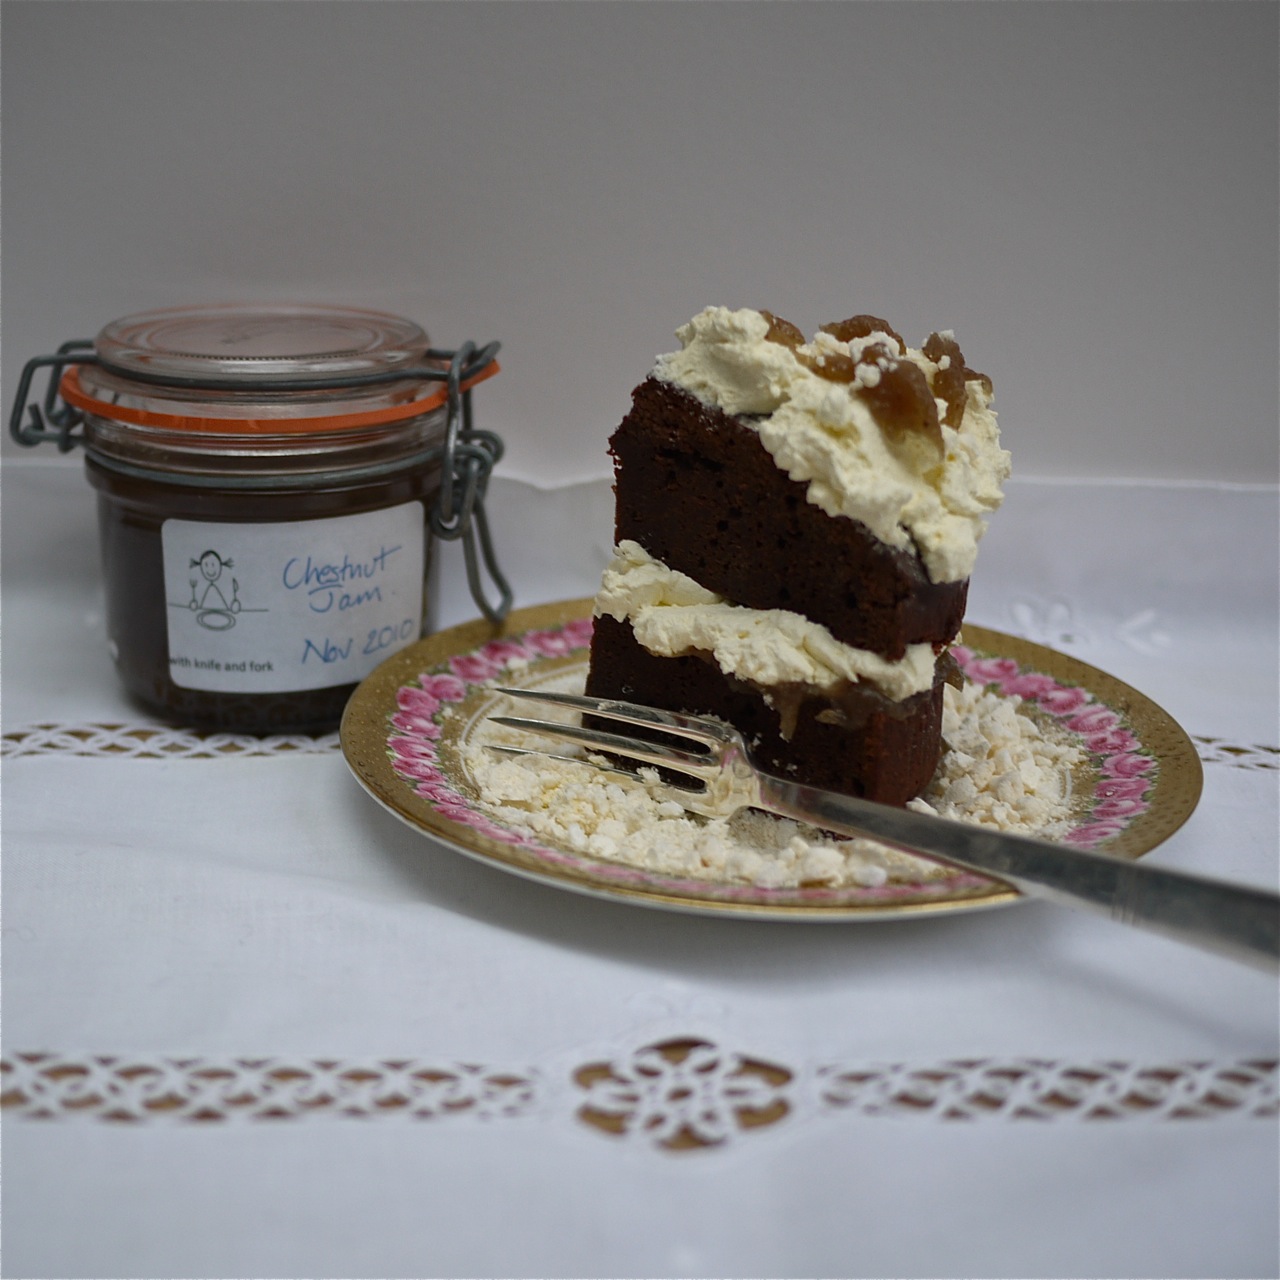
Put the chestnuts in a pan and add the water, the lemon zest and the vanilla, simmer gently for 30 mins (covered) to allow the flavours to infuse. Drain but retain the liquid and top back up to the 75ml per 100g weight of chestnuts using either water or brandy. Push the chestnuts through a fine sieve then add back to the liquid. Bring to the boil and simmer until thick and when a drop is put on a cold plate in the fridge for a few minutes it forms a skin and is a jam consistency. Put in warm sterilised jars and seal. It’s great on toast, especially sourdough and can be used with chocolate cake (see below).

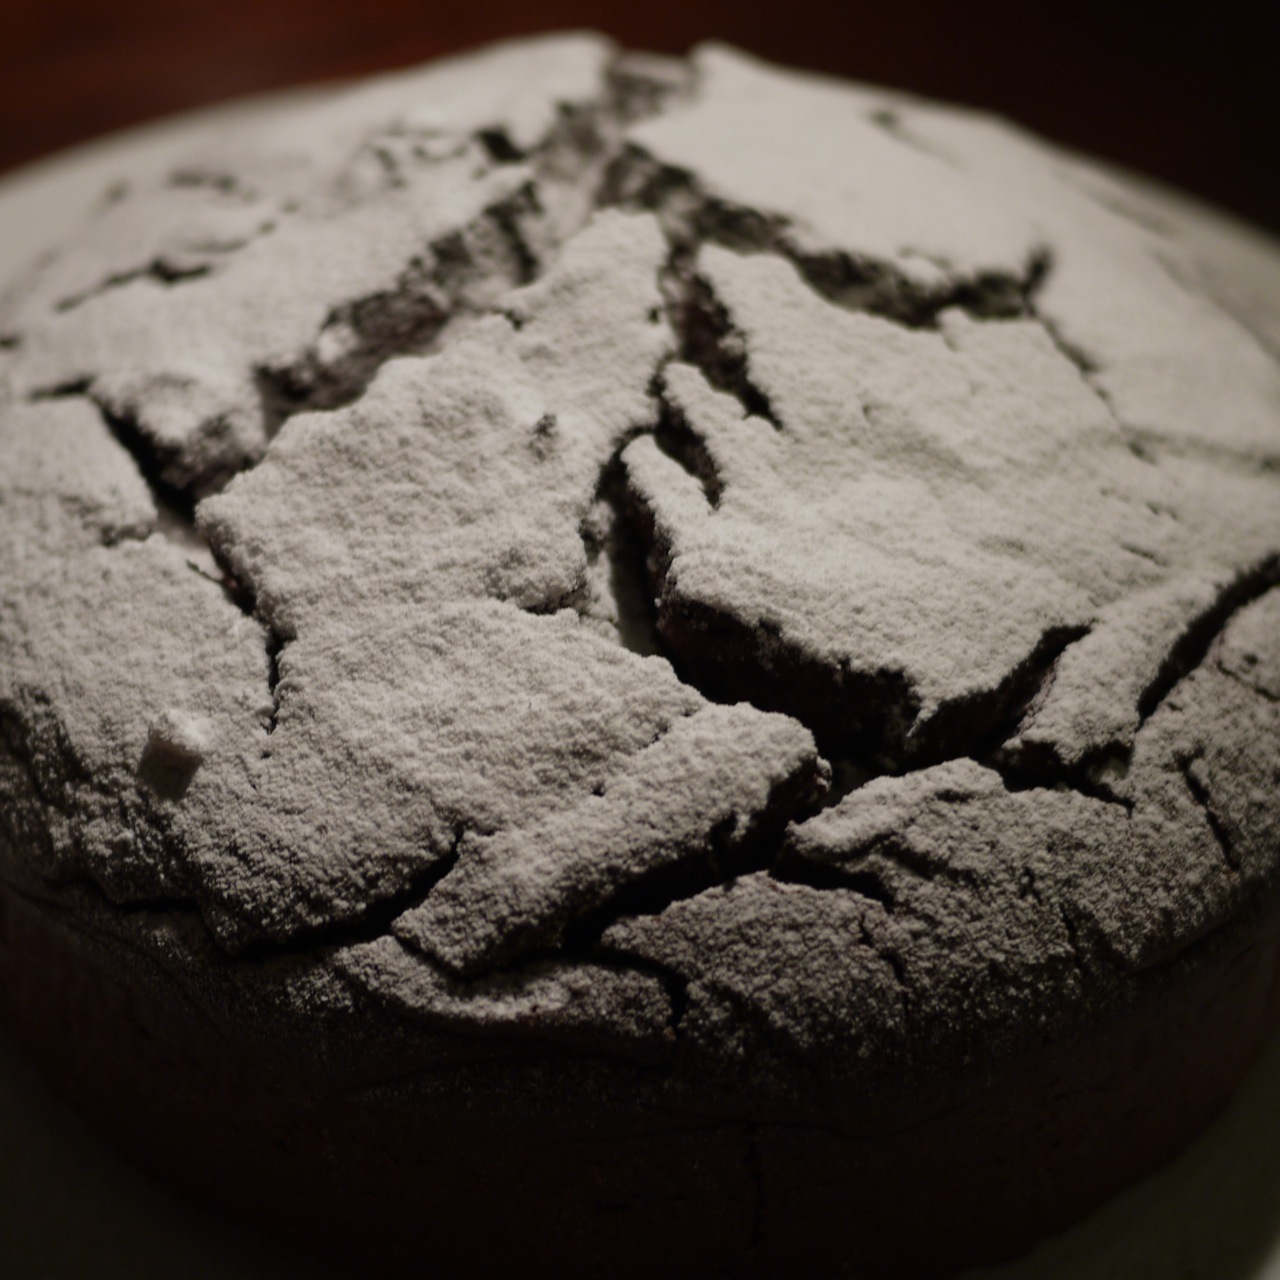
Chocolate Chestnut Cake

I was inspired by a whole range of ideas when I came up with this recipe: from Mont Blanc, various brownie recipes, Nesselrode pudding to a store cupboard cake of Nigella’s that uses jam or marmalade with chocolate…..

  • 100g of 100% cacao (grated), I used Willie’s Supreme Cacao Peruvian Black, San Martin
  • 300g of chestnut jam (see previous recipe, you can also buy online)
  • 150g sugar (or 150g more chestnut jam, this is what I used)
  • 125g unsalted butter
  • 2 large eggs beaten
  • 150g self raising flour
  • round cake tin (20cm) or better still a brownie tray, lined with silicon paper

Melt the butter in a bain-marie then add the cacao and allow this to melt and stir to mix as the cacao melts. Remove from heat and add the chestnut jam, mixing well, then add the sugar (if using) and eggs. When its all well combined add the flour a heaped tablespoonful at a time and mix. Pour into the cake or brownie tin and bake at R4 (180C) for at least 50 mins and a skewer comes out clean. My cake was very deep as it was in an 18cm tin and so it took and hour and half to bake, in a brownie tin it will take much less so start checking from 35 minutes and adjust cooking time accordingly. Leave in the tray/tin for 15 mins to cool and then remove.

I served the cake sliced like a Victoria sponge and filled with more of the chestnut jam and whipped cream, topped with whipped cream and sprinkled with crushed meringues. As the cake was so deep this made it rather difficult to eat and it collapsed so I think doing it brownie style and topping with the jam, cream and meringues would be more effective.

Gluts of all types

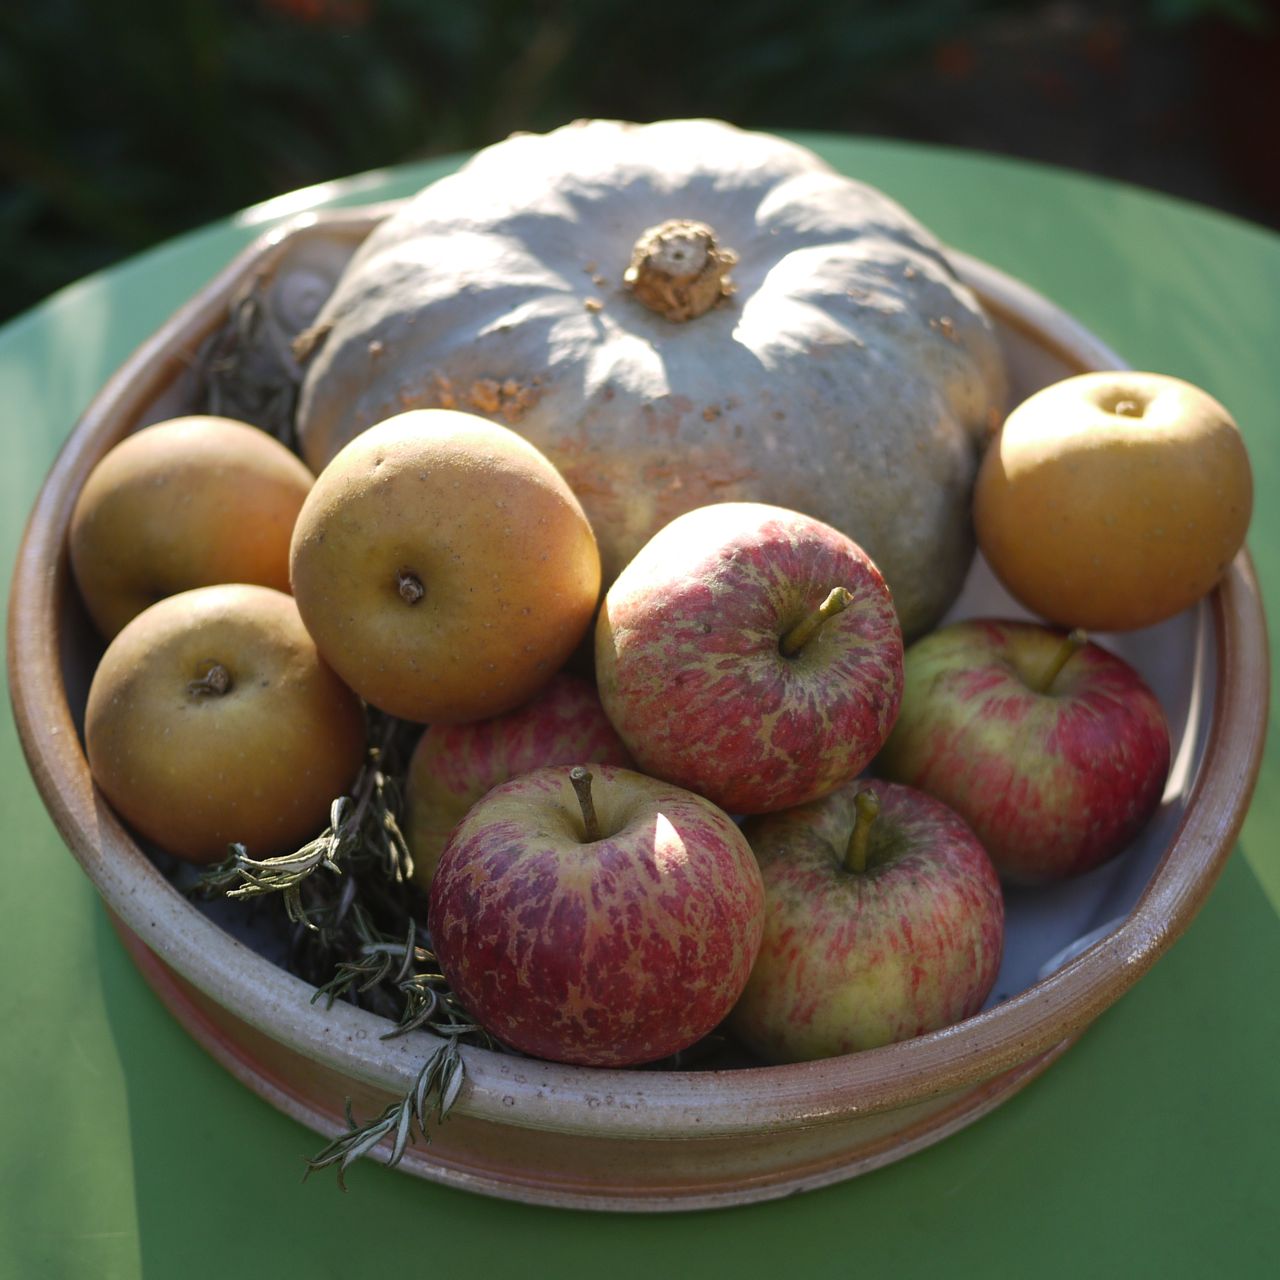
It’s coming to the end of harvest time but everywhere you look there are gluts of produce to be turned into something delicious. Some to be eaten now, some to be saved for the winter months. Gardens and hedgerows are filled with bounty and will continue to provide opportunities to harvest interesting things until late October. You might have your own fruit trees providing you with an abundance of apples, pears, plums or damsons, too many beans, courgettes or unripe tomatoes. Maybe a neighbour has a surfeit they need to share. There’s sure to be produce by peoples gates either for free or very cheap. And of course you can go foraging in country lanes, in parks and open spaces, on moorland.

Whatever you find there’s plenty of ways to put it to good use: cakes, crumbles, pies and tarts for now, freezing and multiple ways of preserving for later…..compots, jams, chutneys, pickles, curds, vinegars, favoured gins or vodkas, fruit jellies and cheeses, cordials, wines and ales, ketchups and sauces. Almost too may choices.

First of all some rules of foraging:

  1. Be sure you are allowed to forage from the lane/park/open space you choose; land maybe protected or private, foraging isn’t just a free for all.
  2. Don’t strip plants bare, leave fruit for others and for the wildlife.
  3. Make sure you know what you have collected before using it as food.
  4. Only collect from areas where you are happy there won’t be contamination, so right next to a busy road might not be great.
  5. Always be considerate and sensible about where and how you forage.

The are some good books on foraging to help you know what you might find where and when and also for identification. Three that I particularly like are Food for Free by Richard Mabey (it comes is a tiny pocket size so is easy to carry with you); The Foragers Handbook by Miles Irving more a research book for at home, Miles also runs foraging courses (as do others); and the River Cottage Hedgerow Handbook by John Wright.

Most of what you’ll collect over the next two months will be fruits and berries of some description, but there could be end of season vegetables too from the garden. There’s mushrooms to be had of course but that’s a whole other topic. To decide what to do with whatever glut you have think about the following: how ripe is the fruit, how sweet or tart is it, how long is the season (is this the last for this year or might you be able to collect more), how much do you have? All of these things will influence what you might choose to do. If you have a small amount of ripe fruit then if its edible uncooked you’ll probably want to eat it as is with cream or yoghurt or perhaps made into a cake, pudding, tart or crumble. If you’ve a lot of something then you’ll need to preserve some for later use either as a jam, jelly, chutney, pickle or something. I tend to make pickles, chutneys and fruit vodkas because they are what I like but think of what is most likely to get eaten up before next years glut and also what people you know will appreciate as presents. If the fruit is less ripe then pickles and chutneys are a good choice as the sourness is part of the taste and can be balanced by the spices and sugar. Very under ripe fruit can be made into Indian style pickles (a bit like lime pickle), I’ve tried this with plums and green tomatoes and it works well with both.

There really are so many choices it’s hard to single out one recipe (but I’ve included lots of links this month for you). Good resources are River Cottage Preserves Handbook by Pam Corbin and The Jam, Preserves and Chutneys Handbook by Marguerite Patten. Both are excellent on basic techniques with plenty of recipes to try. Do remember that if you are making chutney or pickles then you need a non-reactive pan (i.e. not aluminium) and inevitably the vinegar evaporates so have the extractor on and close the kitchen door, the taste though, is worth it.

One thing I’m determined to try this year is drying fruit. I love the dried berries and apples in granola and muesli so I’m going to make my own. I’ll be following this method from a curious little book called They Can’t Ration These, written during WW2 by Vitcome de Maudit (and republished by Persephone) its fully of quirky ideas for foraging and cooking.

How to Dry Berries

Use only sound, unbruised fruit, wash, clean and drain the berries on wooden or iron sheets and place them in a very moderate oven (110F). Raise the heat gradually to 130F, then when the berries fail to stain the hand when pressed but are not so hard that they will rattle, take them out and store. The length of time for the drying varies with the kind of berries, but it is from 4 to 6 hours.

(Note: The temperatures quoted don’t seem to tally with any conversion charts I can find so I’m assuming that the oven should be on its lowest possible setting. This is part of the joy of old recipes.)

This article was first published as part of the series I write for Francoise Murat & Associates newsletter. If you want to get the article sooner then why not subscribe to the newsletter which also has features on gardening (including kitchen gardens) and interior design.

Spicy sour green pickles

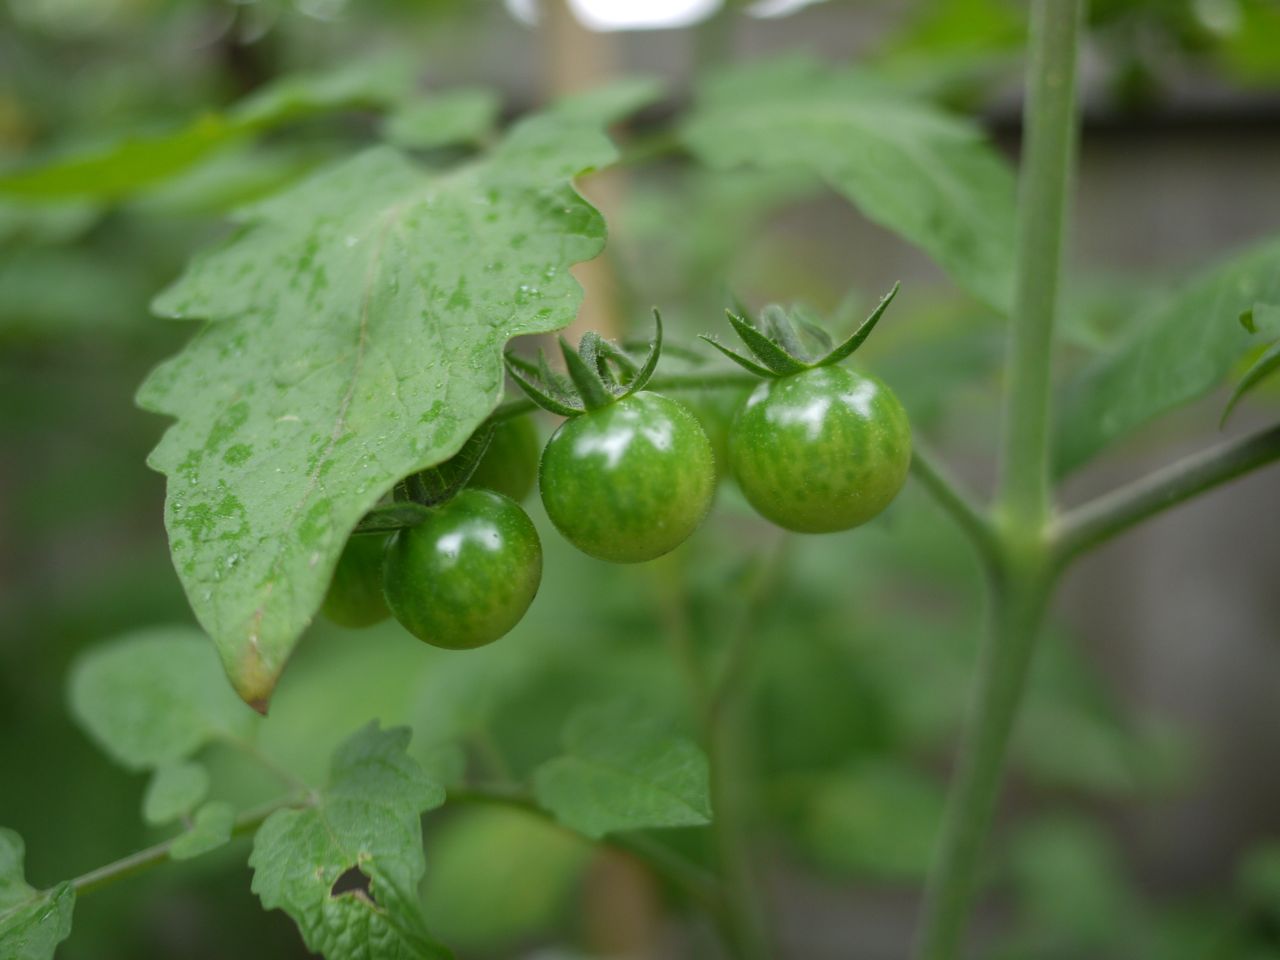
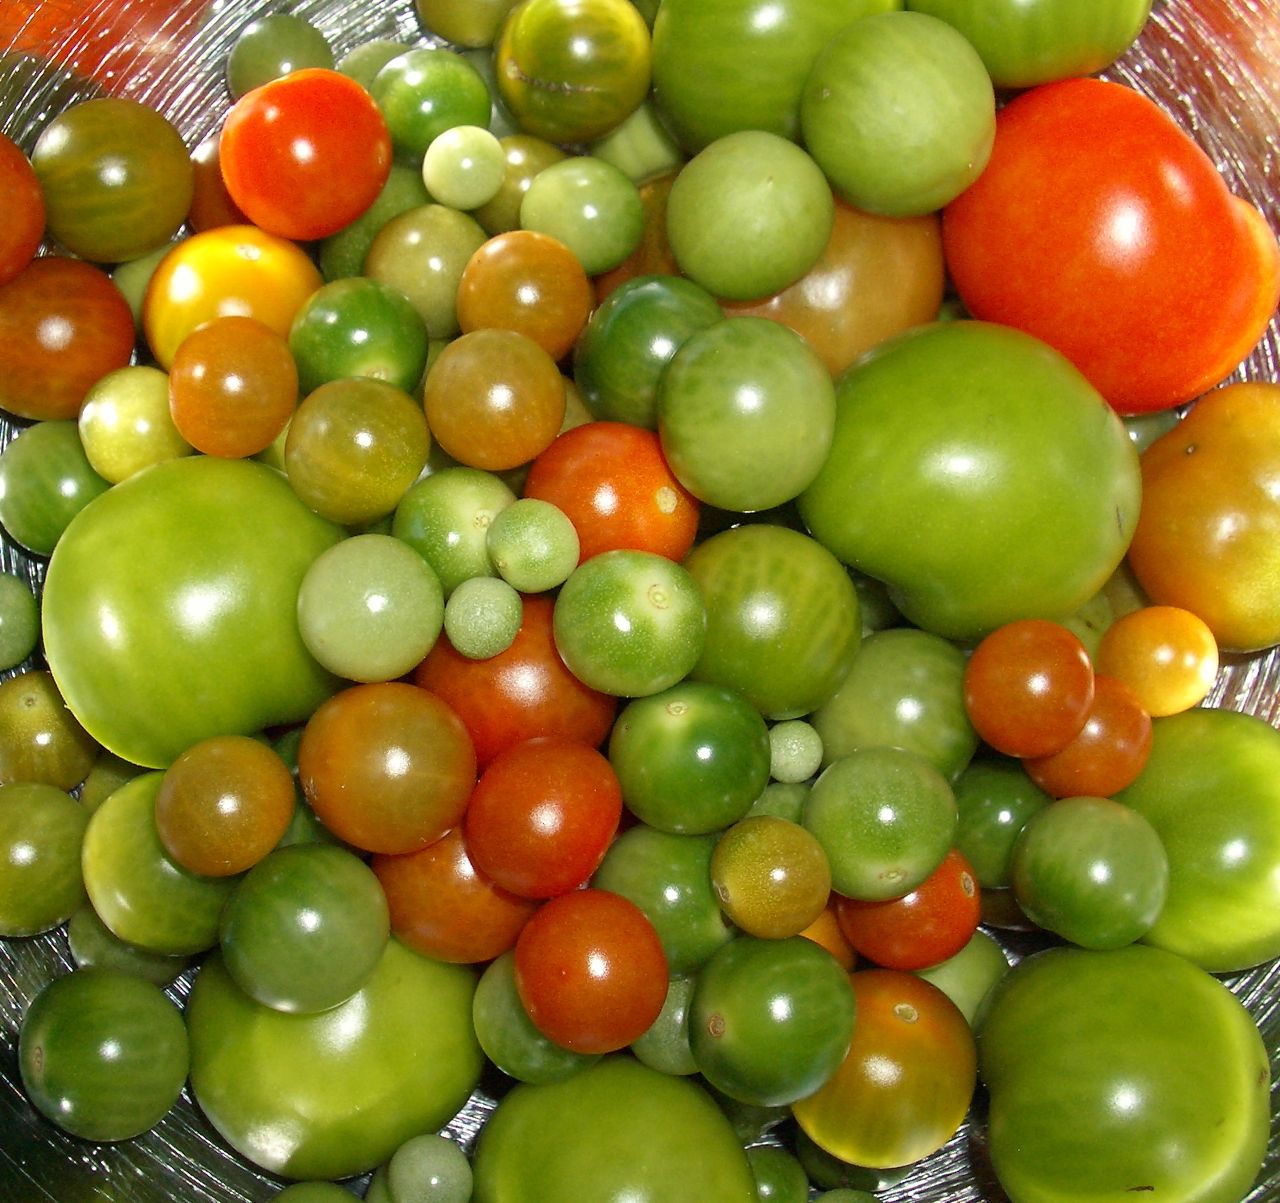
So the tomatoes should have been ripe ages ago but mine still look like this:

Which means I’ll be making batches of green pickles again this year. But that’s okay because I rather like the green pickles. I made them first with under ripe plums that I collected in deepest Suffolk with Vivia of Grethic’s Grethica. She also tracked down some recipes which she posted links to here. Its worth watching the you tube clips because they are a bit bonkers but to make it a bit easier I’ve given the recipe the way I did it here.

You need:

Lots of unripe tomatoes or plums

Sour pickle:

1 quantity (see note) each of fenugreek seeds, mustard seeds, red chilli flakes, cumin seeds, coriander seeds

½ quantity of salt

¼ quantity of tumeric

rapeseed oil

Sweet and sour pickle:

8% salt

4% tumeric

50% sugar

rapeseed oil

In both cases the quantities take a bit of guess work. In the second one I assumed it meant use 8% of the weight of fruit you have etc. In the first one it was harder so I just did what looked like a sensible quantity for the fruit I had the get a good level of spiciness.

This is what you do:

Cut the tomatoes (or plums) into quarters. Discard the stones if you have plums. I usually make one batch of each type so I split the total fruit in half then carry on.

Sour pickle:

Mix the spice and salt together in a bowl. Add the fruit and coat with the mix. Cover with cling film and leave somewhere light and warm for 3-4 days. Pack tightly in sterilised jars and cover with rapeseed oil. Leave it to mature for at least a month. This one is quite like lime pickle so is great with curries. I use any leftover spicy oil for cooking curry as well.

Sweet and sour pickle:

Mix the salt and tumeric together and add the fruit. Coat. Cover with clingfilm and leave in a bright warm place for 2-3 days. Add the sugar and leave for a further 3-5 days. Pack into sterilised jars and cover with oil. As this one is sweeter it also works well with cheeses or cold meats.

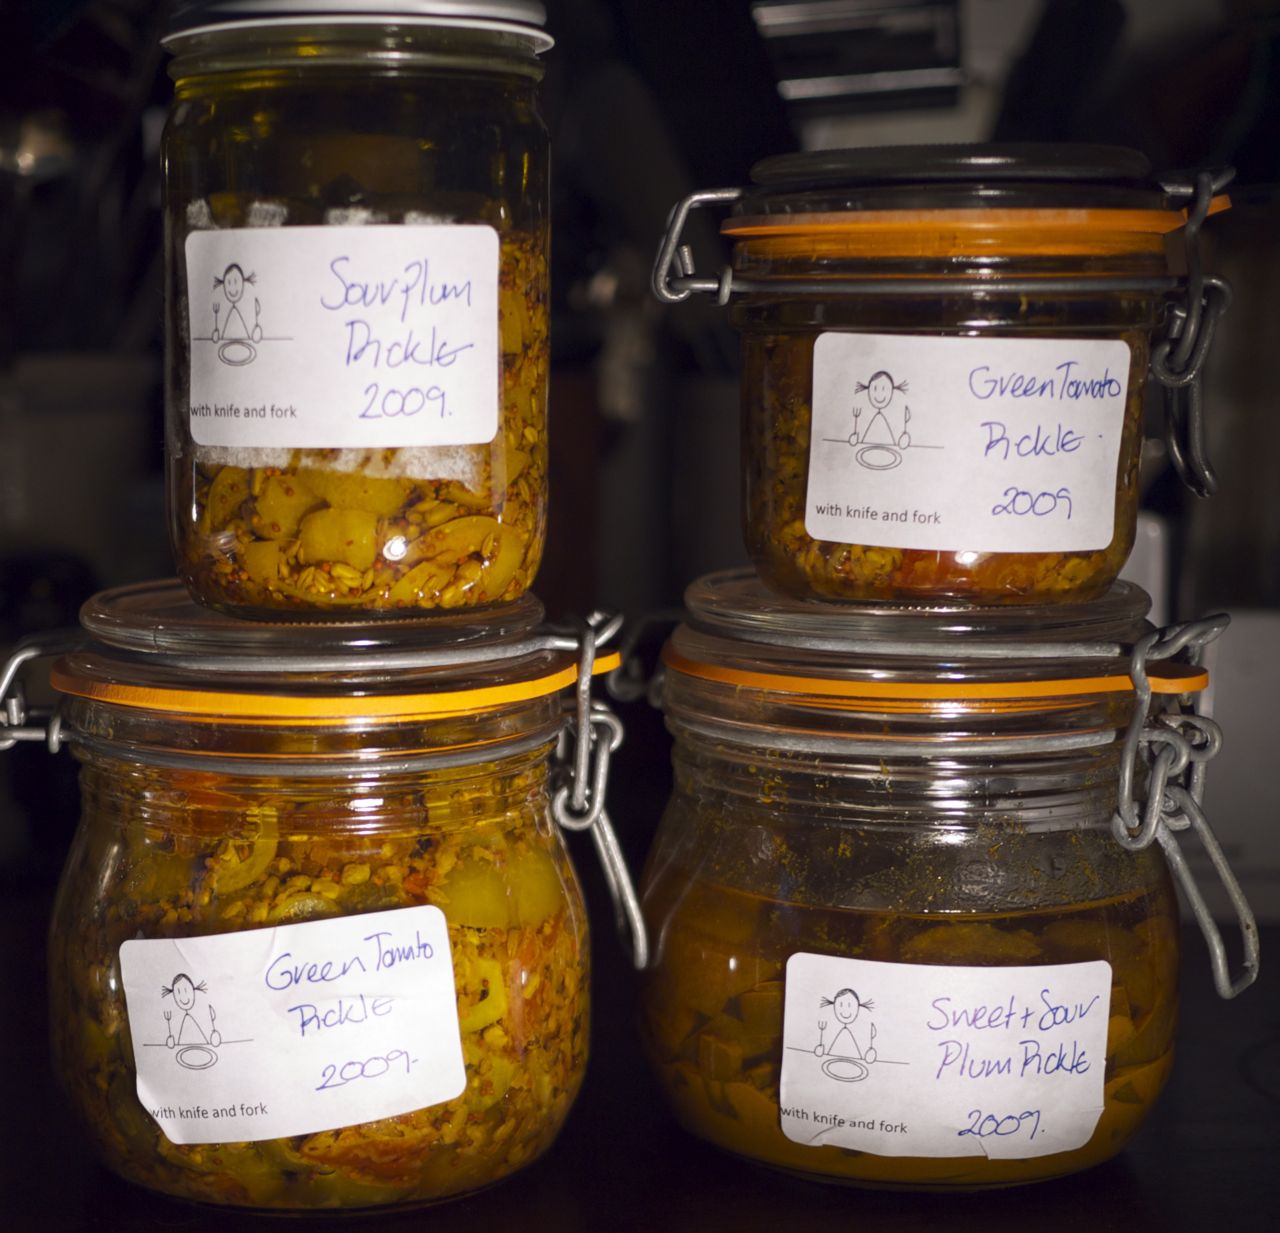
Here is what you end up with: