Slow smoky BBQ brisket

Barbecue food has always created a bit of a debate in this house. I like it but Ian claims he’s not much a of a fan…I think this has more to do with the faff of lighting the barbecue than the food. Suffice to say the last time we used the barbecue was 2 years ago.

But everyone, just everyone, keeps going on about ‘proper’ barbecue and I’ve been watching too much Food Network recently and I decided we had to learn to barbecue. A recent visit form a good friend who likes to experiment with smoky barbecue flavours and my mind was made up.
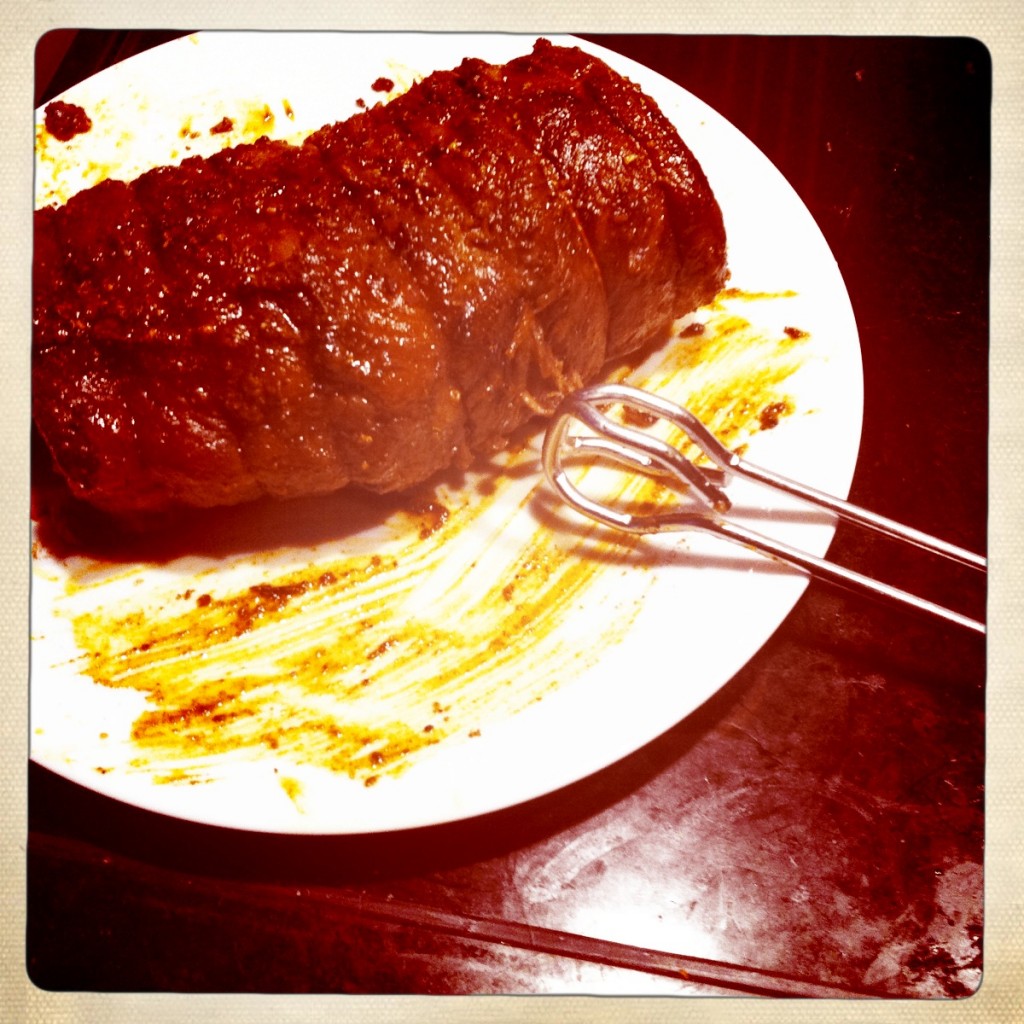
Ready to go on the BBQ

In the freezer was a piece of rolled brisket from the supermarket cheaps counter (i.e. the marked down stuff where you get real bargains if you arrive at the right time – a method of shopping perfected by my twitter chum Lynne and which I have been trying to emulate).
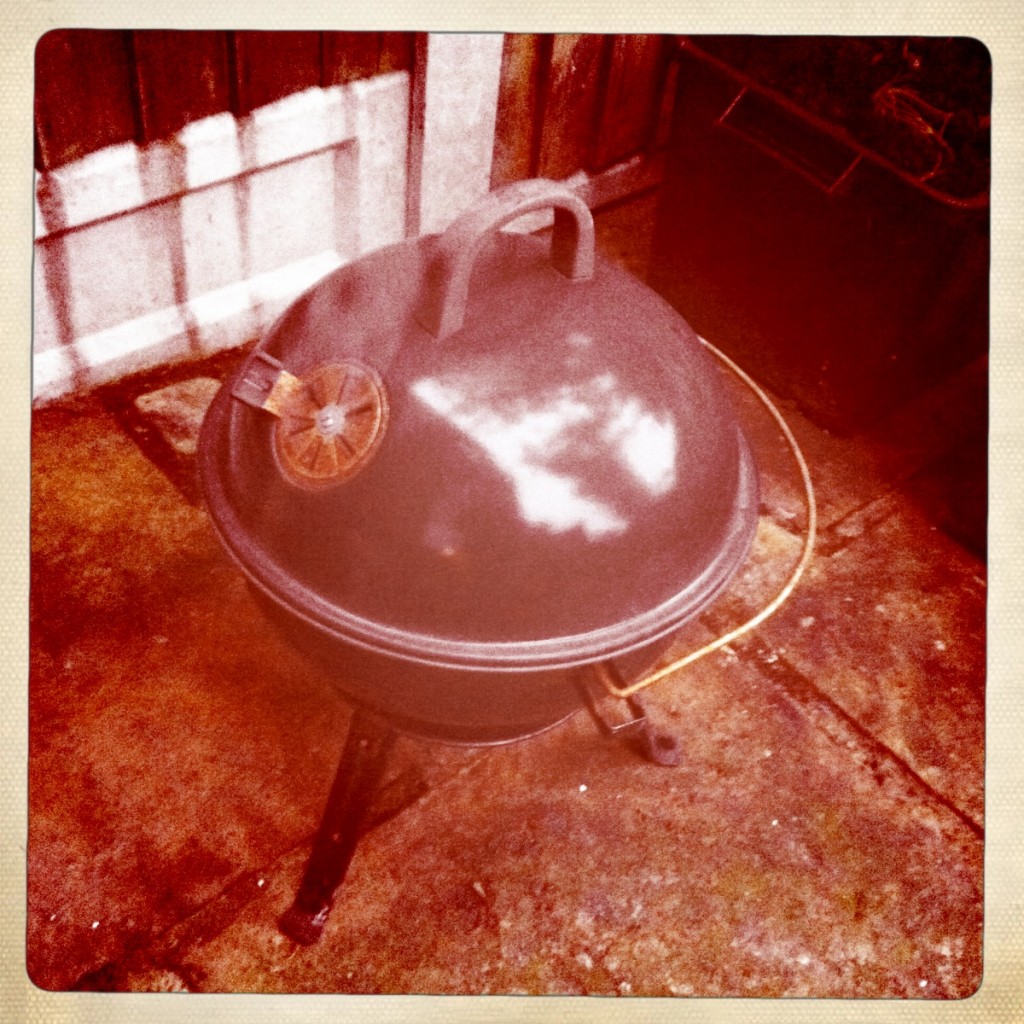
Smokin’ away

So we had brisket. I googled and whoa tons of links for how to barbecue it especially lots of slightly mad You-Tube clips. They all seemed to be talking about digging pits and cooking long and slow for 20+ hours. This seemed little excessive for a 1kg piece of meat…then I realised they were cooking about half a steer!

After a bit more searching I decided there were 5 key steps:

– marinating the meat in vinegar and spices (4-5 hours minimum for a piece the size I had)

– covering with some form of secret spicy rub

– cooking long and slow at a relatively low temperature

– getting smokiness into the meat – this could be at the same time as the slow cook or separately

– serving with a sticky sweet sour spicy barbecue sauce

So this is what we did:

– mixed some of TZ the Urban Spiceman‘s Dirty Liars Club spice mix with 4 tablespoons of white wine vinegar. Rolled the meat in it, covered and left for 5 hours to marinate.

– when it was time to cooke heated the oven to Gas 3 (150C)

– mixed the marinade with more of TZ’s spice mix and some oil and rubbed all over the meat

– placed the meat in a snuggly fitting oven proof dish, added 1 glass of red wine, covered and cooked for 3 hours

– with about 45 minutes to go we got the barbecue ready, light the coals and letting them burn down to the right level, we added some beech wood chips (you soak them first so they produce smoke rather than burn)

– smoked the meat on the barbecue for 40 minutes with the lid on

– reduced down the leftover cooking juices in the pan from the over cooking adding some of TZ’s Wor Sisters Sauce and some sugar to get a thick sweet sour spicy sauce

– let the meat relax for 10 minutes, cut in thick slices and served simply with boiled potatoes and buttered cabbage and the sauce on the side

IT WAS AMAZING
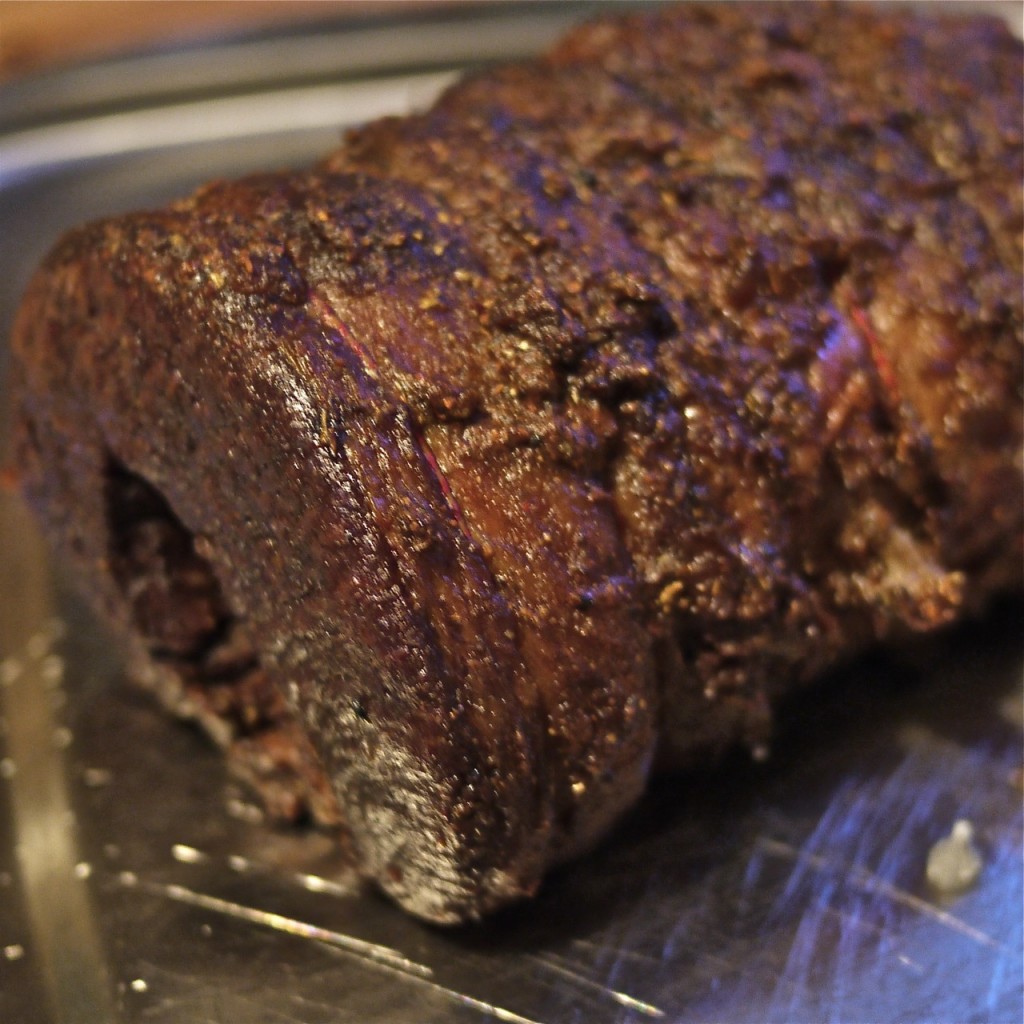
Ready to slice

There was plenty left so we had some in homemade buns with slaw and potato salad later in the week and finally we stir fried the last bits with greens, fresh ginger and garlic  and served on rice noodles.
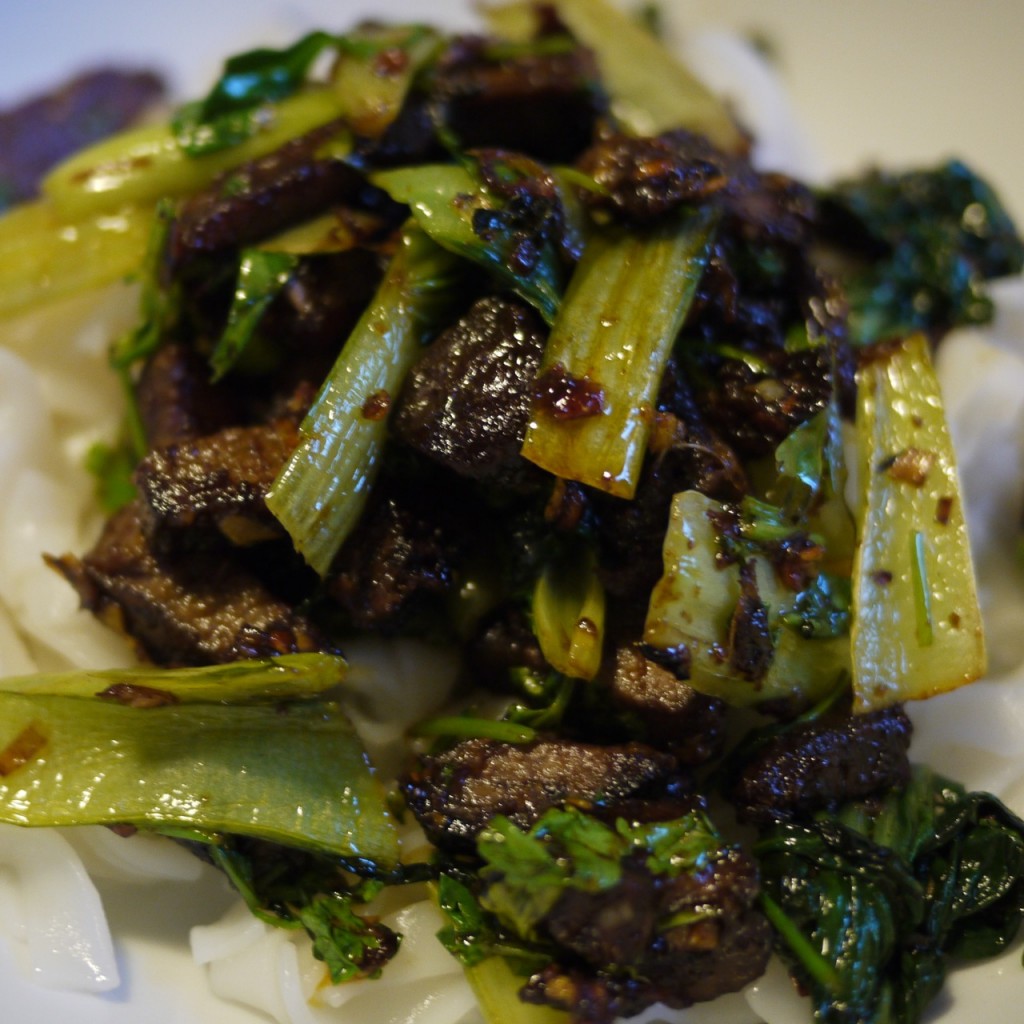
Leftovers made a tasty stir fry

So easy, so delicious. We are both now BBQ converts.


Lamb-chetta

Last weekend I was casting around for what to do with some lamb breast and neck I had defrosted and the weather seemed to good for hearty stews. I asked the hive mind that is twitter and carried on flipping though cook books for inspiration. At roughly the same time as I was eyeing up a porchetta recipes Chris from La Hogue Farm shop suggested a herby stuffing and wrapping the breast round the neck.

And so I set out to make lamb-chetta.

I didn’t want too dense a stuffing so I decided to simply use lots of fresh herbs.

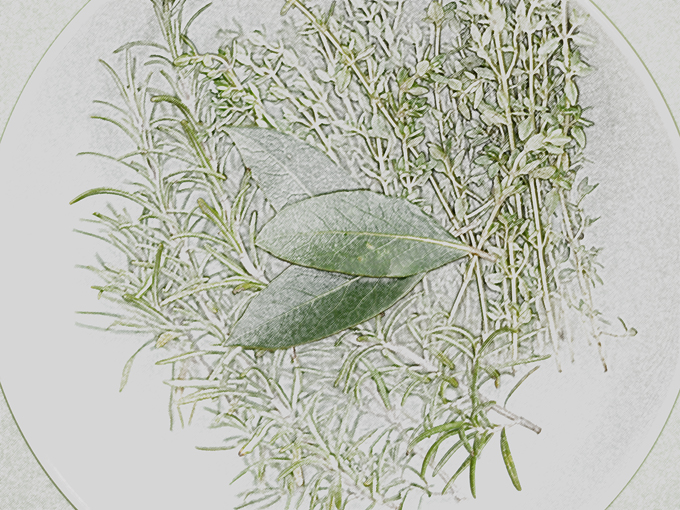
Rosemary, fresh bay leaves and lemon thyme from the garden

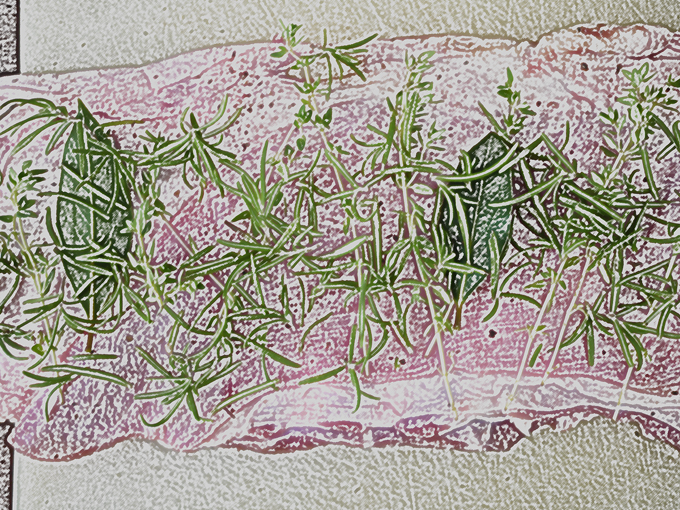
I laid out the meat and added some ground black pepper and the herbs

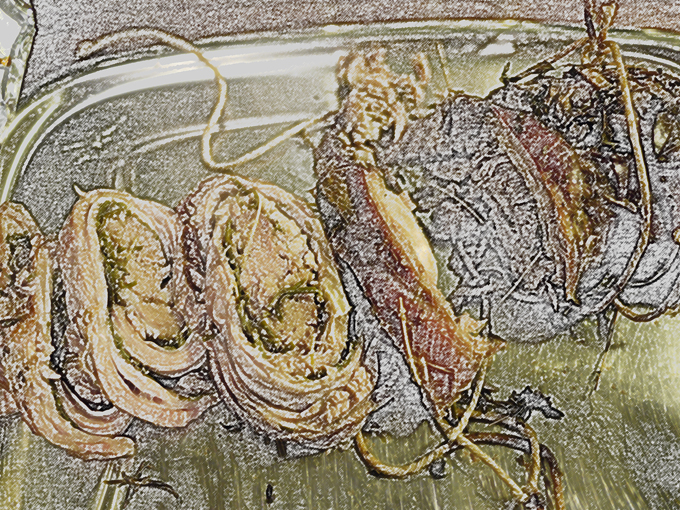
Lamb breast with herbs ready to roll with neck fillet

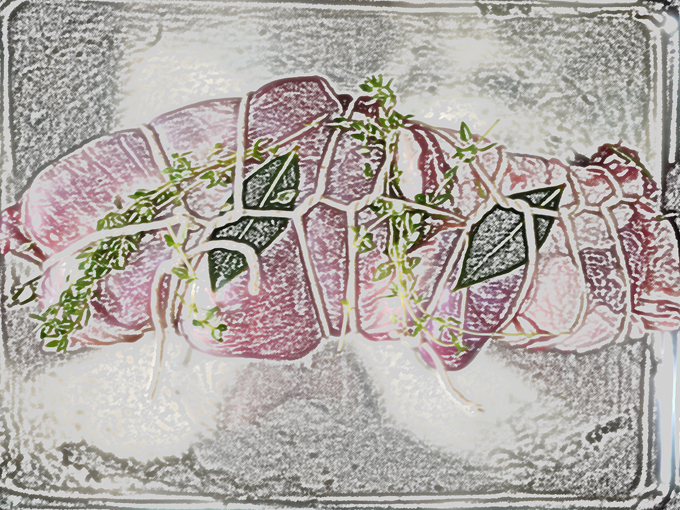
I rolled it up and tied with string

Rolled and tied lamb with extra herbs tucked under string

I’m not expecting any awards for my butchers joint tie-ing skills…

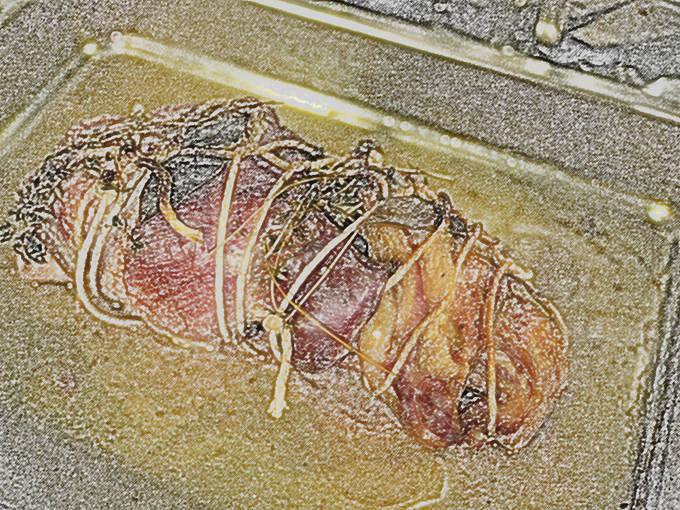
It went into the oven for 4 hours on gas mark 3 (150-160C). I’d loosely covered the tray with foil and part way through cooking I added a few splashes of white wine as well.


Fours hours in low oven temp....

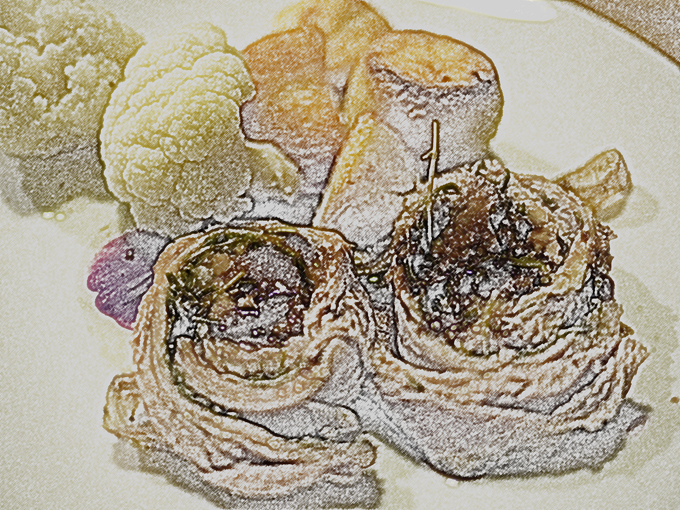
We carved it into quite thick slices and I’d say there was enough for four people

lamb-chetta slices

We had it simply with some potatoes and cauliflower

It was totally delicious soft super sweet meat from the slow cooking and layers of fat the two cuts contain, the herbs gave is a fresh edge.

We had some left which last night we used in a barley and lamb risotto, again delicious. i also tried a few bits cold and think it would make a great sandwich or simple salad with a slice on top of some lentils.

And as these two cuts are very cheap it was nice and frugal too.

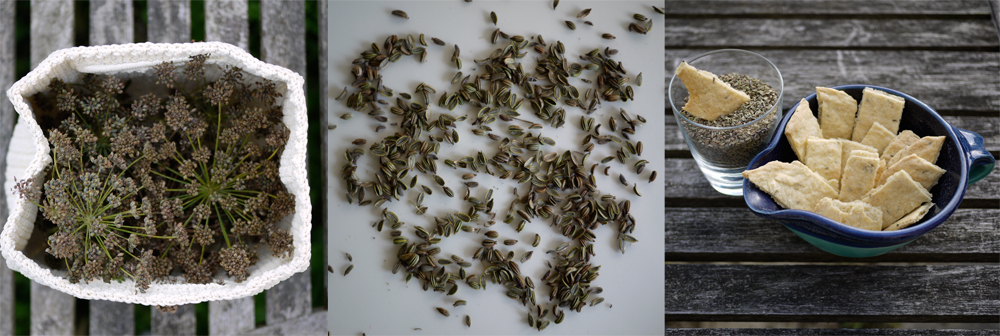
Fennel harvest (and fennel crackers)

We’ve a huge fennel plant growing in our garden….we didn’t plant it I think it self seeded from next door. Anyway we kind of ignored it but now its time to tidy the garden so I decided to harvest the seeds before we up rooted it and find a few uses for them.

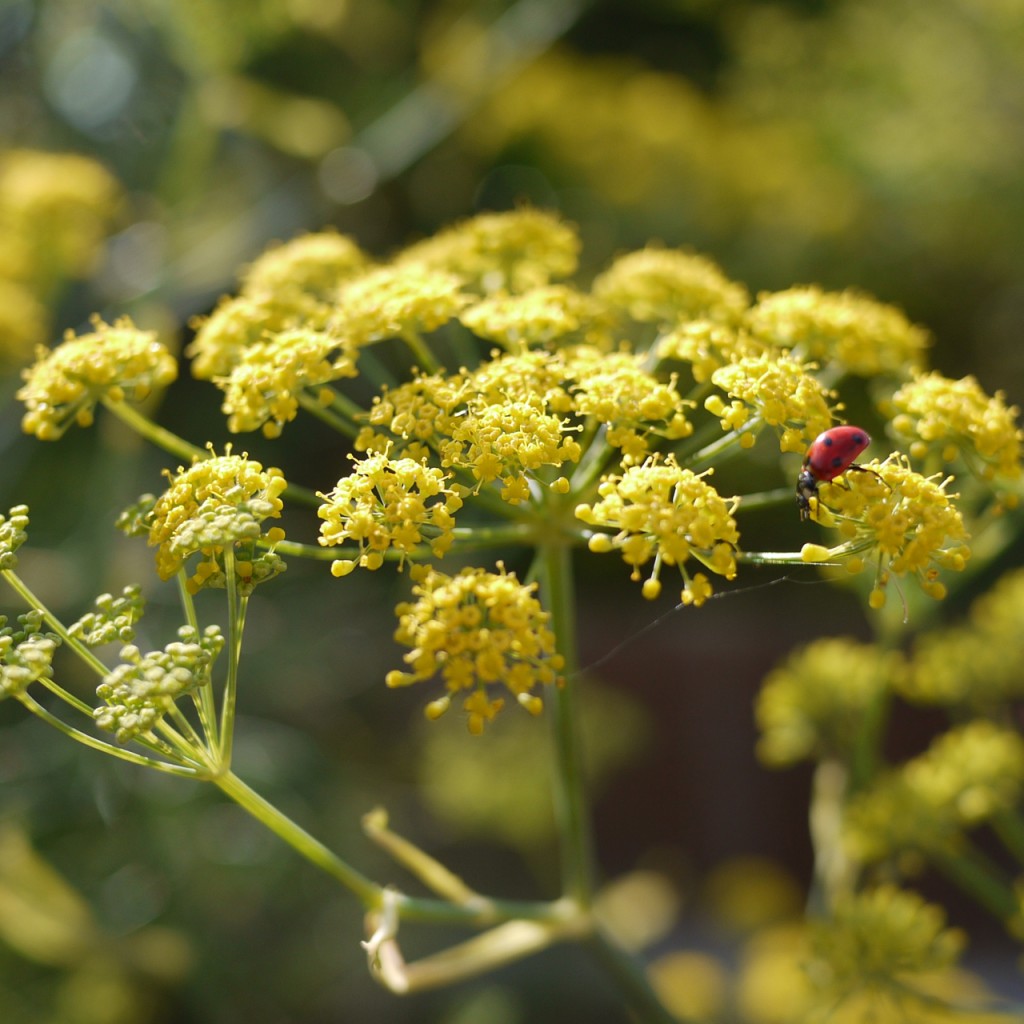
A bit of googling told me that they aren’t really seeds they are teeny fruits, and that instead of taking nice photos of ladybirds clambering over the yellow flowers earlier in the year I should have been harvesting the pollen as this is the most sought after part. I didn’t but I’ll know for next year.

I’m only part way through collected all the ‘seeds’ and I have tons so I’ve been searching for ideas of how to use them so far I’ve got the following to try:

– spelt and fennel bread from Scandilicious cookbook

– meatballs

– beany sausage casserole with some fennel added to the cooking sauce

– fennel shortbread

– fennel (and possibly pear) ice cream or sorbet

– toasted fennel seeds to snack on

– sprinkled on salads especially ones involving cheese

– torta aciete

– crackers for with cheese (I tried these yesterday see recipe at the end)

– scandi style vodka (of course)

– simple fresh cheese with fennel

And I’ve yet to properly explore the section on anise in The Flavour Thesaurus. Still I think it’s going to take rather a long time to use them all so I’ve promised some to Scandilicious (as she loves them an they are big in Scandi cooking) and some to Northcore Brewery so thye can play with how they work in beer.

All further suggestions for how to use them welcome. Many thanks to the following tweeters for the list so far:

@scandilicious @urbanfoodie_net @leafhsetherapy @rentaquill @jamsmithsclub

Fennel biscuits/crackers

I found this recipe for seedy crackers by Hugh FW on the Guardian. I thought it looked good so naturally I read it and erm then fiddled with it. This is what I did:

125g strong white flour

1/4 tsp salt

1/4 tsp baking powder

1/2 tsp fennel seeds

20ml EV rapeseed oil

water

I mixed all the dry ingredients together, I added the oil and stirred it in. I added water a tablespoon at a time until I got a softish dough. I reckon it took 60ml water. I kneaded it gently. I rolled it out in one big piece direct onto some non-stick foil and cut about half way through in strips to make rectangular biscuits. Into a pre heated oven at R3.5 (oven runs low) and baked for the supposed 5 minutes, and another and another…and in total it took 25 mins and I still don’t think it was quite cooked. But it tasted good especially with some salty pecorino or robust cheddar. I probably didn’t roll it thin enough and I guess 1 large piece takes longer to cook than lots of neat biscuits.

Verdict: good, no way the cooking time is 5 mins (perhaps in a giant bakery deck oven?!) definitely one to try again and play with flours maybe spelt or some oatmeal next time.


Super easy super tasty ice cream

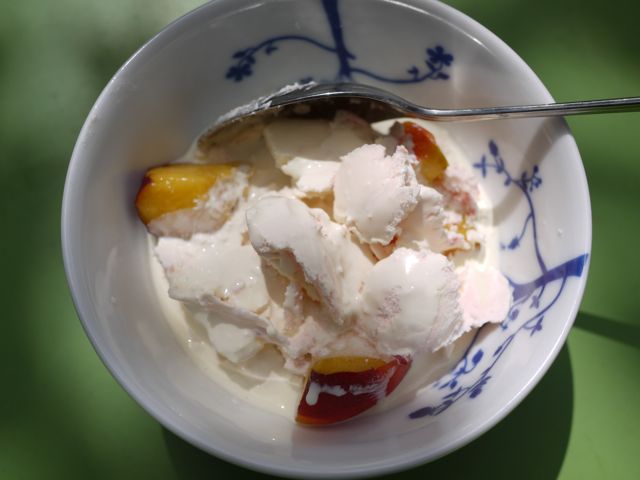
Spurred on by various people posting inspiring midsummer treats (like Scandilicious talking about sweet sweet prawns here) I decided to have a sneaky bowl of some lovely ice cream I’d made last week for lunch (obviously I made lots just in case I needed a sneaky snack or two).

With sliced ripe nectarine and a sploosh of cream over it.

Its just about the easiest ice cream you can make no faffing with custards, no making of syrups. Just follow there basic instructions and you’ll have lovely ice cream too.

Ingredients:

equal volumes of double cream and greek yoghurt (total volume to be equal to about HALF the size of the bowl of your ice cream maker)

a handful of soft fruit e.g. strawberries, raspberries, blactcurrants (I used raspberries) squished with a fork

a splash of cordial or fruit vinegar to complement your choice of fruit (I used Womersley Vinegars Golden Raspberry with Apache Chilli)

Method:

Mix all the ingredients together in a bowl. Set the ice cream maker runnning. Pour in the mixture. Leave to churn. Its quite soft set when first made.

Eat, with fresh fruit and double cream poured over.

PS: Don’t have an ice cream maker well you can make it by the freezing in a box method but I’ve never tried. I suggest to get an ice cream maker on you must have gadget list

PPS for those who may be concerned I have switched to eating desserts I can confirm I had a rather good cheese and ham sandwich on homemade bread before I indulged in the ice cream

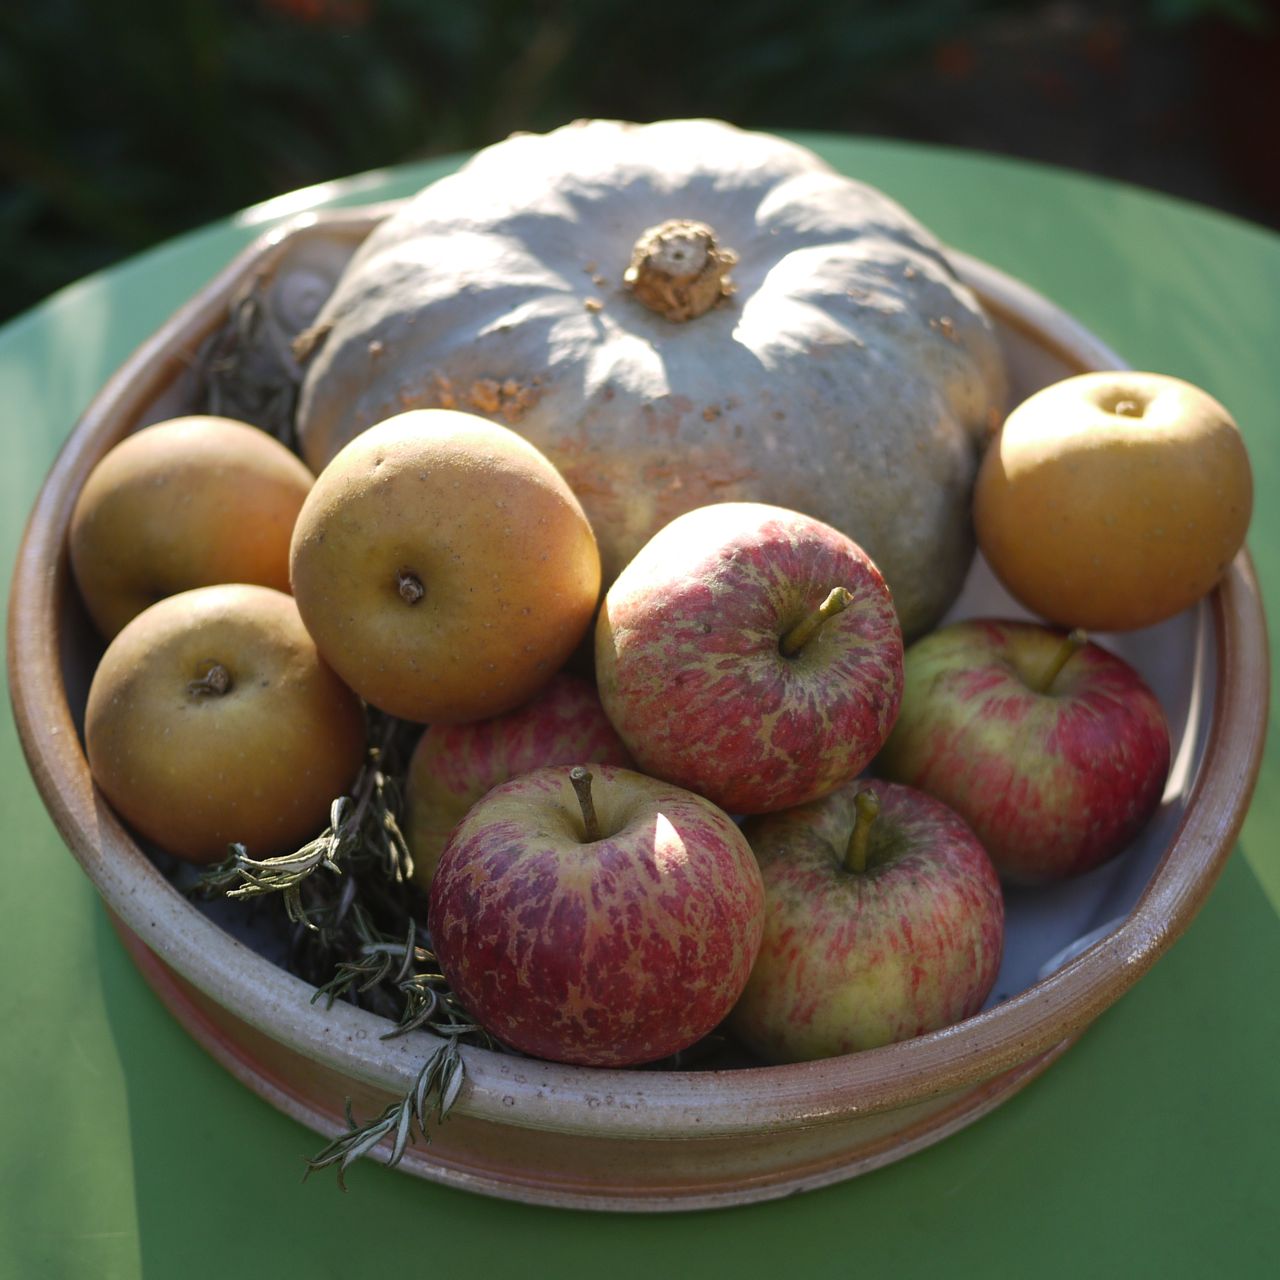
Gluts of all types

It’s coming to the end of harvest time but everywhere you look there are gluts of produce to be turned into something delicious. Some to be eaten now, some to be saved for the winter months. Gardens and hedgerows are filled with bounty and will continue to provide opportunities to harvest interesting things until late October. You might have your own fruit trees providing you with an abundance of apples, pears, plums or damsons, too many beans, courgettes or unripe tomatoes. Maybe a neighbour has a surfeit they need to share. There’s sure to be produce by peoples gates either for free or very cheap. And of course you can go foraging in country lanes, in parks and open spaces, on moorland.

Whatever you find there’s plenty of ways to put it to good use: cakes, crumbles, pies and tarts for now, freezing and multiple ways of preserving for later…..compots, jams, chutneys, pickles, curds, vinegars, favoured gins or vodkas, fruit jellies and cheeses, cordials, wines and ales, ketchups and sauces. Almost too may choices.

First of all some rules of foraging:

  1. Be sure you are allowed to forage from the lane/park/open space you choose; land maybe protected or private, foraging isn’t just a free for all.
  2. Don’t strip plants bare, leave fruit for others and for the wildlife.
  3. Make sure you know what you have collected before using it as food.
  4. Only collect from areas where you are happy there won’t be contamination, so right next to a busy road might not be great.
  5. Always be considerate and sensible about where and how you forage.

The are some good books on foraging to help you know what you might find where and when and also for identification. Three that I particularly like are Food for Free by Richard Mabey (it comes is a tiny pocket size so is easy to carry with you); The Foragers Handbook by Miles Irving more a research book for at home, Miles also runs foraging courses (as do others); and the River Cottage Hedgerow Handbook by John Wright.

Most of what you’ll collect over the next two months will be fruits and berries of some description, but there could be end of season vegetables too from the garden. There’s mushrooms to be had of course but that’s a whole other topic. To decide what to do with whatever glut you have think about the following: how ripe is the fruit, how sweet or tart is it, how long is the season (is this the last for this year or might you be able to collect more), how much do you have? All of these things will influence what you might choose to do. If you have a small amount of ripe fruit then if its edible uncooked you’ll probably want to eat it as is with cream or yoghurt or perhaps made into a cake, pudding, tart or crumble. If you’ve a lot of something then you’ll need to preserve some for later use either as a jam, jelly, chutney, pickle or something. I tend to make pickles, chutneys and fruit vodkas because they are what I like but think of what is most likely to get eaten up before next years glut and also what people you know will appreciate as presents. If the fruit is less ripe then pickles and chutneys are a good choice as the sourness is part of the taste and can be balanced by the spices and sugar. Very under ripe fruit can be made into Indian style pickles (a bit like lime pickle), I’ve tried this with plums and green tomatoes and it works well with both.

There really are so many choices it’s hard to single out one recipe (but I’ve included lots of links this month for you). Good resources are River Cottage Preserves Handbook by Pam Corbin and The Jam, Preserves and Chutneys Handbook by Marguerite Patten. Both are excellent on basic techniques with plenty of recipes to try. Do remember that if you are making chutney or pickles then you need a non-reactive pan (i.e. not aluminium) and inevitably the vinegar evaporates so have the extractor on and close the kitchen door, the taste though, is worth it.

One thing I’m determined to try this year is drying fruit. I love the dried berries and apples in granola and muesli so I’m going to make my own. I’ll be following this method from a curious little book called They Can’t Ration These, written during WW2 by Vitcome de Maudit (and republished by Persephone) its fully of quirky ideas for foraging and cooking.

How to Dry Berries

Use only sound, unbruised fruit, wash, clean and drain the berries on wooden or iron sheets and place them in a very moderate oven (110F). Raise the heat gradually to 130F, then when the berries fail to stain the hand when pressed but are not so hard that they will rattle, take them out and store. The length of time for the drying varies with the kind of berries, but it is from 4 to 6 hours.

(Note: The temperatures quoted don’t seem to tally with any conversion charts I can find so I’m assuming that the oven should be on its lowest possible setting. This is part of the joy of old recipes.)

This article was first published as part of the series I write for Francoise Murat & Associates newsletter. If you want to get the article sooner then why not subscribe to the newsletter which also has features on gardening (including kitchen gardens) and interior design.

Spicy sour green pickles

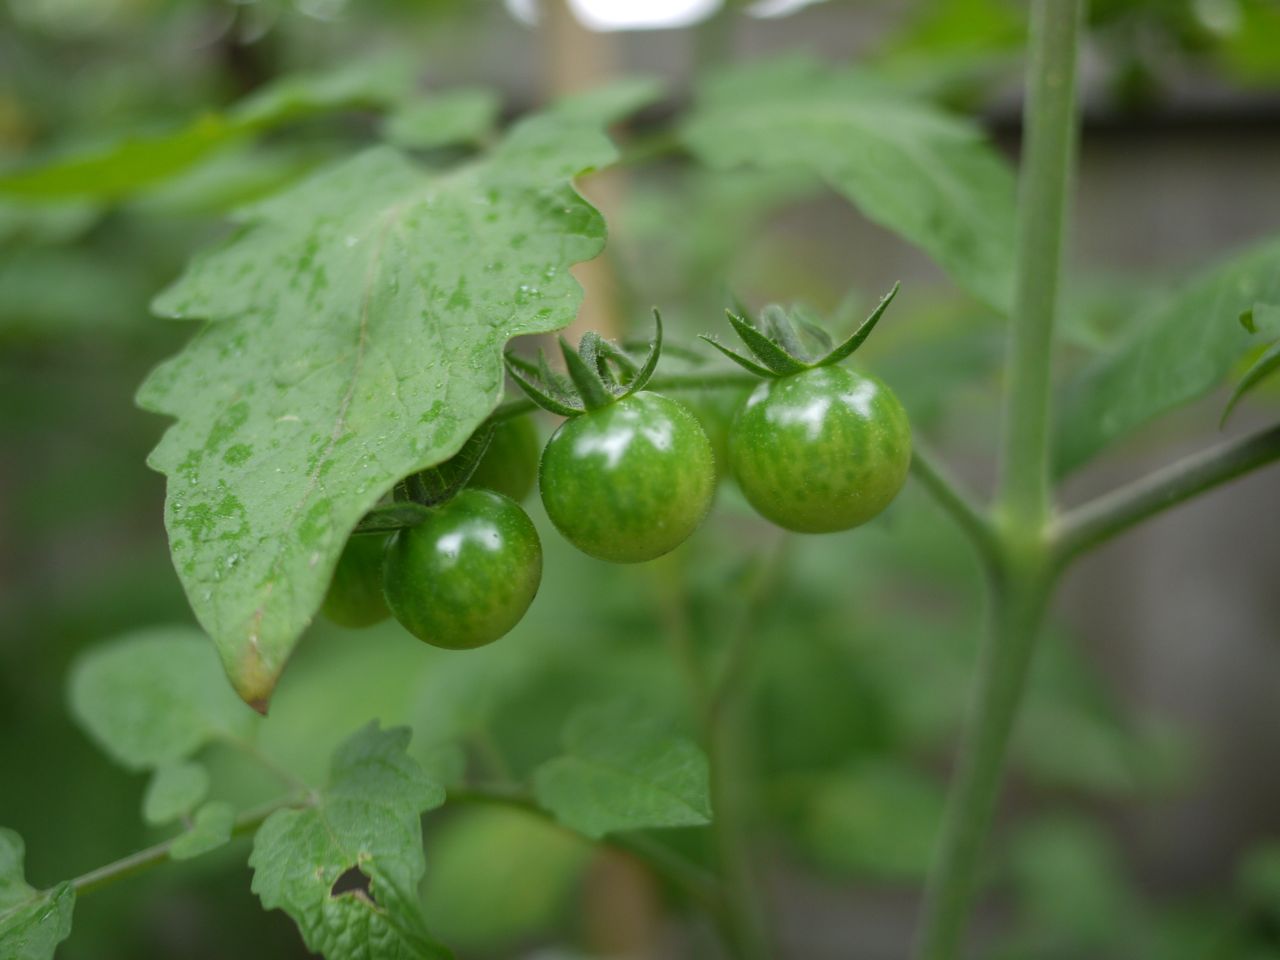
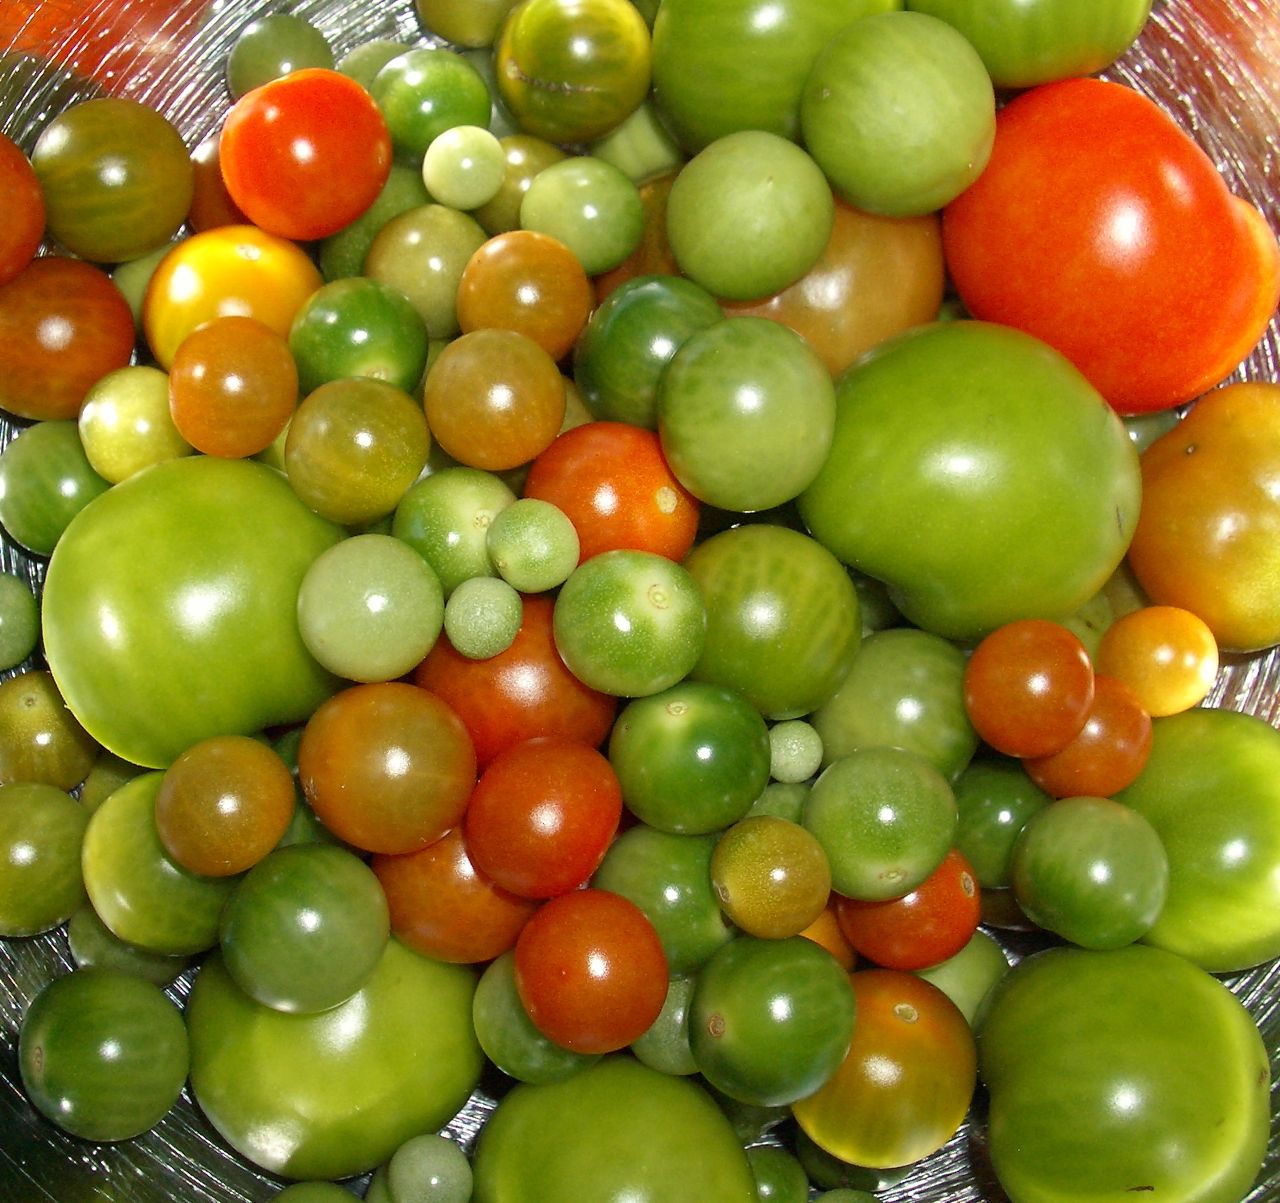
So the tomatoes should have been ripe ages ago but mine still look like this:

Which means I’ll be making batches of green pickles again this year. But that’s okay because I rather like the green pickles. I made them first with under ripe plums that I collected in deepest Suffolk with Vivia of Grethic’s Grethica. She also tracked down some recipes which she posted links to here. Its worth watching the you tube clips because they are a bit bonkers but to make it a bit easier I’ve given the recipe the way I did it here.

You need:

Lots of unripe tomatoes or plums

Sour pickle:

1 quantity (see note) each of fenugreek seeds, mustard seeds, red chilli flakes, cumin seeds, coriander seeds

½ quantity of salt

¼ quantity of tumeric

rapeseed oil

Sweet and sour pickle:

8% salt

4% tumeric

50% sugar

rapeseed oil

In both cases the quantities take a bit of guess work. In the second one I assumed it meant use 8% of the weight of fruit you have etc. In the first one it was harder so I just did what looked like a sensible quantity for the fruit I had the get a good level of spiciness.

This is what you do:

Cut the tomatoes (or plums) into quarters. Discard the stones if you have plums. I usually make one batch of each type so I split the total fruit in half then carry on.

Sour pickle:

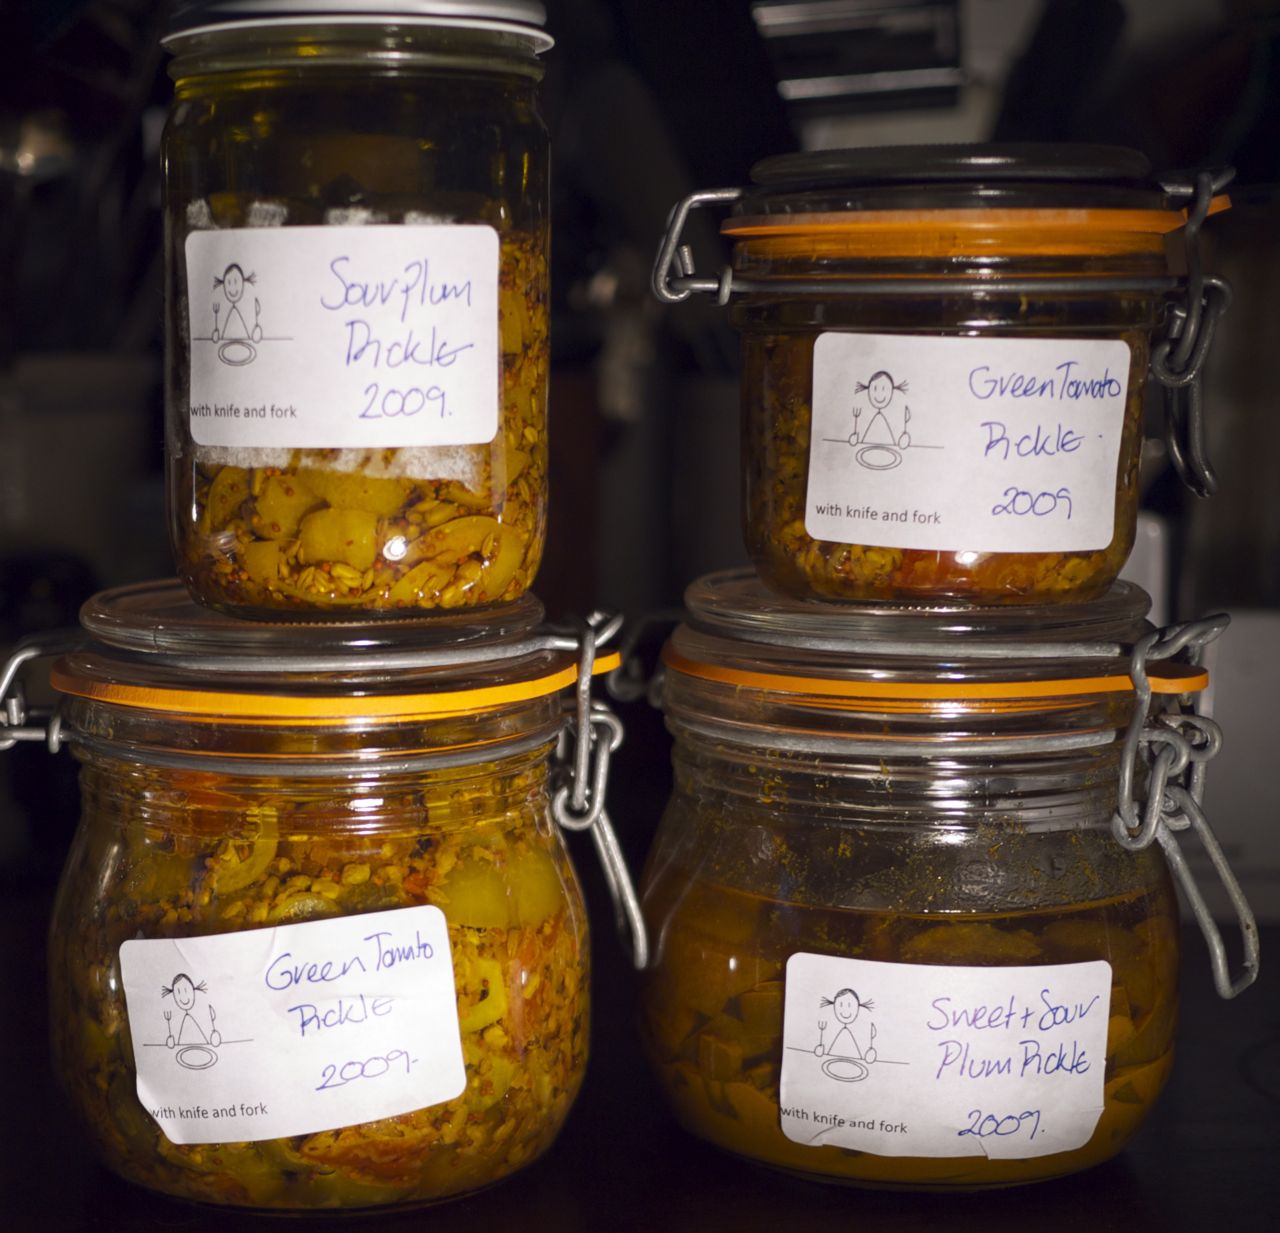
Mix the spice and salt together in a bowl. Add the fruit and coat with the mix. Cover with cling film and leave somewhere light and warm for 3-4 days. Pack tightly in sterilised jars and cover with rapeseed oil. Leave it to mature for at least a month. This one is quite like lime pickle so is great with curries. I use any leftover spicy oil for cooking curry as well.

Sweet and sour pickle:

Mix the salt and tumeric together and add the fruit. Coat. Cover with clingfilm and leave in a bright warm place for 2-3 days. Add the sugar and leave for a further 3-5 days. Pack into sterilised jars and cover with oil. As this one is sweeter it also works well with cheeses or cold meats.

Here is what you end up with:

A British seaside summer…

“Ahhhhh…” came the voice from beyond the fence, “it isn’t a proper British summer without crab sandwiches, it really isn’t….I do declare that crab sandwiches are the epitome of the British seaside”. We sniggered quietly, picturing the lady next door lying on her sun lounger eating crab sandwiches and extolling their virtues loudly to no one in particular.

And although amusing she had a point, proper sandwiches made with good brown bread, some lemony mayonnaise and fresh fresh crab really are rather lovely, and very British. Of course there is nothing to beat the British coastline in August for variety and fun and food. From wide open huge sky sandy beaches, pebbly beaches, vertiginous cliffs, coves, rock pools, salt marshes to faded Victorian promenades, piers, arcades, fish and chips, greasy spoon cafes, beach chalets, fresh fish, and cockles; there is something for everyone whether its a day trip or a proper holiday. Best of all though, lots of the smaller seaside towns seem to have wonderful food on offer, you don’t have to go to Padstow these days, all along the coast you can find great food.

Regardless of whether you are at the seaside you can bring something of the salty freshness of British seaside air to you table with two of the best coastal produce that are in season right now…yes those brown crabs and samphire. As ever the fresher the better, if you are happy to cook crab yourself then buy live and follow the RSPCA advice on humanely dealing with the crab before cooking in salted water for 12 mins for the first 500g and 5 mins for every extra 500g. Pick out the meat and use in a simple salad or sandwich, with good brown bread of course, I use this recipe from my blog but with 50-70% wholemeal flour, the rest white flour and all water for the liquid (though part milk will work well too).

There are lots of fancy recipes for crab but I find because the meat is very rich simpler is better and preferably with something to counterpoint the richness. Things that work well are green vegetables such as broad beans or peas and curiously eggs and perhaps a little chilli. And of course samphire, the saltiness cutting through the richness perfectly.

Samphire has been having quite a renaissance in British cooking and is now rather sought after. It can be hard to find as it usually sells out quickly but persevere and you will be rewarded with something that can be eaten simply steamed and dressed with butter a bit like asparagus, on salads, or as a side vegetable particularly with fish or lamb. You can try foraging for some if you are near an estuary (flat wide muddy ones are best, but be certain you know what you are collecting, don’t pull up the roots, don’t over collect and be sure you have permission to collect it). It keeps reasonably well with the ends wrapped in damp newspaper. When you are ready to eat it trim off the thicker ends, depending on how you are going to use it you may want only the top few inches of the tips as the thicker parts have an inner stem. Its easy to suck the juicy flesh off the stem when you are eating it as a side dish but in a tart or omelette or other dishes its better to have only the tender tips. I usually steam it for around 5 minutes (don’t add any salt), any longer and its less flavoursome. If you happen upon an abundance then you can freeze it (blanch for 2 minutes first) or pickle it, though in my kitchen it doesn’t last long enough for either of those two things to happen.

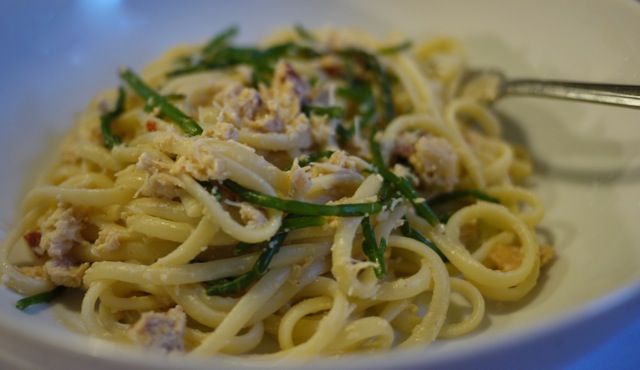
But what of combining crab and samphire into a perfect seaside influenced dish. Two wonderful possibilities spring to mind: a tart and a pasta dish. I found this tart recipe blogged recently by Ailbhe of Simply Splendiferous so rather than create my own version take a look at hers. And for those of you who fancy a pasta dish try this:

Crab and samphire pasta (4 people)

75g dried linguine or spaghetti per person

1 medium brown crab

75-100g samphire (if you can’t get samphire then spinach or green beans would work well)

1 fresh chilli chopped finely or a pinch of chilli flakes

Method:

  1. Cook the crab and pick out the meat, or buy a ready picked crab from somewhere you know its super fresh
  2. Trim the samphire and use only the tender tips (top 5-8cm), steam for 5 minutes until cooked
  3. Cook the pasta as per the packet instructions and drain
  4. Toss the pasta, crab meat, samphire and chilli together
  5. Serve
  6. Sigh gently at the very British summery-ness of the dish as you eat

This article was first posted in Francoise Murat’s newsletter.