Lamb-chetta

Last weekend I was casting around for what to do with some lamb breast and neck I had defrosted and the weather seemed to good for hearty stews. I asked the hive mind that is twitter and carried on flipping though cook books for inspiration. At roughly the same time as I was eyeing up a porchetta recipes Chris from La Hogue Farm shop suggested a herby stuffing and wrapping the breast round the neck.

And so I set out to make lamb-chetta.

I didn’t want too dense a stuffing so I decided to simply use lots of fresh herbs.

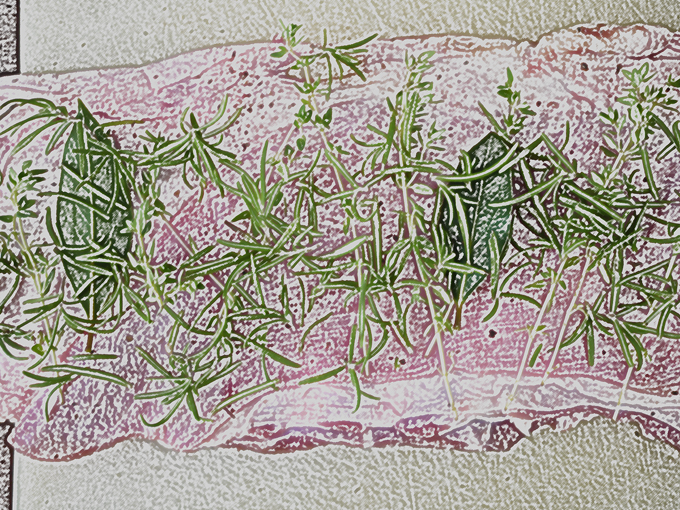
Rosemary, fresh bay leaves and lemon thyme from the garden

I laid out the meat and added some ground black pepper and the herbs

Lamb breast with herbs ready to roll with neck fillet

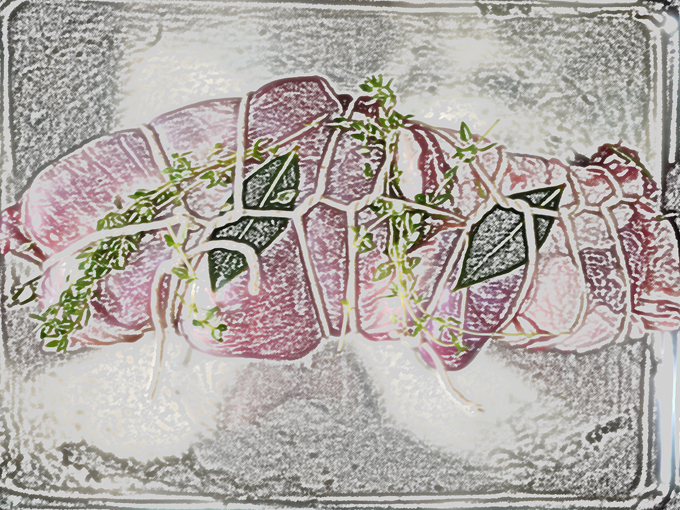
I rolled it up and tied with string

Rolled and tied lamb with extra herbs tucked under string

I’m not expecting any awards for my butchers joint tie-ing skills…

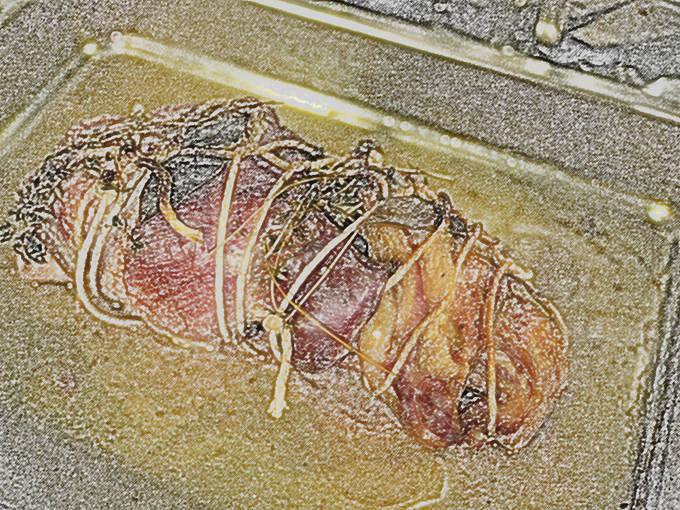
It went into the oven for 4 hours on gas mark 3 (150-160C). I’d loosely covered the tray with foil and part way through cooking I added a few splashes of white wine as well.


Fours hours in low oven temp....

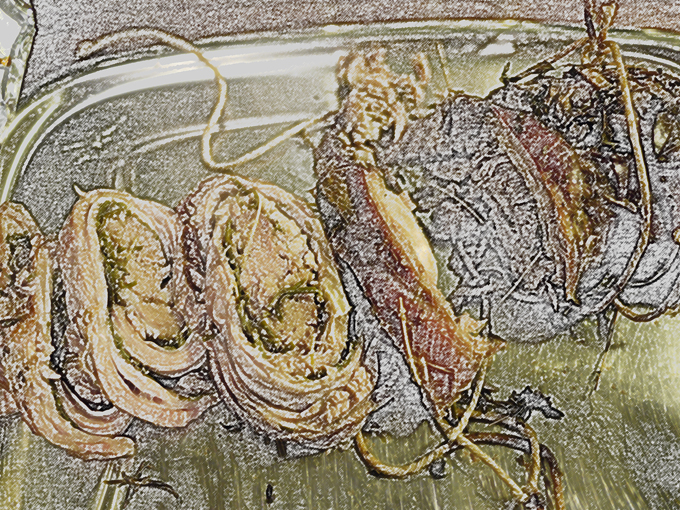
We carved it into quite thick slices and I’d say there was enough for four people

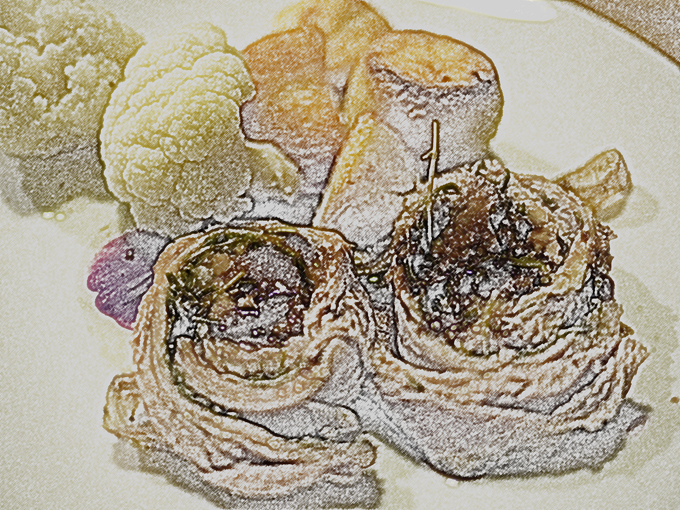
lamb-chetta slices

We had it simply with some potatoes and cauliflower

It was totally delicious soft super sweet meat from the slow cooking and layers of fat the two cuts contain, the herbs gave is a fresh edge.

We had some left which last night we used in a barley and lamb risotto, again delicious. i also tried a few bits cold and think it would make a great sandwich or simple salad with a slice on top of some lentils.

And as these two cuts are very cheap it was nice and frugal too.

Burgers, three ways

When the Beyond Baked Beans team asked if I’d do a recipe that would appeal to students for their blog I was pleased but stumped. It’s a long time since I was a student and I was lucky (or unlucky) enough to get through Uni without having to cook much more than the odd slice of cheese on toast and the very occasional chilli. This isn’t because I lived at home rather its because I lived in college all three years and the college catering seemed to be modelling itself on a pretty reasonable hotel. And then each time I came up with an idea another faster more organised blogger had pipped me to the post. And so it is that I thought of burgers, something so easy to make I’d almost missed it….here’s the post I did for Beyond Baked Beans so that you too, as well as all those lucky students, can create your own delicious burgers.
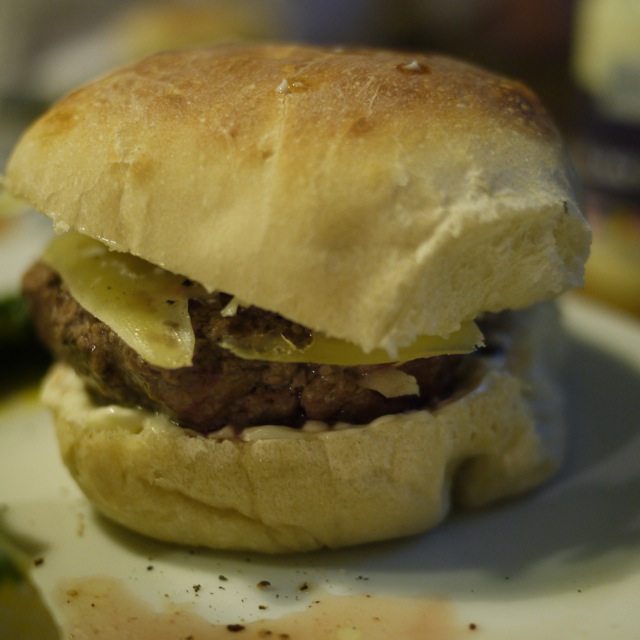
Everyone loves burgers (well everyone who loves meat). Homemade ones are brilliant, once you’ve tried them you’ll never want to buy ready made again, because there is no point. They are really simple to make and they taste so much better.

You can mince the meat yourself but I’m guessing if you have a mincer you probably don’t need me to tell you about making your own burgers….

You should allow between 150g-250g of meat per person depending on whether you like small, medium or really quite large burgers. I find that 3 burgers from 500g is about right if you’ve got toppings and side dishes. Its also important that you go for the 20% fat mince, less fat and your burger just won’t be as juicy and tasty, burgers are not the place to be exercising fat content control. Get the best mince you can find it does make a real difference to the taste.

This is a kind of design your own burger recipe…..

Ingredients (for 3 people):

500g of mince (beef, lamb or pork)

1tsp to 1tbsp of herbs or spices to complement your chosen meat (see below for my favourite combinations)

salt and pepper

3 white buns or rolls, again the nicest you can find

cooking oil

condiments: mayo/ketchup/tomato/mushrooms/sliced cheese/bacon/lettuce/onion as suits you and the burger

sides: chips, coleslaw, salad etc

Method:

Break the mince up in a bowl, add salt and pepper and mix in. You can leave your burgers plain but I like to add some spices or herbs: add your herb/spice of choice, mix in and leave for 30mins to 1 hour for the flavours to mingle and then form the meat into three equal patties with your hands. You just need to squash and shape it and it will hold together fine. Aim for about 2cm thick and don’t worry if its not perfectly flat.

Pour some cooking oil onto a plate and coat each burger with oil by putting it on the plate and moving it about a bit on each side (don’t worry about the edges, just the flat surfaces).

Heat your chosen pan, a griddle plan will give you nice seared lines but a frying pan is fine. You don’t need any oil in the pan as you’ve already oiled the burger. When the pan is nice and hot put the burgers in. Turn the heat down about ¼ – ½ way. Leave the burgers alone to cook. After about 2-3 minutes they will be ready to flip and they will come away from the pan easily. Turn them over and leave again. This will give you medium-rare/medium burgers; cook for longer if you wish.

Serve on the buns with the condiments and side dishes of your choice.

Good spice/herb combinations are (picking just one usually works best). Use 1 tsp of spices (ready or freshly ground) or dried herbs and up to 1 tbsp of fresh chopped herbs:

Beef: chilli flakes or fresh chilli, coriander seeds or leaves, English mustard powder

Lamb: cumin seeds, coriander seeds, mint, oregano, rosemary

Pork: sage, smoky paprika

Think about how different cuisines spice their food and you’ll find plenty more options.

Mutton dressed as lamb, why not go the whole hogget

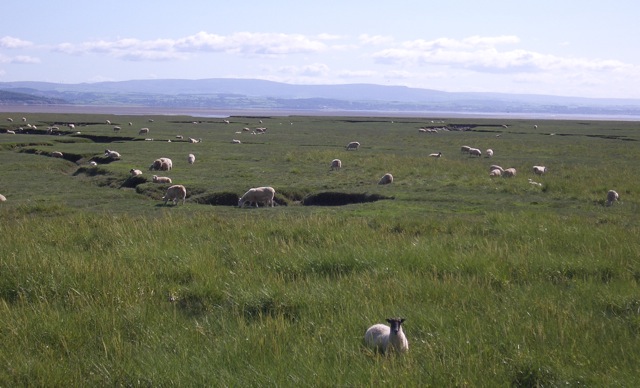
It’s late spring (well it was when I wrote and it was published, we’ve now just edged into summer) and a time many of us associate with lamb, in fact, it’s common to think of lamb as a traditional dish for Easter. A moment to pause and think about this should make us wonder why? Easter can be as early as 22 March and as late as 25 April; and we mostly all know that spring is when lambs are born so how are these lambs old enough to be ready to eat by Easter? Well they aren’t. The lamb that is marketed early was born in autumn and there are some breeds where this is the norm (primarily Dorset breeds such as Down, Horn or Poll). But not that many so unless you are sure of your source you might be paying a premium price for lamb that has been ‘encouraged’ to lamb in the autumn and then had an indoor life fed on concentrated feeds such as soya pellets. Not perhaps as natural as you might hope. Like almost anything in food it pays to know the provenance of what you are buying including when things are truly in season and what might have been involved to bring them to you essentially ‘out of season’. So the majority of British lamb is not yet ready for the table but will start to be when we get near the end of June and into July, at its best by September when it will really pays to explore different breeds that have been grazing outdoors on their local flora for a good 5-6 months; then you’ll be able to taste the effects of grazing on salt marshes or moorland, highland or lowland.

Salt marsh sheep

But what to do until then, after all it feels like it should be time to have some lamby dishes whether British inspired or from further a field. Well you can seek out some lamb from breeds that do naturally lamb in the autumn, as the meat will be top notch right now. You could simply wait and bide your time. You could buy New Zealand lamb; no don’t do that! Although excellent from good producers on its home soil it’s almost impossible to know in the UK whether you are buying good, indifferent or poor quality. Or you could try British reared hogget or mutton instead. Technically a hogget is a sheep between 1 and 3 and mutton is 3+ years old.

Ah mutton yes. I know I’ve immediately conjured pictures of old good-for-nothing stringy over cooked meat, Mrs Beeton and over boiled vegetables! Of course this is not the case mutton is as delicious as lamb, just different. As Hugh Fearley-Whittingstall points out (in his seminal The River Cottage Meat Book, highly recommended for all matters meaty) “mutton is to lamb, as beef is to veal”, both have a place but one is fuller in flavour the other more delicate. It seems that somewhere along the way we have lost this notion of mutton as delicious and now we even use lamb to make hot-pots, or ragouts. There has been a shifting in attitude since 2004 when Hugh first wrote his book with the likes of Farmer Sharp championing mutton with chefs and the public alike. But essentially mutton is still seen as the speciality and lamb the ‘regular’ option. This makes no real sense, many recipes that call for lamb use robust flavours that will simply drown the delicate flavour of even the best quality lamb, and the lack of sufficient fat means that lamb actually won’t respond well to some of the cooking methods. Best then to save the lamb for a special treat, cooked simply at its prime from July to September and instead invest in some mutton for your summer inspired dishes.

Good mutton doesn’t have to be cooked until its gray either (or indeed ever) a joint of hogget or ‘young’ mutton (3-4 years old) will work well roasted or barbecued but still left pink, it has a good balance of sweet fat to meat meaning it will be more succulent than pretty much any lamb would be right now. So for the next month (and most of the rest of the year) while we wait for lamb to really be in its prime why not try a cut of mutton?

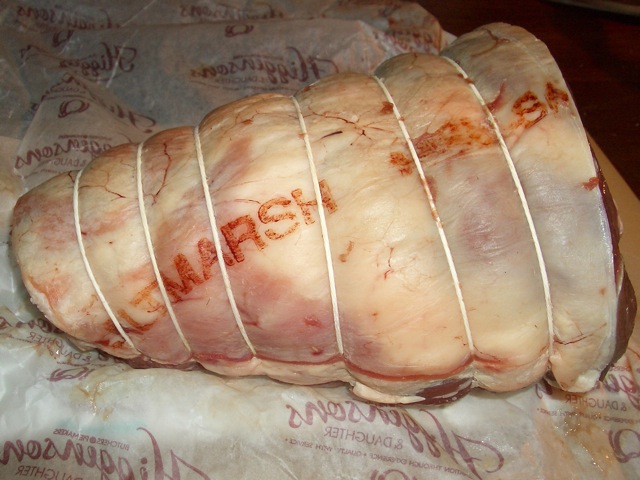
Waiting to be butterflied

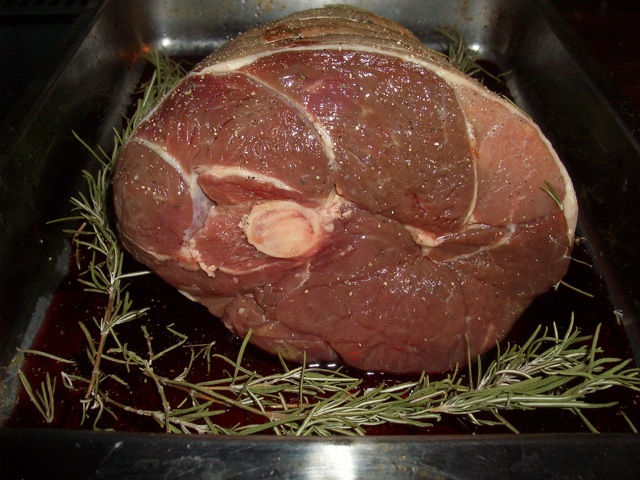
Boned, butterflied leg or shoulder of mutton

½ – 1 leg or shoulder of mutton

½ bottle of red wine (right now its English wine week so you might want to track down an English red)

4 large sprigs of fresh rosemary

6 black peppercorns

1 – 2 tbsp oil (I use extra virgin rapeseed)

peel of an orange or lemon (only the outer surface not the pith, easiest done with a sharp potato peeler)

  1. If your butcher hasn’t already then bone the leg or shoulder and open it out to create one large flat piece of meat. Place the meat skin side down and slash the meat side in a criss-cross pattern to a depth of about 1cm at about 4cm intervals.
  2. Pout the wine in a dish big enough to fit the meat in flat, add the peppercorns, rosemary sprigs and orange peel. Lay the meet in the dish meaty side down and leave to marinate for at least a couple of hours.
  3. When ready to cook heat a barbecue or cast iron grill pan until hot. Remove the meat from the marinade and pat off any excess. Leave the peppercorns, rosemary and peel in the wine for now.
  4. Place the meat on the barbecue or griddle skin side down to start and turn regularly to cook from both sides until it’s done to your liking. This can take anything from about 25-45 minutes depending on the thickness of the meat and how pink you want it to be.
  5. While it’s cooking reduce the wine on a fast boil (remove the other ingredients) to concentrate the flavours add a tablespoon or two of oil near the end and stir vigorously to help the mix emulsify and create a glossy slightly thicker sauce.
  6. Slice the meat into pieces about ½ cm wide and serve with the sauce, a green salad or steamed vegetables and a big bowl of buttered new potatoes.

You can find out more about mutton and places to buy at www.muttonrenaissance.co.uk

This article was first published in Francoise Murat & Associates newsletter.

Fresh from the oven – buns, curry buns

Last month I schlepped in right at the last minute with my Fresh from the oven challenge, this month I did better – hey I was there a whole week before the deadline baking away. How organised and complaint of me. Erm, well, maybe. Those who know me well know that doing what I’m told when I’m told is something I have mastered the art of mostly avoiding. So this month instead of taking the deadline to the wire I thought I’d ignore some of the very specific instructions and freeform the recipe a bit even though it wasn’t something I’d ever tried before. Did this lead me on a route to disaster  – lets see……

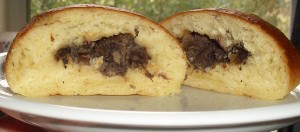
I was pleased when I saw that Ria (of Ria’s Collections) had picked what she calls stuffed buns, because I quick glance though the recipe suggested that these were going to be like the legendary curry buns I ate at a hill station in Malaysia with my husband on our very first holiday together. Wow. We have often reminisced about these little buns, which were wonderfully soft and had a lovely curry filling. We’d never tasted anything like them before and since I’m talking quite a few years back when only the (un)lucky few had email and the internetsuperhighwaythingy was in its very early infancy we never tracked down a recipe. They became a kind of mythical dish. Could Ria’s recipe live up to all this?? We both had very high hopes.

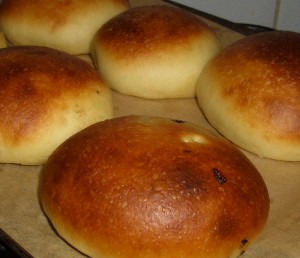
Curry buns right out of the oven

The recipe basically seems to be one for a kind of brioche type dough made with milk, a fair bit of sugar and also egg. Ria is very clear that it MUST be kneaded for 10 minutes to achieve the right consistency. The filling is a mild chicken curry, Ria suggests paneer can be used for vegetarians. And this is when I start to freeform. I happen to have some lamb curry leftover so I decided I’m going to use that as a filling – can’t go far wrong surely. The dough just sounds too rich – I quite like brioche but since this is a joint memory we are trying to live up to here and Ian doesn’t like sweet dough’s I cut back on the sugar a bit and swap the egg for the same volume of milk. Then I just go for it and ignore the 10 minute knead instruction as well. I blame Dan Lepard for this entirely. He doesn’t do a long knead and since learning his method in mid June I’ve become a bit of a convert…you make a rough dough, leave it for about 10 minutes, come back, 10 seconds of folding, repeat this rest and knead 3 times in the first hour and then once per hour during the first rise. It’s worked well on every loaf so far I can’t see why it won’t work here. The theory is that it’s not so much the vigorous kneading but the elapsed time that creates a good network of bubbles.

The dough is quite soft and a little sticky but not too difficult to work with as it has oil in it which makes it pliable. It rises quite quickly but it is a fairly warm day. After the first rise you divide it up and shape it into rounds put some curry mix in the middle and then shape rather like a round bread roll. It has a 20 minute rise like that and then it’s in the oven. You have to be careful because the richness of the dough means it browns very quickly – they are cooked in 10 minutes.


mmmm look at that delicious

So were they any good? Absolutely yes. They had a good soft texture and certainly lived up to our memory from Malaysia. Even with my changes the dough was still rather rich and sweet for our liking so when I try them again I’ll cut back on that further. It was a good way to use up some leftover curry and I don’t think they suffered from all my meddling – of course I might be wrong, the real deal might be even more delicious, but I’m more than happy to have found a way to recreate a happy food memory.

Thanks Ria for the recipe and I’m not sorry I meddled with it :0

Recipe for dough (I used the cup measures in Ria’s original):

1 tsp dry yeast (I used fast action yeast)
2 tbsp warm water
1/2 cup milk
salt to taste
1/2 cup oil (I used rapeseed)
2 cups all purpose flour (I used strong bread flour)
1/4 cup sugar (I sued about 1/3 cup and the dough was still too sweet I thought)
1 egg beaten (I used another couple of tablespoons of milk)
egg white and sesame seeds to decorate if you wish (I didn’t)

  •  dissolve yeast in warm water with 1/2 tbsp of the sugar and 1/2 tbsp of flour. Leave for 10 minutes.
  • Boil the milk and allow to cool (gosh I didn’t do this either). Once cool add sugar oil and salt and mix until the sugar dissolves.
  • Add 1 cup of flour and mix to a smooth paste.
  • Add the egg and also the yeast mix then the rest of the flour and mix to form a soft dough.
  • Knead using your preferred technique.
  • Rest and when its doubled in volume shape into flat rounds, fill and shape into buns by folding the the sides of the rounds to the centre. Decorate with egg and seeds if you wish.
  • Leave to rise for 20 minutes covered with a cloth then bake at 200C for 10 minutes. I actually did them at R6/180C and they took 10 minutes. Be careful they brown very quickly.