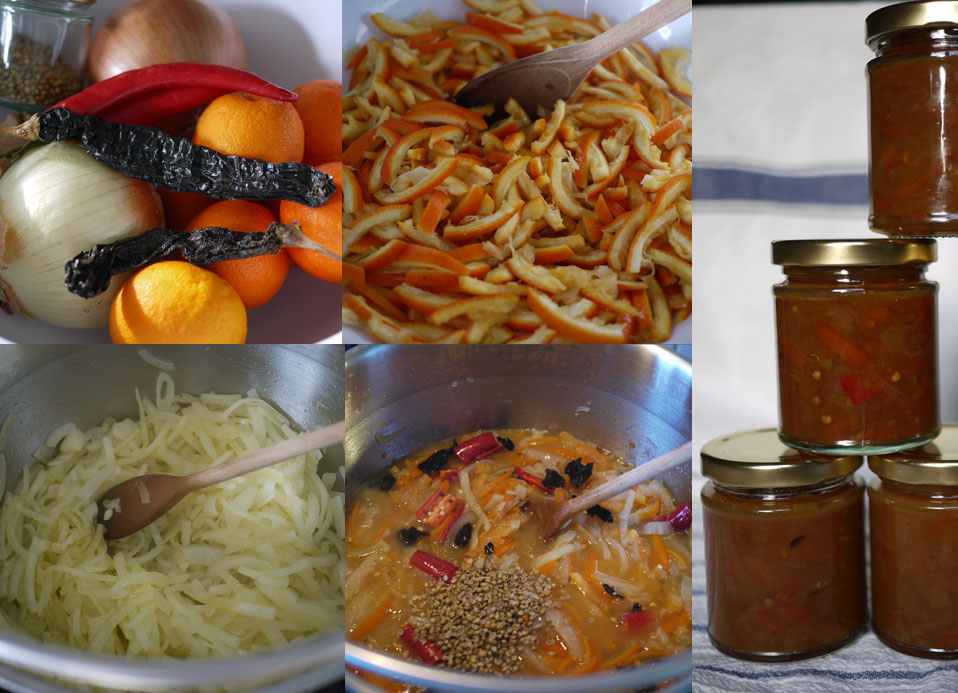
Seville oranges: spicy, savoury style marmalade

Last year when everyone was making marmalade with seville oranges I bought a couple of bags from the supermarket thinking I’d join in the fun.

Then I remembered that the last batch I made had lasted about 10 years as I don’t really eat marmalade that often.

So I wondered if there were any more savoury recipes…I’m a fan of chutney and pickles and started thinking along those lines. I couldn’t find any specific recipes and several people I asked were unsure if it would work.

After a bit of juggling ideas I decided to give it a go and try to make a sort of spicy seville and onion marmalade hybrid.

With no recipes to guide me I struck out and just made it up as I went along. Naturally I also failed to write down what I did.

Possibly more inevitably, almost 12 months later, when I opened the first jar to test it just before Christmas it was amazing. Mellow spices, sweet and orangey but with enough sharp tang and bite.

So here I am staring at the pictures I took hoping I can work out what I did.

I think its fairly simple.

It roughly goes like this:

Ingredients:

Seville oranges

Onions

Chilli peppers

Dried smokey chillis

Coriander seeds

Fresh ginger

Method:

Juice the sevilles and set aside the juice. Slice the peel into strips.

Slice the onions. Cook the onions slowly in butter over a low heat to soften them.

Add the sliced peel, juice, spices and a some cider vinegar.

Simmer until soft and thickening and reduced by about half.

Put in sterilised jars and seal straightaway while warm.

Leave for ages to allow it to mellow.

Eat, with cold cuts or with poppadums…or just however you would normally have spiced chutney.

Gluts of all types

It’s coming to the end of harvest time but everywhere you look there are gluts of produce to be turned into something delicious. Some to be eaten now, some to be saved for the winter months. Gardens and hedgerows are filled with bounty and will continue to provide opportunities to harvest interesting things until late October. You might have your own fruit trees providing you with an abundance of apples, pears, plums or damsons, too many beans, courgettes or unripe tomatoes. Maybe a neighbour has a surfeit they need to share. There’s sure to be produce by peoples gates either for free or very cheap. And of course you can go foraging in country lanes, in parks and open spaces, on moorland.
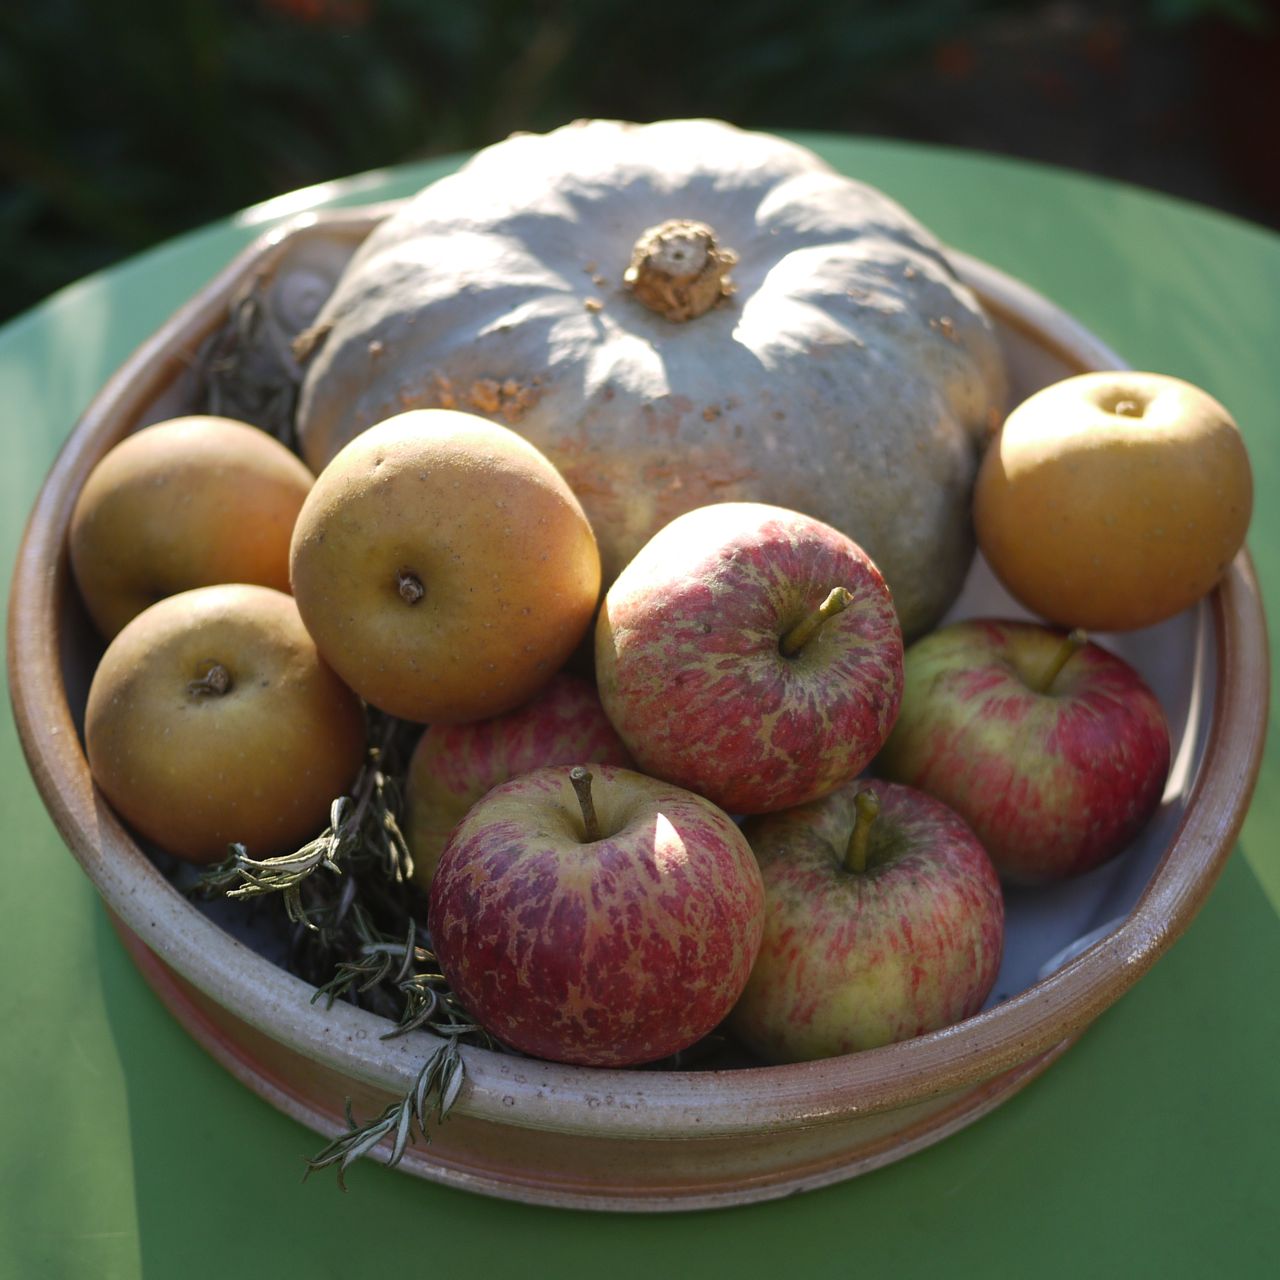
Whatever you find there’s plenty of ways to put it to good use: cakes, crumbles, pies and tarts for now, freezing and multiple ways of preserving for later…..compots, jams, chutneys, pickles, curds, vinegars, favoured gins or vodkas, fruit jellies and cheeses, cordials, wines and ales, ketchups and sauces. Almost too may choices.

First of all some rules of foraging:

  1. Be sure you are allowed to forage from the lane/park/open space you choose; land maybe protected or private, foraging isn’t just a free for all.
  2. Don’t strip plants bare, leave fruit for others and for the wildlife.
  3. Make sure you know what you have collected before using it as food.
  4. Only collect from areas where you are happy there won’t be contamination, so right next to a busy road might not be great.
  5. Always be considerate and sensible about where and how you forage.

The are some good books on foraging to help you know what you might find where and when and also for identification. Three that I particularly like are Food for Free by Richard Mabey (it comes is a tiny pocket size so is easy to carry with you); The Foragers Handbook by Miles Irving more a research book for at home, Miles also runs foraging courses (as do others); and the River Cottage Hedgerow Handbook by John Wright.

Most of what you’ll collect over the next two months will be fruits and berries of some description, but there could be end of season vegetables too from the garden. There’s mushrooms to be had of course but that’s a whole other topic. To decide what to do with whatever glut you have think about the following: how ripe is the fruit, how sweet or tart is it, how long is the season (is this the last for this year or might you be able to collect more), how much do you have? All of these things will influence what you might choose to do. If you have a small amount of ripe fruit then if its edible uncooked you’ll probably want to eat it as is with cream or yoghurt or perhaps made into a cake, pudding, tart or crumble. If you’ve a lot of something then you’ll need to preserve some for later use either as a jam, jelly, chutney, pickle or something. I tend to make pickles, chutneys and fruit vodkas because they are what I like but think of what is most likely to get eaten up before next years glut and also what people you know will appreciate as presents. If the fruit is less ripe then pickles and chutneys are a good choice as the sourness is part of the taste and can be balanced by the spices and sugar. Very under ripe fruit can be made into Indian style pickles (a bit like lime pickle), I’ve tried this with plums and green tomatoes and it works well with both.

There really are so many choices it’s hard to single out one recipe (but I’ve included lots of links this month for you). Good resources are River Cottage Preserves Handbook by Pam Corbin and The Jam, Preserves and Chutneys Handbook by Marguerite Patten. Both are excellent on basic techniques with plenty of recipes to try. Do remember that if you are making chutney or pickles then you need a non-reactive pan (i.e. not aluminium) and inevitably the vinegar evaporates so have the extractor on and close the kitchen door, the taste though, is worth it.

One thing I’m determined to try this year is drying fruit. I love the dried berries and apples in granola and muesli so I’m going to make my own. I’ll be following this method from a curious little book called They Can’t Ration These, written during WW2 by Vitcome de Maudit (and republished by Persephone) its fully of quirky ideas for foraging and cooking.

How to Dry Berries

Use only sound, unbruised fruit, wash, clean and drain the berries on wooden or iron sheets and place them in a very moderate oven (110F). Raise the heat gradually to 130F, then when the berries fail to stain the hand when pressed but are not so hard that they will rattle, take them out and store. The length of time for the drying varies with the kind of berries, but it is from 4 to 6 hours.

(Note: The temperatures quoted don’t seem to tally with any conversion charts I can find so I’m assuming that the oven should be on its lowest possible setting. This is part of the joy of old recipes.)

This article was first published as part of the series I write for Francoise Murat & Associates newsletter. If you want to get the article sooner then why not subscribe to the newsletter which also has features on gardening (including kitchen gardens) and interior design.
A peek in the pantry

Its fair to say I am an inveterate hoarder of stuff. All sorts of stuff. Books. Old adminy type things. Christmas and birthday cards. Shoes. Jars. Old kitchen things. Stuff. And more stuff.

This means our house can get quite full and because its an old house there aren’t actually that many places to shove or hide all this stuff. So rooms that are supposed to have other purposes become sort of holding areas for, well, stuff. And then if someone come to visit the stuff gets shuffled about and hidden for a while in a different room only to re-emerge and migrate back to its original position. Two rooms are particularly prone to this hoarding activity: the dining room and the spare bedroom.

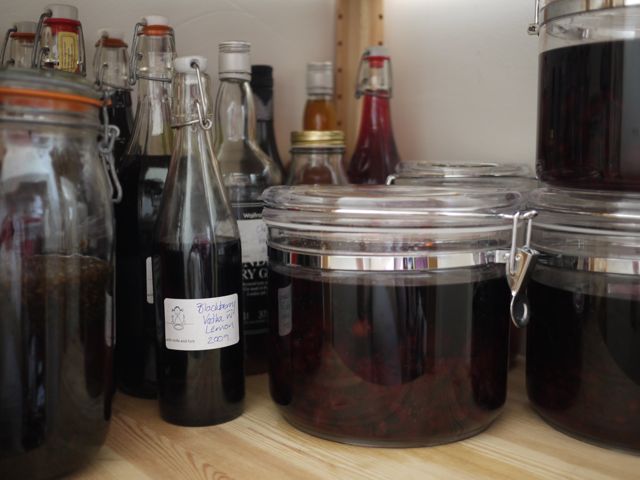
Some of the vodka stash

But somewhere on Friday I developed the urge to actually be able to get in the dining room and use it for its proper purpose. And to do this I needed to get all the bottles and jars, empty and full, sorted and in the pantry, which of course was full of random things instead of pantry type things. The pantry is actually off the dining room because originally what we use as a dining room was the kitchen. So things meant for the pantry have a tendency to lurk on the dining room table.

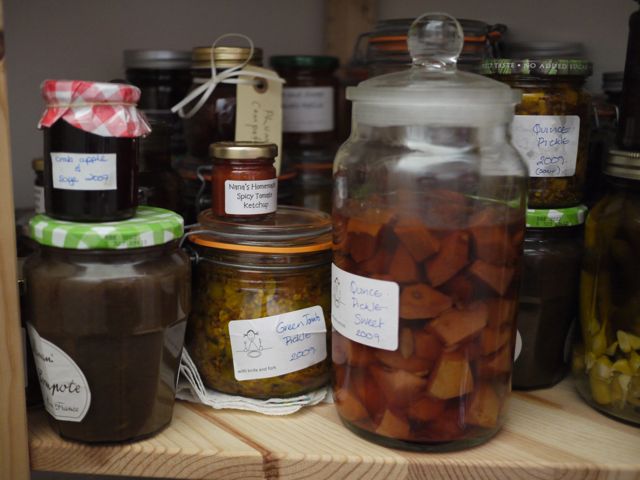
The chutney and pickle stash

I worked away diligently for much of Saturday and Sunday, sorting, getting rid, organising, putting things in boxes, regrouping, dusting, polishing, and on and on. Finally I emerged triumphant. All was sorted, everything in its rightful place and a dining room restored to its proper use, the pantry now pantry like.

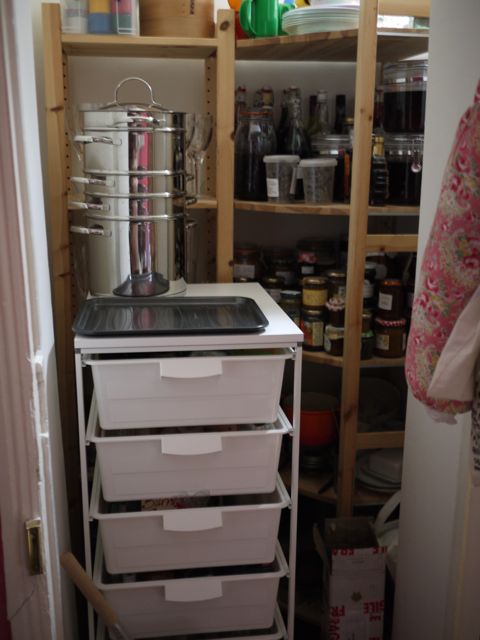
Tidy at last

So to celebrate we had a big roast dinner of shoulder of pork, pommes anna, asparagus and white sprouting broccoli. Yum. Oh and couple of nips of some of that lovely flavoured voddy. Here’s the recipe, works with all sorts of fruit including rhubarb (which is in season right now):

My Legendary Fruit Vodka

I don’t use fixed measure for this but ratios.
Select your fruit of choice and weigh it. They tip it in a large glass jar (e.g. a preserving jar with a clip lid).
Add between half to the same weight of sugar (I usually used granulated) depending on how tart the fruit is and how sweet you want the result to be.
Then pour over about 1 ¼ -1 ½ times the volume of vodka as you had weight of fruit; so if you had a 750ml bottle of vodka you’d be looking to find between 500-600g of fruit.
Add any extras you think you’d like, a shaving of lemon peel is good with damsons or sloes.
Stir it all round to get as much as the sugar to dissolve as possible.
Close the jar and leave for a minimum of 6 weeks.
Check regularly and shake to help the sugar dissolve. After the first 6 weeks test the flavour and either leave to extract more flavour or strain and bottle.
Leave the bottle to mature for a further few months minimum. It gets better with age if you can resist for long enough.
Tips:
  • If you haven’t got a large glass jar but have a glut of fruit you need to use up quickly then put everything a big non-reactive pan, cover and then track down a jar – it’ll be fine for the first few weeks in a pan.
  • You can use gin instead of vodka but remember gin already contains its own aromatics so you’ll get a different flavour. Sloes and damsons work particularly well with gin.
  • If the fruit is quite hard then you need to break the skin to allow the flavours to mix – I do this by putting the fruit in a large freezer bag and bashing it a bit with the rolling pin. If you’ve stoned the fruit (or its a soft fruit) then there’s no need to do this.
  • You might want to strain through muslin or even a coffee filter before bottling if you want a really clear result. If you don’t mind sediment there’s no need to bother.
  • Be wise whom you share the vodka with; once people have tried some they’ll always be angling for another bottle.

An unexpected glut of cherry plums

Of what? Of cherry plums. What are they then?

The simple answer is they are plums that look like cherries and the trees can be found planted in many a street and garden mostly across the southern half of the country.

But you want to know more than that don’t you? Well then if you are sitting comfortably I shall begin.

© Danielle Harlow – Fotolia.com

We’ve lived in our house for nearly 12 years and when we arrived the garden was a bit ramshackle. It had been nice at one point I’m sure but the previous owner was rather old (he had lived his whole life in the house) and it had been left to get overgrown. Both garden and house were in need of a LOT of work. It was a great chance to start from scratch and not have to live with someone else’s idea of the ‘perfect’ terraced house. So we set to work. It took the best part of 8 years for the house to be completely finished and a bit like the Forth Bridge it’s now time to start decorating all over again (no walls to re-plaster though this time).

But I digress.

We have also made plenty of changes to the garden. Sadly the greenhouse hidden at the end was too rotten to save and the pond a little too large to look after. So they went. There were plants that were past their prime or couldn’t survive the severe trim they needed and others we didn’t know what to do with (or didn’t like – pampas grass anyone!). One of these was a quite young looking tree that didn’t show much promise; it was bolting for the light through the trees in our neighbours’ garden. The initial decision was that it would probably have to go. But we didn’t get round to it and then it was February and the tree came into blossom way before anything else giving a wonderful feeling of the approaching spring and providing some brightness in a wintery garden.    


The tree in blossom earlier this year


So it stayed. And each year the blossom has been wonderful, sometimes as early as January but never later than the end of February. The blossom is white and because it comes so early I started to assume maybe it was some kind of almond tree.Then we started to get fruit, not many at first and often hard and green with a small stone. It didn’t really look like an almond and I never got very far in trying to find out what it was.  


Plums on the tree in mid June

Then this year I became determined to find out what it was. I was spurred on by my day of wild food foraging but it wasn’t until I got a copy of The Forager Handbook (thanks @RachieGraham) that I was finally able to work out what it was. Some cross checking on the internet to confirm and just as the fruits started to be ready I knew at last that it is a cherry plum and that it is edible. And this year there seemed to be quite a lot of fruit.


Just some of the haul

So I started to collect the fruit, and I carried on collecting them, and on and on and on and on and on. And over about 3 days I collected about 15kg (I lost count somewhere I think). And then I needed to process them because eating 15kg of fruit straight off was not going to be a good idea. A couple of tweets later and I had recipes for pickled plums (thanks to @Weezos) and plum chutney (thanks to @TheAmpleCook) and some possible giveaways that in the end couldn’t be managed. Naturally I already had in mind some of my almost legendary fruit vodka so I got to work. Oh my and what work it was.    


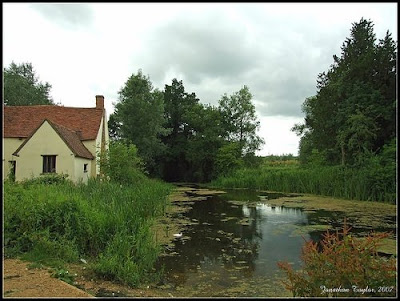
Bucolic England (Flatford Mill, 2007. copyright Jonathan Taylor (Flickr user Northstander)

When I was a ‘corporate slave’ I harboured dreams of having a little chutney and preserves business, because when you sit at a desk most of the day building spreadsheet models, writing reports and trying to keep 150 very nice solicitors in check your mind roams off into bucolic styled dreams of country England and domestic pursuits such as baking bread and making chutneys. Every now and then I would rustle up a batch of some kind of chutney and dish it out to delighted friends and family – it all seemed such fun. Well let me tell you its not so much fun if you have to do it day in day out. And I say that after only 2 ½ days of plum processing! I reckon that each kilo of plums equated to about 180 actual plums.    


Just some of the 2700 plums I stoned

So I’ve stoned 2,700 plums BY HAND. I’m surprised I haven’t developed RSI. And the thing is I reckon I only got about ¼ of the total possible harvest…why? Well the tree is against our fence so half of the branches are over next-door’s garden so there’s 50% I didn’t get and then I was only collecting those that fell and were in good condition and weren’t under a prickly shrub. I took a peak under one of the shrubs and there were loads more under there so I reckon I lost another 25% that way (of the total not of the remainder – see what all those years with spreadsheets did to me). So I guess the tree had roughly 60kg of fruit on – not bad for what used to be a gangly upstart that we nearly got rid of. 

Now I have pickled plums, plum chutney, plum vodka, plum compote, bottled plums (in sweet syrup) and I’m still collecting about 500g a day……more vodka with them I think as that’s the easiest to make.    


Here’s the final haul


So if you’ve got a plum or damson tree watch out because I think it’s going to be a bumper summer. And if you’ve not well then don’t go too mad at the fruit farm 2½ days of fruit processing is more than enough for anyone.

Here’s some ways to deal with your own fruit glut. I’d also recommend The River Cottage Preserves Handbook for good ideas.     

My Legendary Fruit Vodka


I don’t use fixed measure for this but ratios.

Select your fruit of choice and weigh it. They tip it in a large glass jar (e.g. a preserving jar with a clip lid).
Add between half to the same weight of sugar (I usually used granulated) depending on how tart the fruit is and how sweet you want the result to be.
Then pour over about 1 ¼ -1 ½ times the volume of vodka as you had weight of fruit; so if you had a 750ml bottle of vodka you’d be looking to find between 500-600g of fruit.
Add any extras you think you’d like, a shaving of lemon peel is good with damsons or sloes.
Stir it all round to get as much as the sugar to dissolve as possible.
Close the jar and leave for a minimum of 6 weeks.
Check regularly and shake to help the sugar dissolve. After the first 6 weeks test the flavour and either leave to extract more flavour or strain and bottle.
Leave the bottle to mature for a further few months minimum. It gets better with age if you can resist for long enough.

Tips:
    

  • If you haven’t got a large glass jar but have a glut of fruit you need to use up quickly then put everything a big non-reactive pan, cover and then track down a jar – it’ll be fine for the first few weeks in a pan.
  • You can use gin instead of vodka but remember gin already contains its own aromatics so you’ll get a different flavour. Sloes and damsons work particularly well with gin.
  • If the fruit is quite hard then you need to break the skin to allow the flavours to mix – I do this by putting the fruit in a large freezer bag and bashing it a bit with the rolling pin. If you’ve stoned the fruit (or its a soft fruit) then there’s no need to do this.
  • You might want to strain through muslin or even a coffee filter before bottling if you want a really clear result. If you don’t mind sediment there’s no need to bother.
  • Be wise whom you share the vodka with; once people have tried some they’ll always be angling for another bottle.


Plum Pickle (adapted from a series of Tweets by Weezos)


1kg plums
1ltr wine vinegar
500g sugar
100g salt
spices of your choice

Salting the plums

Stone the plums and place them in bowl sprinkling salt over each layer as you go. Leave for 12-24 hours.
Sterilise glass jars in an oven for 10 minutes at R2/150C and leave to cool.
Bring the vinegar, sugar and spices to the boil and simmer for 5 minutes. Allow to cool.
Rinse the salt from the plums and pack in jars. Cover with pickling vinegar.
Seal and allow to mature for a minimum of two weeks (longer is better) in a cool place.
Good with terrines and game dishes.     

Spiced Plum Chutney (thanks to TheAmpleCook)


Nearly ready for the jars


This recipe is from Delia Smith.

3lb plums
1lb apples
3 onions
3 cloves garlic
2 heaped tsp ginger
1lb seedless raisins
1lb soft dark sugar
1lb Demerara sugar
1 pint vinegar (recipe says malt I used cider)
2 tbsp salt
2 cinnamon sticks
1oz allspice berries
1 dsp whole cloves
large non-reactive pan
6 jars

Note: you can adapt the spices to a mix of your favourites but you need roughly the same quantity, for example I had a smoked chilli in mine, and coriander because I like them.

Put the spices in a muslin square and tie it tightly with string.
Stone the plums, finely chop the apples (cored but leave on the skins), finely chop the onions and put them all in a large pan.
Crush the garlic and add it, the raisins, ginger, sugars and vinegar to the pan. Sprinkle in the salt and stir well.
Suspend the whole spices in their ‘bag’ into the pan and tie to the handle for easy removal later.
Bring to the boil and then simmer pour about 3 hours until the vinegar has almost disappeared and you have a thick, soft chutney. Remember to stir occasionally to prevent sticking.
Sterilise the jars and fill whilst both they and the chutney are still warm.
Leave to mature in a cool place for a minimum of 3 months.


Just like ‘The Good Life’

Over the last few days I’ve been doing food related sort of ‘gardening’ activities. What exactly does that mean?

Well so far its involved visits to three garden centres, some internet surfing, the purchase of about 10 packets of seeds and one rather nice terracotta pot, oh and a little bit of time actually in the garden. All this because some nice mild sunny weather and those daffodil shoots and tree buds I mentioned in my last post mean I just can’t help but start thinking about what herbs and vegetables to attempt to grow this year.


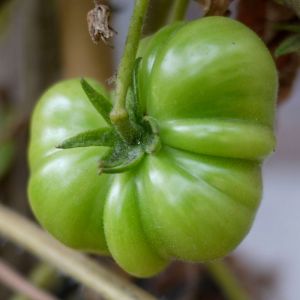
Last year we had a glut of very green tomatoes and a handful of red ones (just yummy) and we were still getting tomatoes ripening in late October. This wasn’t some special strain we’d tried but the summer weather, which never really got hot or warm enough for the tomatoes to ripen – made great chutney though.

This year there will be more tomatoes and we’re trying 
courgettes (yellow ones – how trendy!) and beans (I wanted the lovely striped red borlotti ones but couldn’t find any organic seed so had to settle for green). All to be grown from seed; credit crunch times call for cost cutting measures – a packet of seeds costs the same or less than little plants.

As well as the vegetables its time to replant the herb section of the garden. We’ve had rosemary, chives, sage and oregano for a long time but none of them do quite as well as we’d like so this year we (or rather my husband) are moving the herb bed to a slightly sunnier location; and anyway the birds that perch in the neighbours giant eucalyptus tree that partly shades the bed do untold damage to the herb plants rendering them pretty useless for cooking with. A new spot is being prepared with some good compost added (home made of course – there’s nothing as good as a bit of composting to make you come over all Richard Briars and Felicity Kendall) and the oregano and chives transplanted. The rest will be new plantings of parsley, coriander, sage and rosemary – again from seeds. 

So while the digging takes place I’ll be designing a giant spreadsheet of what seeds need to be planted when and the dates we might expect to be able to pick delicious home grown veg and herbs – or perhaps make another huge chutney batch!

And I haven’t even told you about the terracotta pot yet ?