Slow smoky BBQ brisket

Barbecue food has always created a bit of a debate in this house. I like it but Ian claims he’s not much a of a fan…I think this has more to do with the faff of lighting the barbecue than the food. Suffice to say the last time we used the barbecue was 2 years ago.

But everyone, just everyone, keeps going on about ‘proper’ barbecue and I’ve been watching too much Food Network recently and I decided we had to learn to barbecue. A recent visit form a good friend who likes to experiment with smoky barbecue flavours and my mind was made up.
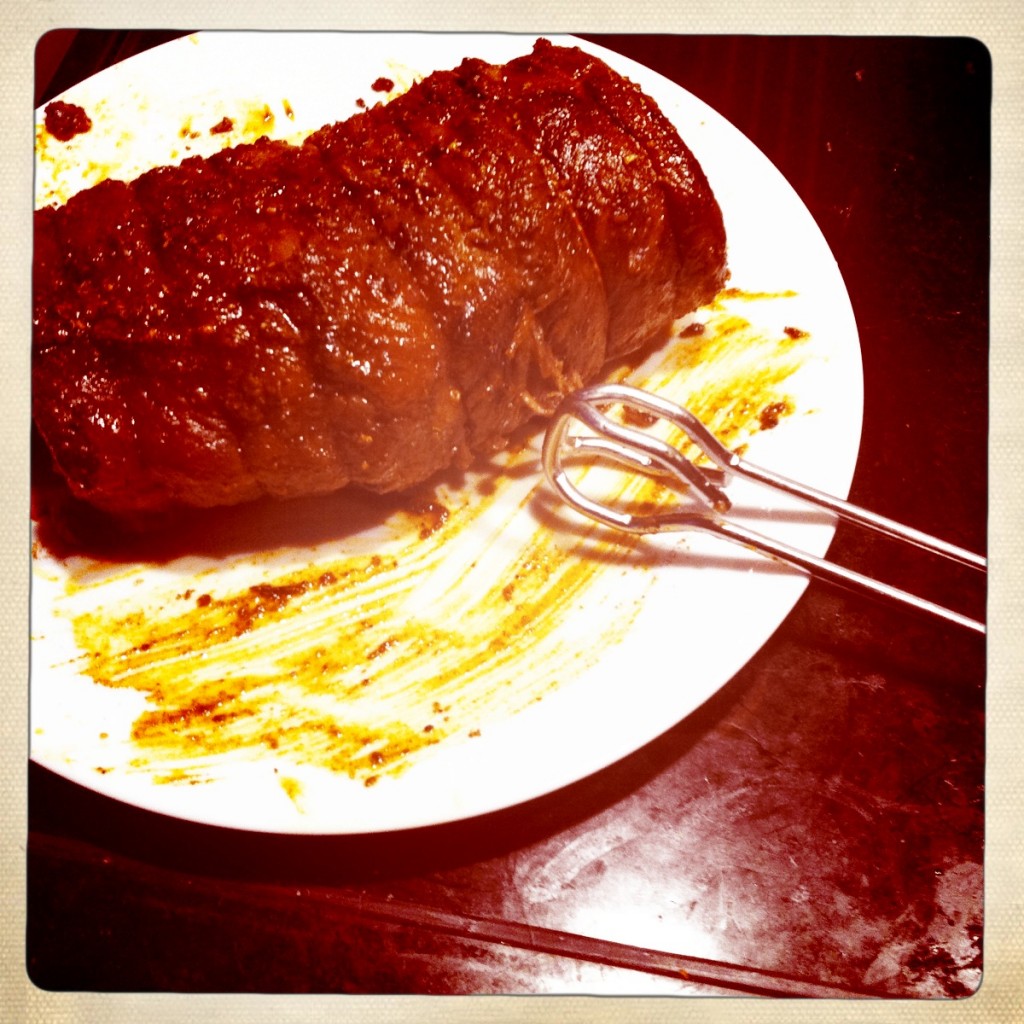
Ready to go on the BBQ

In the freezer was a piece of rolled brisket from the supermarket cheaps counter (i.e. the marked down stuff where you get real bargains if you arrive at the right time – a method of shopping perfected by my twitter chum Lynne and which I have been trying to emulate).
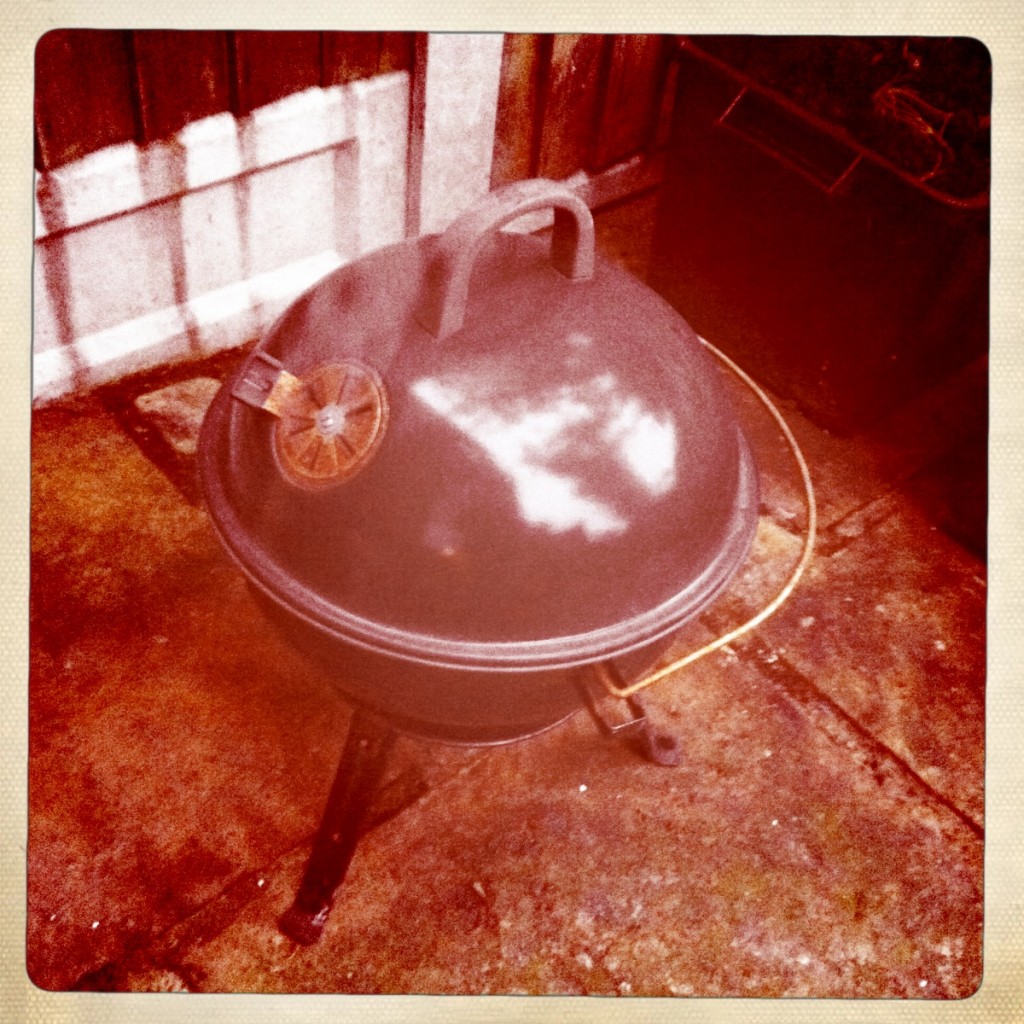
Smokin’ away

So we had brisket. I googled and whoa tons of links for how to barbecue it especially lots of slightly mad You-Tube clips. They all seemed to be talking about digging pits and cooking long and slow for 20+ hours. This seemed little excessive for a 1kg piece of meat…then I realised they were cooking about half a steer!

After a bit more searching I decided there were 5 key steps:

– marinating the meat in vinegar and spices (4-5 hours minimum for a piece the size I had)

– covering with some form of secret spicy rub

– cooking long and slow at a relatively low temperature

– getting smokiness into the meat – this could be at the same time as the slow cook or separately

– serving with a sticky sweet sour spicy barbecue sauce

So this is what we did:

– mixed some of TZ the Urban Spiceman‘s Dirty Liars Club spice mix with 4 tablespoons of white wine vinegar. Rolled the meat in it, covered and left for 5 hours to marinate.

– when it was time to cooke heated the oven to Gas 3 (150C)

– mixed the marinade with more of TZ’s spice mix and some oil and rubbed all over the meat

– placed the meat in a snuggly fitting oven proof dish, added 1 glass of red wine, covered and cooked for 3 hours

– with about 45 minutes to go we got the barbecue ready, light the coals and letting them burn down to the right level, we added some beech wood chips (you soak them first so they produce smoke rather than burn)

– smoked the meat on the barbecue for 40 minutes with the lid on

– reduced down the leftover cooking juices in the pan from the over cooking adding some of TZ’s Wor Sisters Sauce and some sugar to get a thick sweet sour spicy sauce

– let the meat relax for 10 minutes, cut in thick slices and served simply with boiled potatoes and buttered cabbage and the sauce on the side

IT WAS AMAZING
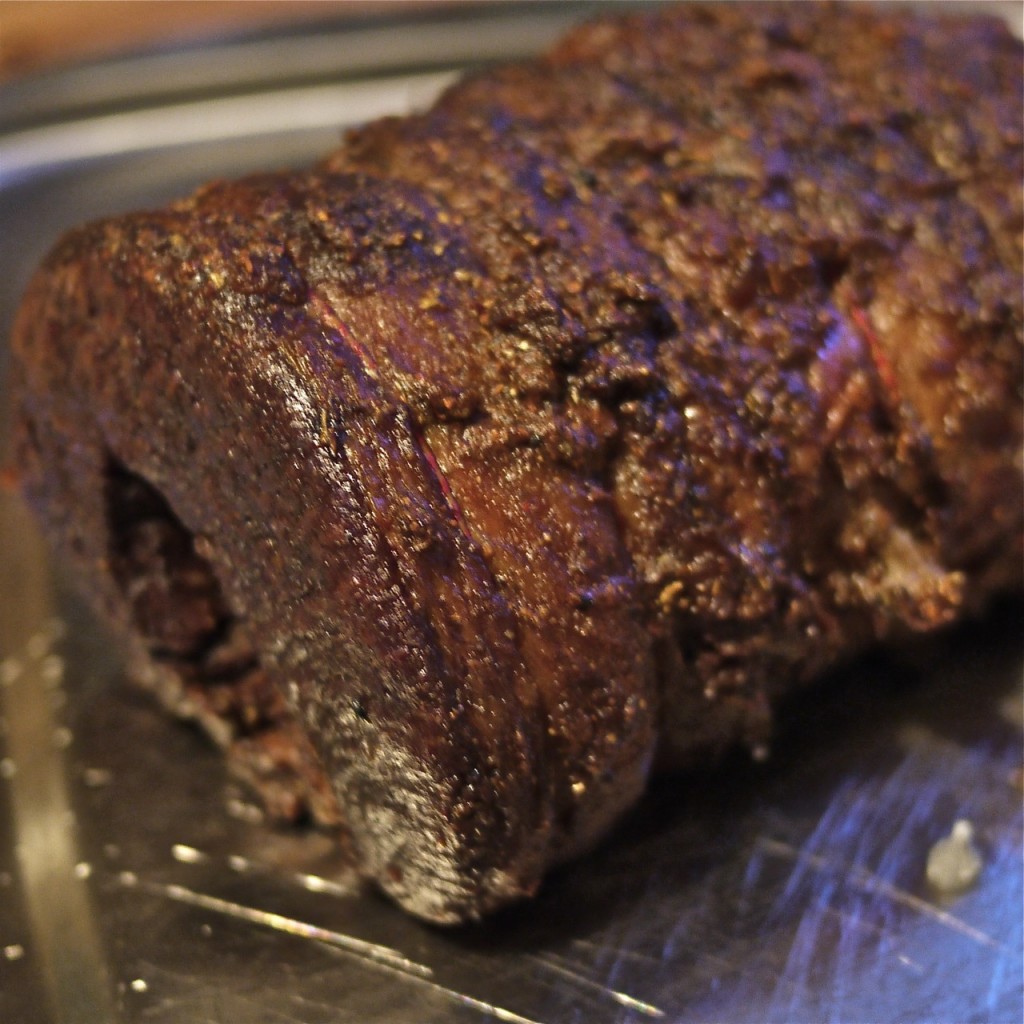
Ready to slice

There was plenty left so we had some in homemade buns with slaw and potato salad later in the week and finally we stir fried the last bits with greens, fresh ginger and garlic  and served on rice noodles.
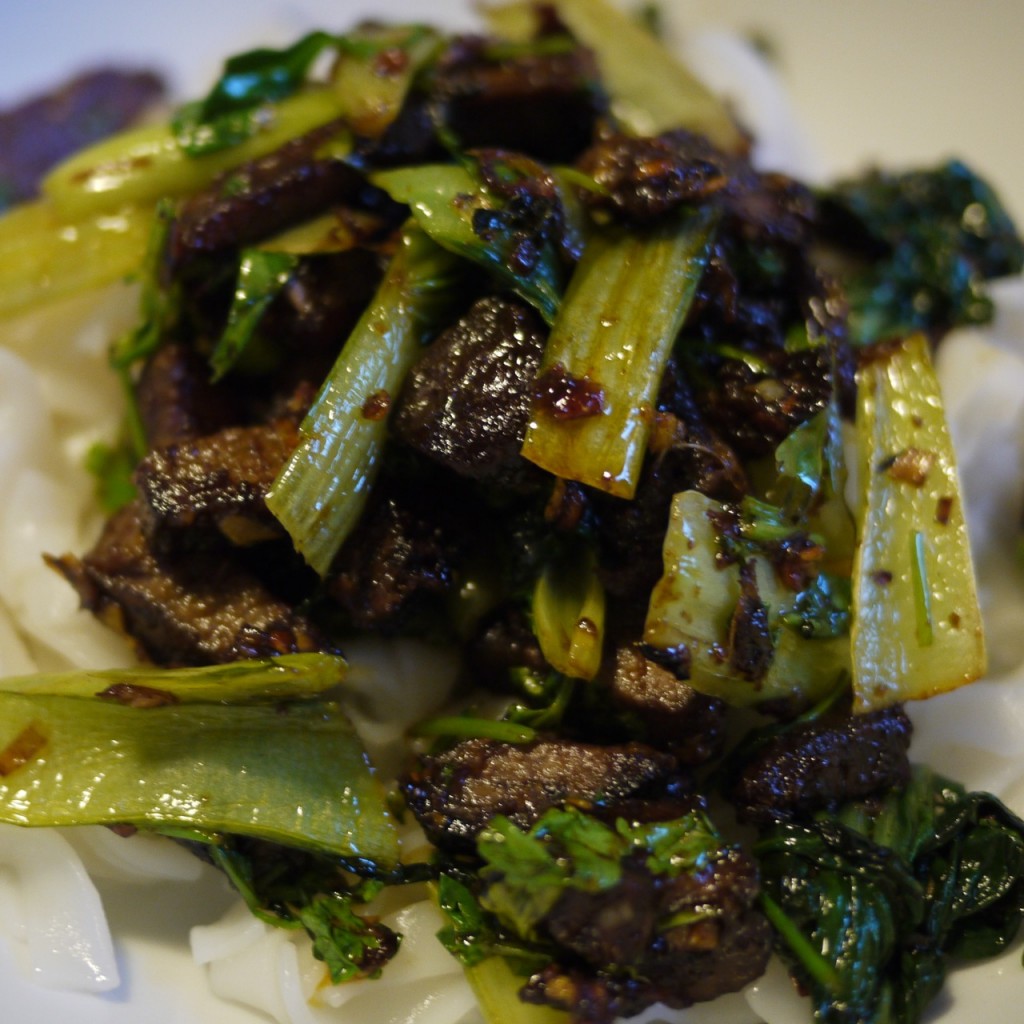
Leftovers made a tasty stir fry

So easy, so delicious. We are both now BBQ converts.


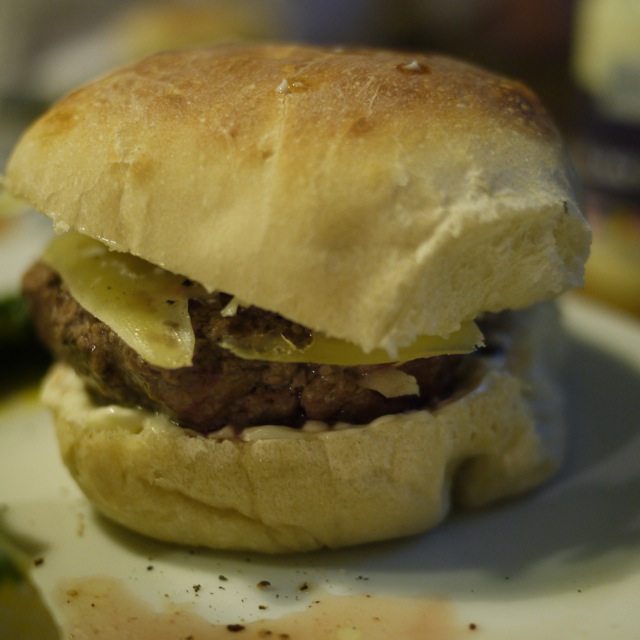
Burgers, three ways

When the Beyond Baked Beans team asked if I’d do a recipe that would appeal to students for their blog I was pleased but stumped. It’s a long time since I was a student and I was lucky (or unlucky) enough to get through Uni without having to cook much more than the odd slice of cheese on toast and the very occasional chilli. This isn’t because I lived at home rather its because I lived in college all three years and the college catering seemed to be modelling itself on a pretty reasonable hotel. And then each time I came up with an idea another faster more organised blogger had pipped me to the post. And so it is that I thought of burgers, something so easy to make I’d almost missed it….here’s the post I did for Beyond Baked Beans so that you too, as well as all those lucky students, can create your own delicious burgers.

Everyone loves burgers (well everyone who loves meat). Homemade ones are brilliant, once you’ve tried them you’ll never want to buy ready made again, because there is no point. They are really simple to make and they taste so much better.

You can mince the meat yourself but I’m guessing if you have a mincer you probably don’t need me to tell you about making your own burgers….

You should allow between 150g-250g of meat per person depending on whether you like small, medium or really quite large burgers. I find that 3 burgers from 500g is about right if you’ve got toppings and side dishes. Its also important that you go for the 20% fat mince, less fat and your burger just won’t be as juicy and tasty, burgers are not the place to be exercising fat content control. Get the best mince you can find it does make a real difference to the taste.

This is a kind of design your own burger recipe…..

Ingredients (for 3 people):

500g of mince (beef, lamb or pork)

1tsp to 1tbsp of herbs or spices to complement your chosen meat (see below for my favourite combinations)

salt and pepper

3 white buns or rolls, again the nicest you can find

cooking oil

condiments: mayo/ketchup/tomato/mushrooms/sliced cheese/bacon/lettuce/onion as suits you and the burger

sides: chips, coleslaw, salad etc

Method:

Break the mince up in a bowl, add salt and pepper and mix in. You can leave your burgers plain but I like to add some spices or herbs: add your herb/spice of choice, mix in and leave for 30mins to 1 hour for the flavours to mingle and then form the meat into three equal patties with your hands. You just need to squash and shape it and it will hold together fine. Aim for about 2cm thick and don’t worry if its not perfectly flat.

Pour some cooking oil onto a plate and coat each burger with oil by putting it on the plate and moving it about a bit on each side (don’t worry about the edges, just the flat surfaces).

Heat your chosen pan, a griddle plan will give you nice seared lines but a frying pan is fine. You don’t need any oil in the pan as you’ve already oiled the burger. When the pan is nice and hot put the burgers in. Turn the heat down about ¼ – ½ way. Leave the burgers alone to cook. After about 2-3 minutes they will be ready to flip and they will come away from the pan easily. Turn them over and leave again. This will give you medium-rare/medium burgers; cook for longer if you wish.

Serve on the buns with the condiments and side dishes of your choice.

Good spice/herb combinations are (picking just one usually works best). Use 1 tsp of spices (ready or freshly ground) or dried herbs and up to 1 tbsp of fresh chopped herbs:

Beef: chilli flakes or fresh chilli, coriander seeds or leaves, English mustard powder

Lamb: cumin seeds, coriander seeds, mint, oregano, rosemary

Pork: sage, smoky paprika

Think about how different cuisines spice their food and you’ll find plenty more options.

Fresh from the oven: Turkish Pide

I’ve been a bit remiss on contributing to the Fresh from the Oven challenges of late, I missed out on doing croissants and pizza, both things I really fancied trying. Well i did do the pizza but I forgot to blog in in time, oops!

So this month I got well ahead of myself and made the challenge almost week for the deadline instead of on the day!

The bread we baked was Turkish Pide and the challenge was hosted by Mrs Ergul.

I had a bit of fun with the US measurements getting muddled and almost using a whole stick of butter instead of half. But I got there in the end. The bread was really easy to make and very tasty. Mrs Ergul says the dough might be very wet but mine actually started off quite dry so I had to add more water to get it fairly sticky. I used my usual kneading technique of short gentle kneads spaced out through the rising.

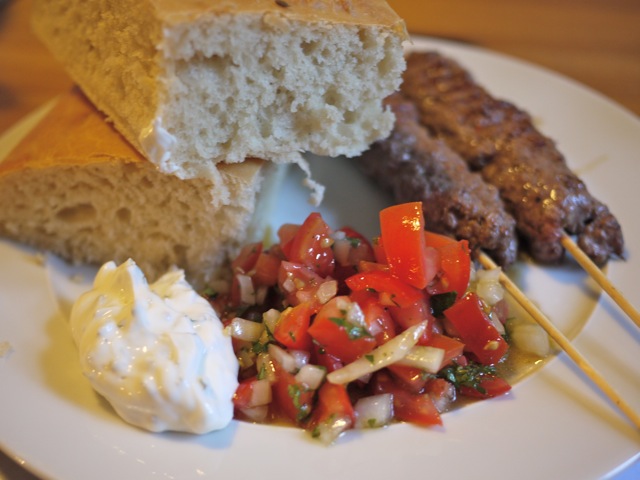
To go with the bread I made some Turkish inspired kebabs (minced beef, chilli, cumin and coriander), some minty yoghurt and some tomato and onion salad. It was very yummy and I think they bread’s soft texture would be great with burgers. We used up the rest of the bread with dips the next day.

Here’s the method as given to us my Mrs Ergul (with some UK annotations by me):

Ingredients:

4 cups (to 5 cups) All Purpose Flour (ie plain flour, I only needed 4 cups and I used a cup measure as I have a set. 1 cup is approx 130g of flour)
1 and 3/4 cups Warm Water (1 cup = 236ml)
1/2 stick Butter ( melted ) (1 stick = 113g)
1/2 tablespoon Instant Yeast
1 tablespoon Sugar
1/2 tablespoon Salt

Topping:

Black and White Sesame Seeds (I used cumin seeds as I didn’t have sesame seeds)

In a large mixing bowl, mix all of the dry ingredients
Add melted Butter and Warm Water into this mixture and knead
The dough should be sticky
Cover the bowl with a plastic wrap and keep it in a warm place for rising
Let the dough rise to double its size
Knead the dough again until it is bubble free
Place a parchment paper on a 13″ by 10.5″ baking tray
Take the dough to the tray and make it flat with your hands until it cover all of the surface of the tray
Dampen your hands with Water if the dough stick to your hands on this step
Then take a knife and give the dough square shapes going deep down
Sprinkle some Sesame Seeds on top
Preheat the oven to 350F (R4/180C)
Let rise the dough for half an hour
Bake it for 30 minutes or until the color of pide turns light brown
Take the pide out of the oven and let it cool for 20 minutes and cover it with a clean kitchen towel to keep it soft

Tweeting and eating, chilli

Some of you might have noticed that lately I’ve joined up on Twitter and I’ve been having fun seeing what its all about and chatting to like minded foodies, finding their blogs, seeing what people have to say. There’s certainly plenty of food talk going on in the Twitter-sphere.


Yesterday there emerged a series of tweets about making chilli. Now I love chilli but I haven’t made any for a good few months and as it was damp, drizzly day I decided maybe chilli was what was needed. We tweeted a bit about whether beans are authentic or not, which chilli peppers were good and on. Beans apparently aren’t ‘authentic’ although surely its hard to determine what is ‘authentic’ in a dish as mixed up as chilli is – do you want Mexican style, American style, Tex-mex, Heston Blumenthal style?! 

Last time I cooked chilli I used Hugh F-W’s recipe form his Meat Book. Its good. Very good. It’s a little different to your usual recipe calling for beef, pork and chorizo sausage (and beans) but I liked it. Never one to stick with something tried and tested I decided it was time for someone else’s recipe with, inevitably, a few of my own additions and subtractions; a recipe is a starting point not a checklist, discuss.


So with thanks to Dan (EssexEating) at www.essexeating.blogspot.com for pointing me to the Jamie Oliver recipe and Lizzie (hollowlegs) at www.lizzieeatslondon.blogspot.com for suggesting the chipotle and the beer, here is what I did. 


You need (adapted from Jamie Oliver – Happy days with the Naked Chef) – n.b. I did double this quantity but I like making a mountain of the stuff to freeze some: 

2 onions, chopped
1 fat clove of garlic, chopped
rapeseed oil (or olive – I used rapeseed)
2 tsp chilli powder – your favourite type and strength
1 fresh chilli chopped – I didn’t have this so used chipotle paste
1 heaped tsp crushed cumin seeds (or ground cumin if you don’t have seeds)
salt, pepper
1lb chuck steak (chopped small or minced) or best (organic if you can) minced beef (please not the ‘extra lean’ stuff though – you’ll lose out taste wise)
2 x 400g tins of plum or chopped tomatoes
½ stick cinnamon
2 x 400g tins red kidney beans, drained and rinsed (or of course use dried ones that you have soaked and pre cooked – about a million times cheaper probably)
about 300ml Mexican beer (in my case it was Peruvian – I didn’t want a whole case of Corona on my hands and there were no single bottles at the supermarket)

I had wanted to add smoked scotch bonnet peppers (not in Jamie) but as this was a late plan the local supermarket didn’t extend to that. Also Jamie adds 200g of ‘blitzed’ sun dried tomatoes – I didn’t do this, husband not a fan of sundried tomatoes. Also the beer is not in the Jamie recipe, but as I said a recipe is starting point in my view.

What to do:

  • Sauté the chopped onion and garlic in the oil until soft and translucent (about 5-10 mins).
  • Add chilli powder, fresh chilli (or chipotle paste in my case), cumin, salt, pepper and cook for about 1 minute (mmmm the spice aromas smell good).
  • Add the meat and cook until browned (about 10 minutes). Its at this point Jamie adds the sun dried toms – I didn’t.
  • Add the tinned toms, cinnamon and the beer (Jamie adds a wine glass of water).
  • Bring to boil, turn down so it’s just simmering, cover and cook for 1 ½ hours. Add the beans 30 minutes before the end. I had to uncover it for the last half hour, as it seemed too liquidy – do as you think best.

Serve with rice, guacamole, sour cream with fresh coriander and lime, cornbread or whatever your favourite trimmings are. Plus of course cold beer or a chewy red wine.

It was very different from the Hugh recipe but just as tasty – the chipotle added a nice smokiness, I think I went a bit light on the overall heat factor so would add more chilli powder or chilli’s next time or stronger ones. Eating it the same day is never the best thing with chilli, it seems to mature nicely if it’s left for at least a day – but its still good the day its cooked just not as good. And it always freezes well.

Ian’s secret cheaty meatball recipe

Last Thursday I was lucky enough to be treated my husband’s cheaty secret meatball recipe. For some reason when there’s meatballs to be cooked he always takes charge and I’m not allowed near – which is kind of great as I get to sit at the table and watch him work but means he can keep the exact recipe secret.

So how am I going to be able to share it with you? Well careful watching and tasting over many years has lead me to be able to identify the key ingredients (yes, meatballs is one of them) and below I’ve put down some basics that will allow you to create your own secret recipe based on this well tested original.

To start with you are going to need an onion, some tinned tomatoes (chopped or whole take your pick), some meatballs (that’s the big cheaty bit; get some good ready prepared raw meatballs). I’m mostly a Waitrose kind of girl so we have their beef, pork or lamb (all come in organic variants) to pick from – its another chance to make the recipe your own. The beef even come in two sizes, large and mini, the possibilities are becoming boundless.

Start cooking the chopped onion gently in some olive oil so it goes translucent (about 10 minutes) and meantime search in the store cupboard for your seasoning(s) of choice. This is when you can get creative. What meat are you using? Start from that, combined with your thoughts on what takes your fancy taste wise, to select your seasonings. Good options (though possibly not all at the same time) are tomato puree, oregano, thyme, chilli flakes, Tabasco, mushroom ketchup, thai fish sauce (but only a teeny bit).

The onions are looking nice and translucent – well now pop in the meatballs and brown them all over – about 5-10 minutes. Add the tinned tomatoes, seasonings of choice (plus salt and pepper of course) and perhaps a glug of red wine. Get it all simmering away, put on the lid and leave to cook for around 20-30 minutes.

Serve with pasta (spaghetti or tagliatelle) and as much parmesan as you like (proper stuff not the ready grated sawdust please – that’s cheating gone wrong – like so many things in life you have to know when to stop).

Last night we had the larger size of beef meatball (because they are on offer at the moment – 2 packs for £4.50) and I think the seasoning was leaning mainly to the oregano. Excellent as ever.

And there’s still some left for another day.

The dangers of dreaming of burgers


Sometimes you just NEED to have a burger in a bun for your supper. Well yesterday that was me.


A quick search in the freezer revealed some organic beef burgers that seemed to fit the bill – each quite small so it wouldn’t count as sheer greed but only mild gluttony to have two. 

So out they came to be defrosted during the day and sit winking at me from the counter each time I passed. I thought carefully about what condiments and sides should accompany them to add to the experience.  I spooled through ideas in my head remembering previous winning combinations and all the while the anticipation was building.

At last I settled on an ‘open burger’  – only 1 bun between two burgers so there would be no ‘lid’. Off I set to get some buns, choice was limited and I had to settle for wholemeal floured rolls (perhaps at this point I should have spotted that things might be about to go wrong but no I continued to think I was building the dream burger I craved).

Back home the burgers were cooked on very hot chargrill pan for about 5 minutes per side, each of the two sides of the bun was given a different treatment – one had mayo, one ketchup (find both of them at the Stokes brand of Essfoods) – and the side orders of saute portobello mushrooms and grilled baby plum tomatoes duly prepared. Then the whole things was rapidly assembled and whisked to the table to be greedily devoured.  

But something had gone wrong – perhaps not very wrong – after all I still managed to eat everything but some how it just didn’t cut it. The bread was tasteless and dry, the burger tasteless and kind of watery – its texture was fine but there was just nothing to the whole thing – no zing, no nice beefy flavour, no soft but fresh tasting bread effect. To be fair the mayo and the ketchup and the sides were great but instead of supporting a strong main act they were left to hold up the whole show on their own!

So the problem – well I can only think that the burgers didn’t stand up to the freezing very well on this occasion.  I’ve had the same burgers before both fresh and defrosted and they have been pretty good – not as good as if you made them yourself but there isn’t always time for that kind of thing.  And as for the buns well maybe wholemeal just doesn’t work with burgers – I love wholemeal bread but it doesn’t seem to do it on the burger front.

Or just perhaps, the fact I had been dreaming of perfect burgers all day meant nothing would live up to the expectation!