Burgers, three ways

When the Beyond Baked Beans team asked if I’d do a recipe that would appeal to students for their blog I was pleased but stumped. It’s a long time since I was a student and I was lucky (or unlucky) enough to get through Uni without having to cook much more than the odd slice of cheese on toast and the very occasional chilli. This isn’t because I lived at home rather its because I lived in college all three years and the college catering seemed to be modelling itself on a pretty reasonable hotel. And then each time I came up with an idea another faster more organised blogger had pipped me to the post. And so it is that I thought of burgers, something so easy to make I’d almost missed it….here’s the post I did for Beyond Baked Beans so that you too, as well as all those lucky students, can create your own delicious burgers.

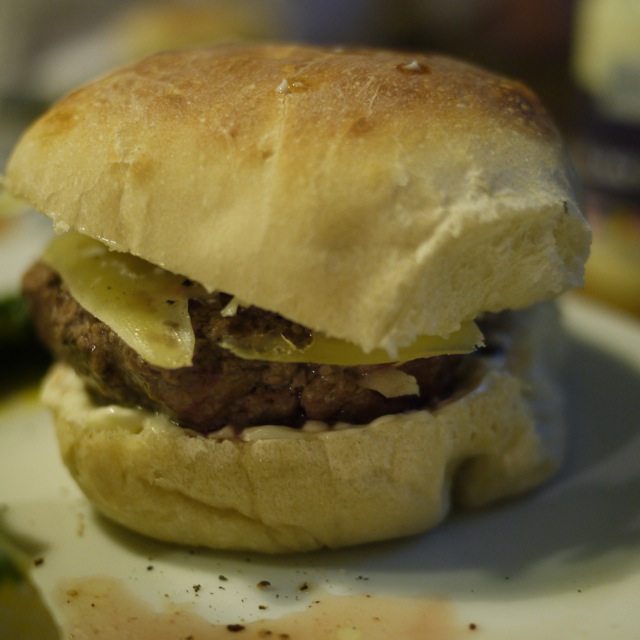
Everyone loves burgers (well everyone who loves meat). Homemade ones are brilliant, once you’ve tried them you’ll never want to buy ready made again, because there is no point. They are really simple to make and they taste so much better.

You can mince the meat yourself but I’m guessing if you have a mincer you probably don’t need me to tell you about making your own burgers….

You should allow between 150g-250g of meat per person depending on whether you like small, medium or really quite large burgers. I find that 3 burgers from 500g is about right if you’ve got toppings and side dishes. Its also important that you go for the 20% fat mince, less fat and your burger just won’t be as juicy and tasty, burgers are not the place to be exercising fat content control. Get the best mince you can find it does make a real difference to the taste.

This is a kind of design your own burger recipe…..

Ingredients (for 3 people):

500g of mince (beef, lamb or pork)

1tsp to 1tbsp of herbs or spices to complement your chosen meat (see below for my favourite combinations)

salt and pepper

3 white buns or rolls, again the nicest you can find

cooking oil

condiments: mayo/ketchup/tomato/mushrooms/sliced cheese/bacon/lettuce/onion as suits you and the burger

sides: chips, coleslaw, salad etc

Method:

Break the mince up in a bowl, add salt and pepper and mix in. You can leave your burgers plain but I like to add some spices or herbs: add your herb/spice of choice, mix in and leave for 30mins to 1 hour for the flavours to mingle and then form the meat into three equal patties with your hands. You just need to squash and shape it and it will hold together fine. Aim for about 2cm thick and don’t worry if its not perfectly flat.

Pour some cooking oil onto a plate and coat each burger with oil by putting it on the plate and moving it about a bit on each side (don’t worry about the edges, just the flat surfaces).

Heat your chosen pan, a griddle plan will give you nice seared lines but a frying pan is fine. You don’t need any oil in the pan as you’ve already oiled the burger. When the pan is nice and hot put the burgers in. Turn the heat down about ¼ – ½ way. Leave the burgers alone to cook. After about 2-3 minutes they will be ready to flip and they will come away from the pan easily. Turn them over and leave again. This will give you medium-rare/medium burgers; cook for longer if you wish.

Serve on the buns with the condiments and side dishes of your choice.

Good spice/herb combinations are (picking just one usually works best). Use 1 tsp of spices (ready or freshly ground) or dried herbs and up to 1 tbsp of fresh chopped herbs:

Beef: chilli flakes or fresh chilli, coriander seeds or leaves, English mustard powder

Lamb: cumin seeds, coriander seeds, mint, oregano, rosemary

Pork: sage, smoky paprika

Think about how different cuisines spice their food and you’ll find plenty more options.

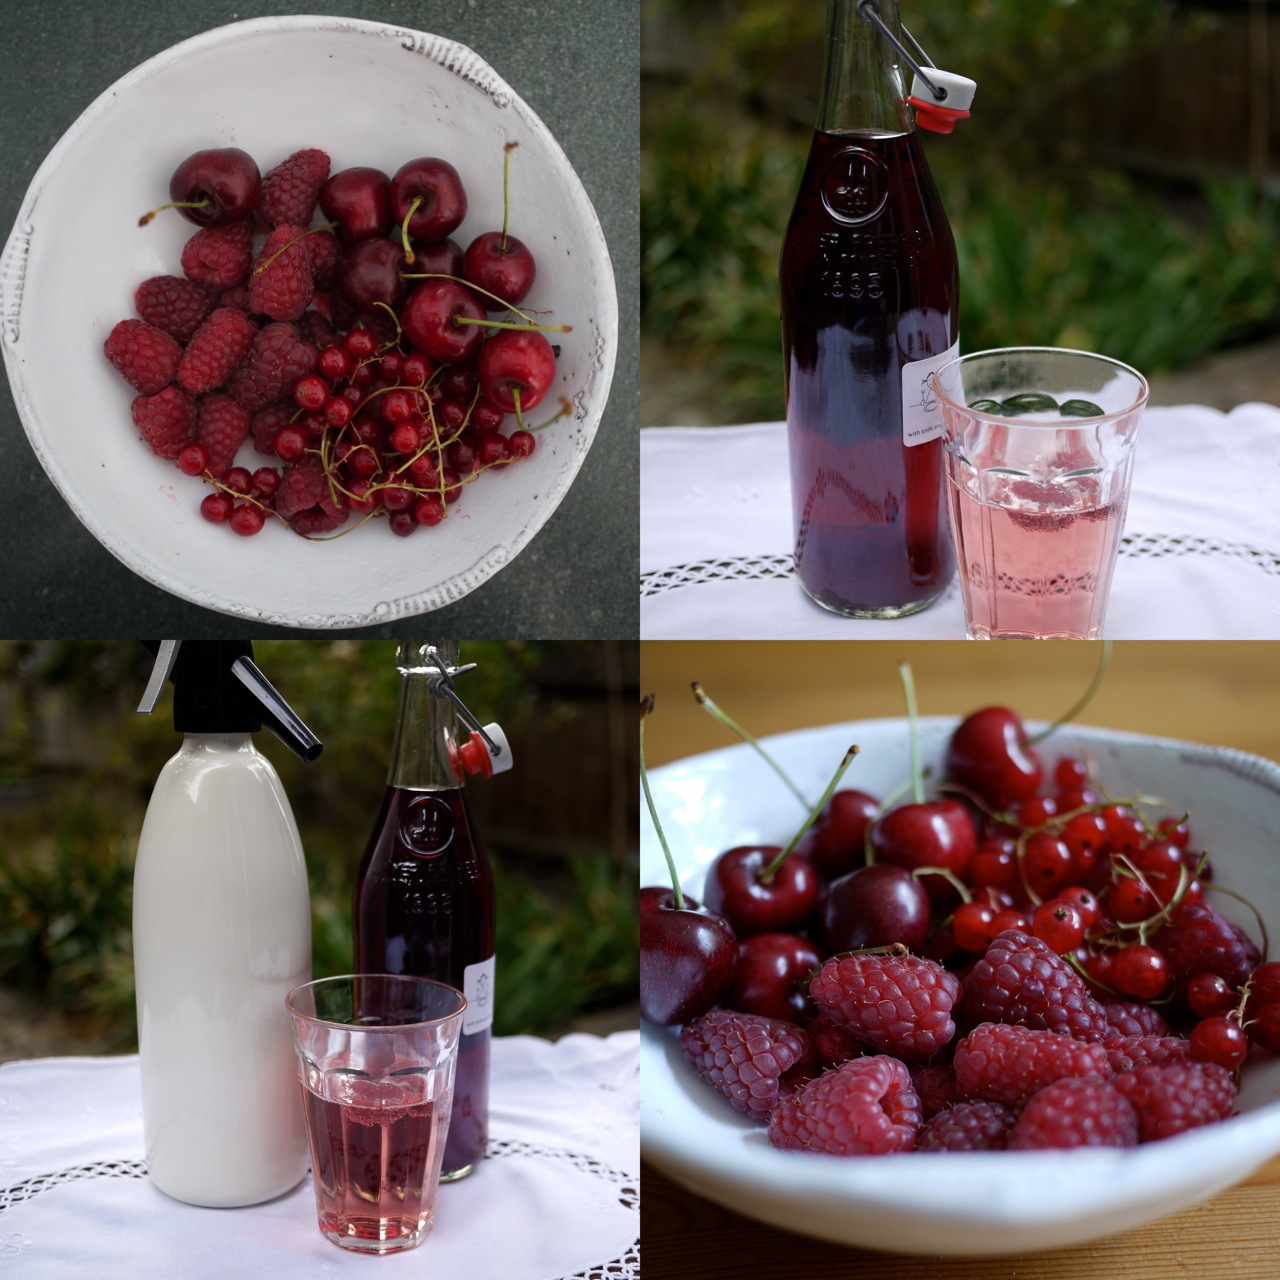
Mostly berries, some cherries and currants

At last the English fruit season has arrived. The gooseberries and strawberries are in full flow and the raspberries, cherries and currants (black, red and white) are all just starting to come into their prime. For all these fruits when the season starts and end is inevitably affected by the weather and where you are in the country, some have much longer natural seasons than others and making the best of each while you can is what its all about.

I like them fresh of course, or cooked in compotes, sauces and pies and some preserved to bring a little summer light into the autumn and winter. All these fruits are native to Britain in some form although the varieties we eat now hail from the experiments of plants-men across Europe and America. Cherries were being cultivated in Britain during the middle ages, gooseberries in the 15th century, black (and other) currants and raspberries in the 1600s. It seems that strawberries are very much the latecomers to the party only really becoming widely grown from the 19th century onwards.

I just can’t resist pinching a few cherries from the bowl each time I pass so they never last long enough to be made into anything, perhaps if I had a cherry tree I might manage to save a few for other things. This year I’m going to see if I can find enough (and not eat them all first) to try pickling some as I think they would be wonderful with a cooked ham in the depths of winter. And red, black or white currants are a tasty counterpoint to other fruits especially in summer pudding.

But truth be told its raspberries I love the most.

Fortunately the different varieties mean the season lasts from late June to Autumn. I have a theory that you are either a raspberry or a strawberry person at heart. Given a choice of both most people I know always plump for the same one, few dither, unsure as to which to have this time. Its not quite on the scale of a marmite love-hate thing but its there, strawberries OR raspberries is the way it seems to go. In Simply British Sybil Kapoor suggests raspberries are regarded with deep affection not adulation; I think she might be right.

Me, I’m a raspberry person through and through. The fresh fruit is better, the jam is better, better in tarts, just better. Faced with delicious, plump, wonderfully fragranced version of each raspberries always win and I’m happy to say no to strawberries even if there is no alternative. Their sweetness seems too saccharine, their texture odd; I like the slight tart edge and depth of flavour that even the sweetest raspberry has.

Although I’m not alone in this love of raspberries the majority seem to prefer strawberries seeing them as the perfect example of a British summer. The Johnny come lately to the table seems to have usurped the more historic fruit, with Bunyard musing in The Anatomy of Dessert why raspberries and cream are so much less popular than strawberries and cream. I suspect it’s that tart edge. He suggests a drop of champagne makes the raspberries more delicious. It might also be the connection raspberries have with use in tonics for the stomach and other ailments, but the old vinegar recipes I’ve found sound really refreshing as a drink and no comparison to the raspberry vinegar madness of nouvelle cuisine. And apparently made with malt vinegar it’s used to dress Yorkshire puddings!

Raspberry Vinegar

I love the wording of this early 1920’s recipe from Kitchen Essays by Agnes Jekyll:

“Take 1 lb. raspberries to every pint of best white vinegar. Let it stand for a fortnight in a covered jar in a cool larder. Then strain without pressure, and to every pint put ¾ lb. white sugar. Boil 10 minutes, let cool, and bottle in nice-shaped medium-sized bottles saved perhaps from some present of foreign liqueurs or scent. A teaspoonful stirred into a tumbler of water with a  lump of ice, or introduced to a very cold siphon, will taste like the elixir of life on a hot day, and will be as pretty as it is pleasant.”

In my case I suspect its memory that holds the key to my love of raspberries….a walk, some French cricket then picking raspberries from my grandad’s raspberry patch and having then at tea with thick golden Jersey cream. It sounds all rather grand and Merchant Ivory but it wasn’t, it was suburban Liverpool in the 1980s, you can grow great raspberries plenty of places if you try. I’m sure we only ever had the raspberries with thick cream, simple and delicious, maybe occasionally my grandad made a flan with them, one of those classic sponge flan bases you could buy and probably a teeny bit of jelly to hold the whole thing together, but there was still always served with Jersey cream. It sounds so retro now, raspberry flan, I’m sure its time for a reinvention…..I’m hoping to perfect one for the blog soon but initial trials are hampered by the raspberries constantly going missing….someone here clearly has a deep affection for them!

This blog post was first published in Francoise Murat & Associates July Newsletter.

Threes P’s Risotto and guest posting

I’ve been doing my regular post for Francoise Murat’s newsletter for a while now but recently I was asked to do a guest post for fellow blogger Jo, of Jo’s Kitchen, whilst she was away. So I thought why not its always fun to do a bit of writing elsewhere.

Here’s what I came up with for her….

With monotonous regularity someone somewhere will go on about how an education system founded in “the 3 Rs” is just what we need to get back to basics and raise standards. Its always worried me a little that these three R’s don’t all start with “R”, hasn’t anyone but me spotted or is it phonetics for adults. Perhaps, despite the huff and puff that is was better in the past, its assumed those basics didn’t ever get through and so none of us know that only Reading actually begins with the letter R and that wRiting and aRithmetic start with other letters than “R”. Granted the “W” in wRiting is pretty silent in pronunciation but the “A” in ARithmetic isn’t, although there is an argument the R is for ‘Reckoning’ not ‘aRithmetic’. But the fundamental point of the three R’s is: get the basics right and all the rest will follow as day follows night. There is at least a grain of truth….. click here to read more over at Jo’s Kitchen blog …..and you get to see inside the exercise books!

Elderflower rush

Its very nearly the end of the the elderflowers for this year, in fact in some parts of the country I’m sure they are already gone gone gone. But in a few places there are still some good ones to be found so if you are quick you might be able to grab a few flower heads and make cordial, champagne or…guess what……yes flavoured vodka.

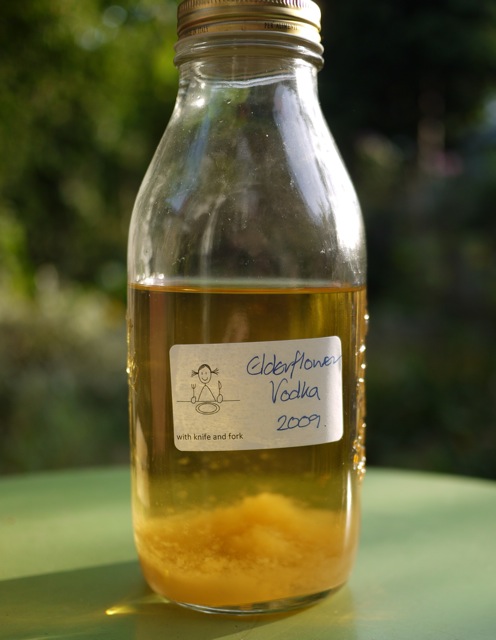
Somehow I seem to have gathered a reputation for all things flavoured voddy and a few people have asked for the method for doing an elderflower one. So here it is:

6-8 good size elderflower heads in full bloom
750ml – 1l of vodka – basic supermarket is fine
250g-300g granulated sugar
a large glass jar or a s/steel pan will do

Make sure there are no bugs on the elderflowers.
Put the sugar then the flower heads in the jar or pan.
Pour over the vodka. I don’t use citric acid like you are supposed to in the cordial because I don’t think you need it here.
Stir.
Cover.
Leave to steep for at least a week preferably three. It will go a very pale sand colour. Or possibly look like ditchwater. This is okay
Stir or shake if the jar has a good seal regularly to help the sugar dissolve.
Strain either just with a sieve (so expect a bit of debris) or through muslin/coffee filter for a clearer result.
Bottle.
Leave to mature for at least 4 weeks or longer, the longer you leave it the mellower it gets but as elderflower is delicate you don’t want to leave it for ages, sloes and damsons can mature for a couple of years and get better but this would lose its flavour.
Drink straight. Use as a mixer like you would cassis. Or give it as gifts if you make loads.

Here’s a blog post with my more general method and tips for flavoured voddies:

http://withknifeandfork.com/a-peek-in-the-pantry

Fresh from the oven: Turkish Pide

I’ve been a bit remiss on contributing to the Fresh from the Oven challenges of late, I missed out on doing croissants and pizza, both things I really fancied trying. Well i did do the pizza but I forgot to blog in in time, oops!

So this month I got well ahead of myself and made the challenge almost week for the deadline instead of on the day!

The bread we baked was Turkish Pide and the challenge was hosted by Mrs Ergul.

I had a bit of fun with the US measurements getting muddled and almost using a whole stick of butter instead of half. But I got there in the end. The bread was really easy to make and very tasty. Mrs Ergul says the dough might be very wet but mine actually started off quite dry so I had to add more water to get it fairly sticky. I used my usual kneading technique of short gentle kneads spaced out through the rising.

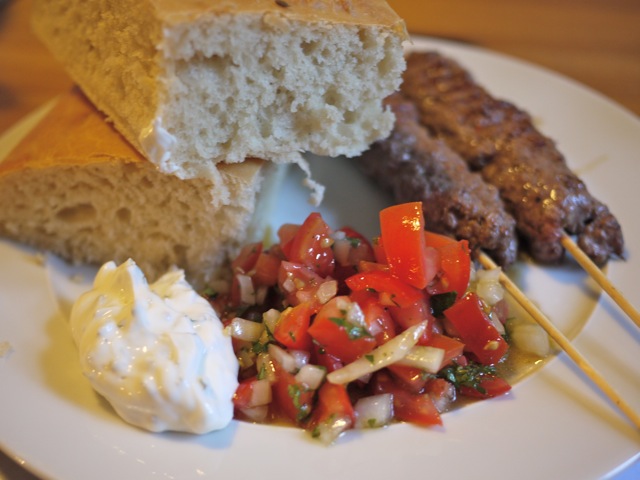
To go with the bread I made some Turkish inspired kebabs (minced beef, chilli, cumin and coriander), some minty yoghurt and some tomato and onion salad. It was very yummy and I think they bread’s soft texture would be great with burgers. We used up the rest of the bread with dips the next day.

Here’s the method as given to us my Mrs Ergul (with some UK annotations by me):

Ingredients:

4 cups (to 5 cups) All Purpose Flour (ie plain flour, I only needed 4 cups and I used a cup measure as I have a set. 1 cup is approx 130g of flour)
1 and 3/4 cups Warm Water (1 cup = 236ml)
1/2 stick Butter ( melted ) (1 stick = 113g)
1/2 tablespoon Instant Yeast
1 tablespoon Sugar
1/2 tablespoon Salt

Topping:

Black and White Sesame Seeds (I used cumin seeds as I didn’t have sesame seeds)

In a large mixing bowl, mix all of the dry ingredients
Add melted Butter and Warm Water into this mixture and knead
The dough should be sticky
Cover the bowl with a plastic wrap and keep it in a warm place for rising
Let the dough rise to double its size
Knead the dough again until it is bubble free
Place a parchment paper on a 13″ by 10.5″ baking tray
Take the dough to the tray and make it flat with your hands until it cover all of the surface of the tray
Dampen your hands with Water if the dough stick to your hands on this step
Then take a knife and give the dough square shapes going deep down
Sprinkle some Sesame Seeds on top
Preheat the oven to 350F (R4/180C)
Let rise the dough for half an hour
Bake it for 30 minutes or until the color of pide turns light brown
Take the pide out of the oven and let it cool for 20 minutes and cover it with a clean kitchen towel to keep it soft

Mutton dressed as lamb, why not go the whole hogget

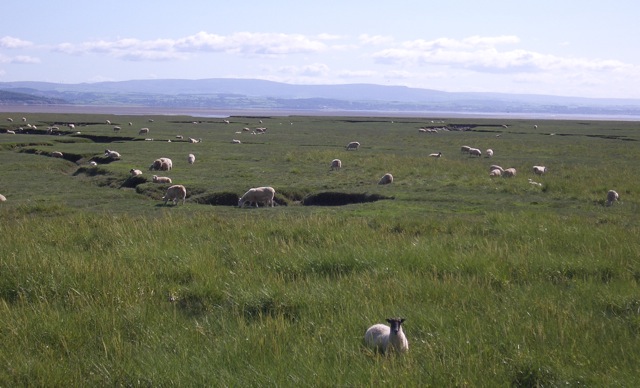
It’s late spring (well it was when I wrote and it was published, we’ve now just edged into summer) and a time many of us associate with lamb, in fact, it’s common to think of lamb as a traditional dish for Easter. A moment to pause and think about this should make us wonder why? Easter can be as early as 22 March and as late as 25 April; and we mostly all know that spring is when lambs are born so how are these lambs old enough to be ready to eat by Easter? Well they aren’t. The lamb that is marketed early was born in autumn and there are some breeds where this is the norm (primarily Dorset breeds such as Down, Horn or Poll). But not that many so unless you are sure of your source you might be paying a premium price for lamb that has been ‘encouraged’ to lamb in the autumn and then had an indoor life fed on concentrated feeds such as soya pellets. Not perhaps as natural as you might hope. Like almost anything in food it pays to know the provenance of what you are buying including when things are truly in season and what might have been involved to bring them to you essentially ‘out of season’. So the majority of British lamb is not yet ready for the table but will start to be when we get near the end of June and into July, at its best by September when it will really pays to explore different breeds that have been grazing outdoors on their local flora for a good 5-6 months; then you’ll be able to taste the effects of grazing on salt marshes or moorland, highland or lowland.

Salt marsh sheep

But what to do until then, after all it feels like it should be time to have some lamby dishes whether British inspired or from further a field. Well you can seek out some lamb from breeds that do naturally lamb in the autumn, as the meat will be top notch right now. You could simply wait and bide your time. You could buy New Zealand lamb; no don’t do that! Although excellent from good producers on its home soil it’s almost impossible to know in the UK whether you are buying good, indifferent or poor quality. Or you could try British reared hogget or mutton instead. Technically a hogget is a sheep between 1 and 3 and mutton is 3+ years old.

Ah mutton yes. I know I’ve immediately conjured pictures of old good-for-nothing stringy over cooked meat, Mrs Beeton and over boiled vegetables! Of course this is not the case mutton is as delicious as lamb, just different. As Hugh Fearley-Whittingstall points out (in his seminal The River Cottage Meat Book, highly recommended for all matters meaty) “mutton is to lamb, as beef is to veal”, both have a place but one is fuller in flavour the other more delicate. It seems that somewhere along the way we have lost this notion of mutton as delicious and now we even use lamb to make hot-pots, or ragouts. There has been a shifting in attitude since 2004 when Hugh first wrote his book with the likes of Farmer Sharp championing mutton with chefs and the public alike. But essentially mutton is still seen as the speciality and lamb the ‘regular’ option. This makes no real sense, many recipes that call for lamb use robust flavours that will simply drown the delicate flavour of even the best quality lamb, and the lack of sufficient fat means that lamb actually won’t respond well to some of the cooking methods. Best then to save the lamb for a special treat, cooked simply at its prime from July to September and instead invest in some mutton for your summer inspired dishes.

Good mutton doesn’t have to be cooked until its gray either (or indeed ever) a joint of hogget or ‘young’ mutton (3-4 years old) will work well roasted or barbecued but still left pink, it has a good balance of sweet fat to meat meaning it will be more succulent than pretty much any lamb would be right now. So for the next month (and most of the rest of the year) while we wait for lamb to really be in its prime why not try a cut of mutton?

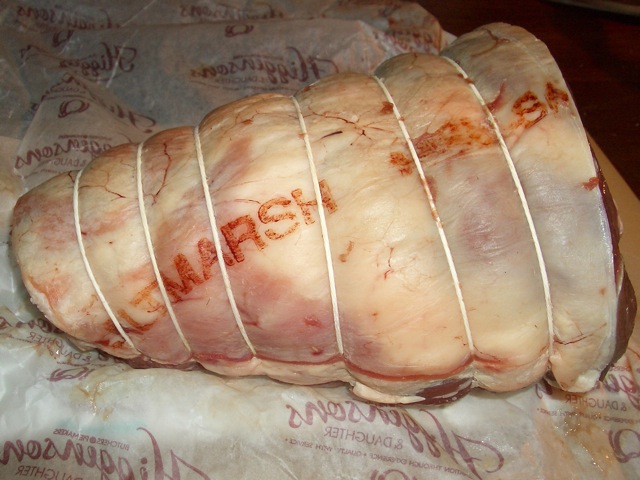
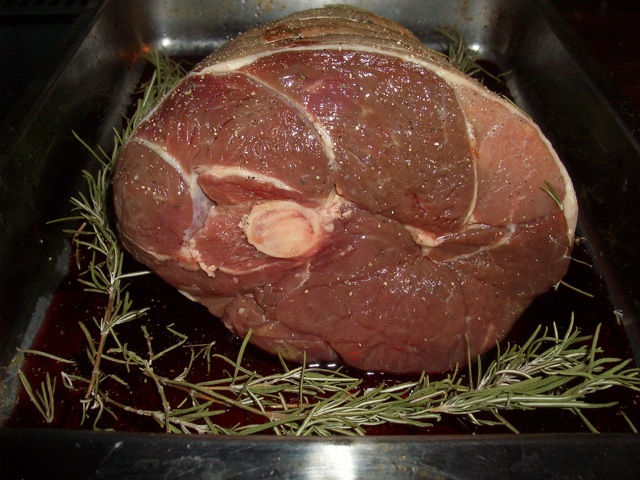
Waiting to be butterflied

Boned, butterflied leg or shoulder of mutton

½ – 1 leg or shoulder of mutton

½ bottle of red wine (right now its English wine week so you might want to track down an English red)

4 large sprigs of fresh rosemary

6 black peppercorns

1 – 2 tbsp oil (I use extra virgin rapeseed)

peel of an orange or lemon (only the outer surface not the pith, easiest done with a sharp potato peeler)

  1. If your butcher hasn’t already then bone the leg or shoulder and open it out to create one large flat piece of meat. Place the meat skin side down and slash the meat side in a criss-cross pattern to a depth of about 1cm at about 4cm intervals.
  2. Pout the wine in a dish big enough to fit the meat in flat, add the peppercorns, rosemary sprigs and orange peel. Lay the meet in the dish meaty side down and leave to marinate for at least a couple of hours.
  3. When ready to cook heat a barbecue or cast iron grill pan until hot. Remove the meat from the marinade and pat off any excess. Leave the peppercorns, rosemary and peel in the wine for now.
  4. Place the meat on the barbecue or griddle skin side down to start and turn regularly to cook from both sides until it’s done to your liking. This can take anything from about 25-45 minutes depending on the thickness of the meat and how pink you want it to be.
  5. While it’s cooking reduce the wine on a fast boil (remove the other ingredients) to concentrate the flavours add a tablespoon or two of oil near the end and stir vigorously to help the mix emulsify and create a glossy slightly thicker sauce.
  6. Slice the meat into pieces about ½ cm wide and serve with the sauce, a green salad or steamed vegetables and a big bowl of buttered new potatoes.

You can find out more about mutton and places to buy at www.muttonrenaissance.co.uk

This article was first published in Francoise Murat & Associates newsletter.

Eating Norwegian for Eurovision, naturally

Its Eurovision time again. Tonight. In Oslo. Surely you are going to be watching? And you’ll need something to eat whilst the 25 contestants do their stuff followed by the age long voting process. So how to decide what Eurovision dish to have. Well you could rustle up a menu from the cuisine of the country you are supporting, you could just have something random and un-Eurovision related or you could try something from the cuisine of host country Norway.

Some of you might be saying ‘what Norwegian cuisine, isn’t it just herrings and meatballs?’ Apparently not according to Signe Johansen of the blog Scandilicious, and currently working on her first cook book. She’s already ranted on the very topic at the Real food Festival recently and she’s one a number of people championing Nordic cuisine as being seasonal, tasty and good for us too. Another champion of Scandinavian food is Trina Hahnemann, Denmark’s own Delia apparently (wonder how she feels about that!). Trina has had two books published in the UK in the last 18 months and both have plenty of recipes to whet the appetite for a fresh regional cusine that not Mediterranean. Even Jamie Oliver cooks Sweden in his latest book and series.

Regular readers will know that I’ve sampled various Norwegian dishes before, and that I have a particular penchant for the curious thing that is brown cheese (gjetost). But always keen to explore more, particularly if there is cheese on the menu, I jumped at the chance to attend a cooking demo and lunch with Trina being held at Madsen earlier this, especially because it was in association with Jarlsberg cheese.

Its not that Jarlsberg is new to me in fact I’ve been eating it from back in the days when it could only be bought in the food halls of smart department stores (all good department stores used to have rather nice food halls back then). My Dad used to buy it and rather lovely German style rye bread and it quickly became a staple on sandwiches. For whatever reason that’s kind of where it stayed. It never occurred to us to cook with it, and so it has remained in my mind a cheese for pairing with good bread and tomatoes but not one that is cooked with.

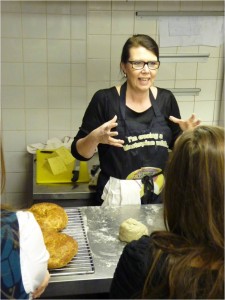
Until the lunch spent with Trina. To start off Trina explained a bit about how Jarlsberg is made (the exact recipe is a secret of course!), the process and ageing are like Gruyere and in fact the gentle nutty flavour and texture are very similar. Had I spotted this similarity myself I might have thought of cooking with it sooner. We then moved on to the demo where Trina made a cheese bread and a rye based pizza using Jarlsberg. I can hear the traditionalists howling at the very idea of the latter and Trina was mindful that it was a dish inspired by pizza but made with ingredients more traditional to Scandinavian food. I was a little sceptical, I love rye bread, I love pizza but I wasn’t sure how the two would fare together. Whilst Trina finished off the other elements of our lunch we all went back up to the restaurant where we sampled beers from AERØ. The food started to arrive and Trina came back to join us. We had a huge spread of citrus cured salmon with scrambled egg, Jarlsberg bread, rye pizza with bacon potatoes and Jarlsberg, a kale apple walnut and Jarlsberg salad, crispbreads, huge hunks of Jarlsberg, a variety of AERØ beers, tomato salad, plum compote and…..as you can imagine we were pretty full by the end. Trina was great company telling anecdotes about cooking in Denmark and also a font of useful information about Scandinavian cuisine.

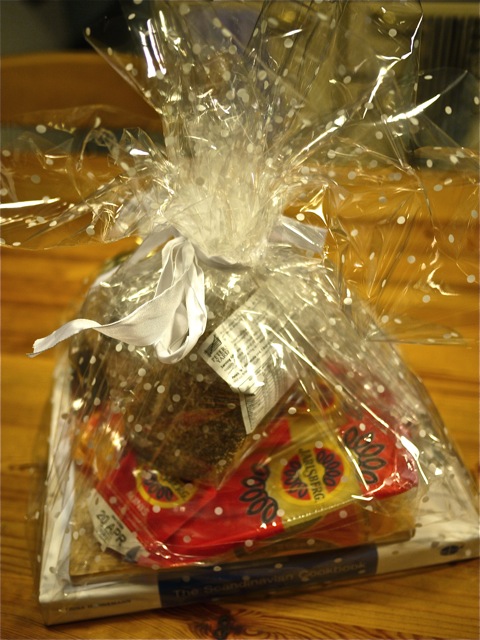
After coffee we were packed off with giant goodie bags. And in my case a new set ideas for a cheese I’ve been a fan of for many years. For all you doubters the rye pizza was delicious, very hearty and full of flavour and just what you probably need for a long evening in front of the Eurovision.

You can find the recipe here on the Jarlsberg site.

With thanks to Jarlsberg, Trina Hahnemann and Madsen for hosting a great event.