Beautiful soap

I’ve mostly been a shower gel kind of girl and have been for a long time.

Soap is fine for hands but I find it too drying otherwise.

Well not anymore, because I found these:

P1030716_2

Not only are they beautifully wrapped they are also wonderfully gentle on the skin.

At the moment I’m using the top one which is organic lavender. I can’t decide whether to use the plummy berry scented one next or the sophisticated scented rainbow.

They are handcrafted by Leaf House in Suffolk. I’m also slightly addicted to their baby lotion and rescue cream.

You can buy online or from their market stall in Bury St Edmunds.

Here’s to lovely soaps.

Letterpress inspiration (Mr Smith)

I’m sure I’m always going on about this but Twitter is great for finding interesting stuff…and the other day after I’d tweeted my previous post via the twitter airwaves I found this

[youtube http://www.youtube.com/watch?v=FWszb97fG-A]

which I loved, especially the bit where he’s setting up the letters before he prints, it can take ages but even though I’m new to it all you get totally absorbed.

Oh and I love his workshop – wish I had one like that.

First ‘proper’ letterpress project

For my first real project I decided to use a nice big block so it would be relatively easy to set up the forme and lock the block in the chase (see look technical terms I didn’t know existed only a few months ago).

I decided to try it across a variety of papers I already had to hand and as I’d only got one ink (Paynes Grey), well I used that.

And goodness did I learn a lot.

Like its not as easy to pad the bed as I thought (and get an even impression). Old blocks are unlikely to give you the sought after impression in the paper. Smooth paper gives a better print (than textured) if the block is detailed like this one. And ink takes an age to dry on modern shiny paper takes. And its really easy to get ink everywhere.

All of which I’m sure an experienced letterpress person could have told me in five minutes, but hey sometimes its fun finding out for yourself.

25 May: PS – just to be clear the block is a vintage one I bought not one I designed, I’m not that advanced yet :(

addendum (8/6/11):

ink colour: Paynes Grey

ink make: Stay Open by Hawthorn Printmakers Supplies

paper: Concord index card 6 x 4

Egg and cress

Egg and cress makes me think of summer.

I love it in sandwiches (I know lots of people don’t). Especially on a nice crispy white roll or baguette.

But recently I’ve been flipping through @Scandilicious new book The Secrets of Scandinavian Cooking and there’s quite a few open sandwiches with an eggy theme.

So I decided why not try egg and cress on lovely @PetersYard crispbreads for a quick lunch.

P1030836

Wow it was fab. Helped of course that I had home grown cress and bantam eggs gifted from a friend.

Perfect with some crunchy breakfast radish on the side.

For a filling lunch for 1 you need:

2-3 bantam or small hens eggs, hardboiled

your favourite mayonnaise, a good dollop

1 tub of cress

3 Peters Yard crispbread or some slices of sourdough or rye bread

Chop the hard boiled eggs in with the mayo , stir in pepper and cress. Pile on bread or crispbreads, garnish with more cress and serve with crispy radish or some tomatoes

Making paneer

I LOVE cooking curry, its so much better when you make it yourself. And it also means you can use an ingredient I don’t think you see enough of in menus and that’s paneer.

Better still paneer is really easy to make yourself so you can feel super smug home-made curry AND home-made paneer.

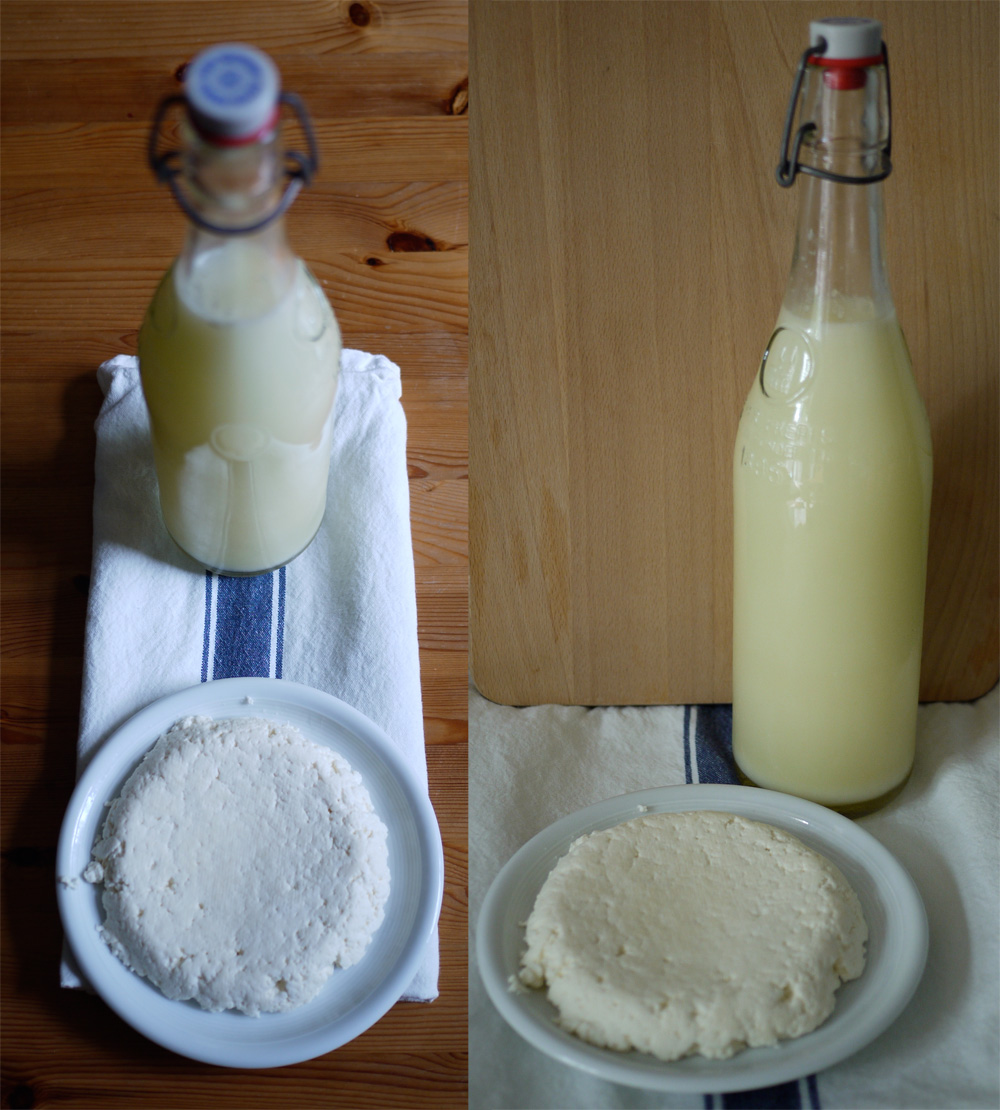
Panner and whey

So last time I fancied curry I decided I’d do some paneer. I got a bargain carton of proper whole milk in the supermarket reductions and I was away.

Paneer (makes enough for 1 main dish curry for 2-4 depending on what else you serve)

2 pints whole milk
2 tbsp lemon juice

1. Heat the milk in a pan until it comes to a boil. stir it to prevent it burning.
2. Turn the heat right down and add the lemon juice stirring as you add it. Turn off the heat.
3. Continue to stir off the heat whilst the curds form.
4. When the curds have separated leave to stand for 10 minutes.
5. Carefully spoon the curds into a muslin lined colander or sieve. Fold the muslin over the top and weigh down with a plate a tin.
6. Leave to drain and firm overnight.
7. Unwrap and store in the fridge covered until needed. It will keep for two weeks.
If the curds don’t separate properly initially then add a little more lemon juice and reheat.

I used the whey in bread making, it gives a lovely loaf for toasting.