Slow smoky BBQ brisket

Barbecue food has always created a bit of a debate in this house. I like it but Ian claims he’s not much a of a fan…I think this has more to do with the faff of lighting the barbecue than the food. Suffice to say the last time we used the barbecue was 2 years ago.

But everyone, just everyone, keeps going on about ‘proper’ barbecue and I’ve been watching too much Food Network recently and I decided we had to learn to barbecue. A recent visit form a good friend who likes to experiment with smoky barbecue flavours and my mind was made up.

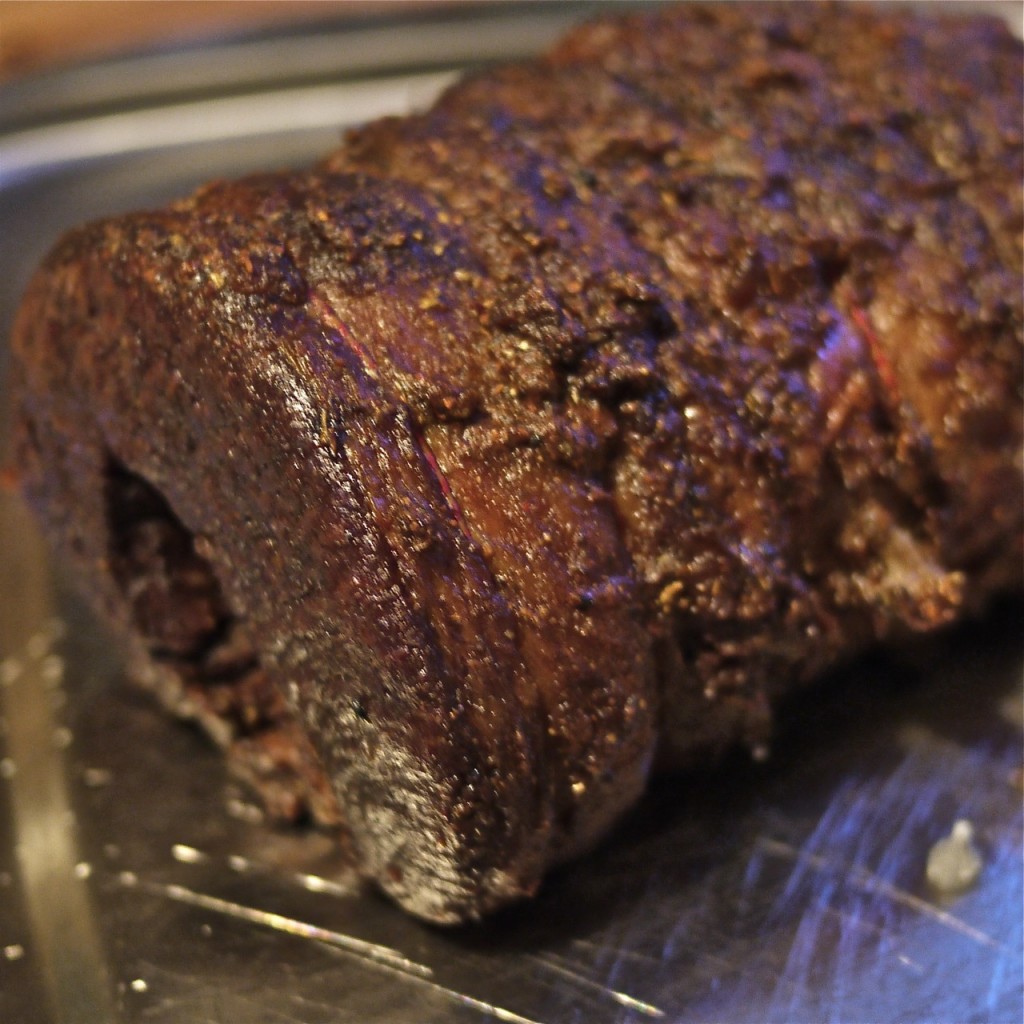
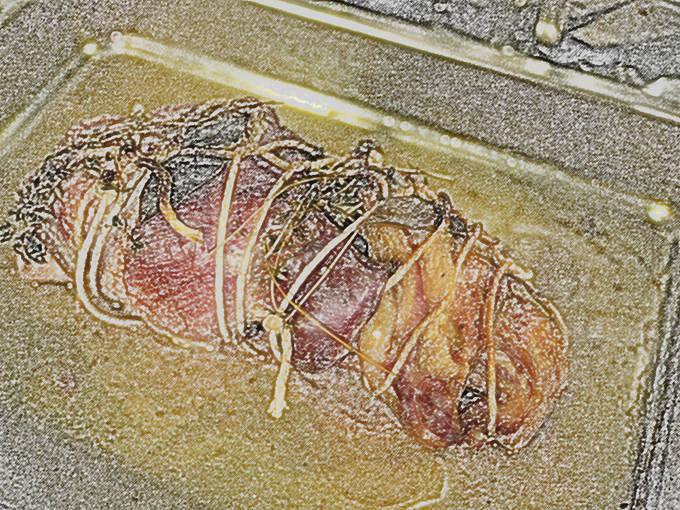
Ready to go on the BBQ

In the freezer was a piece of rolled brisket from the supermarket cheaps counter (i.e. the marked down stuff where you get real bargains if you arrive at the right time – a method of shopping perfected by my twitter chum Lynne and which I have been trying to emulate).

Smokin’ away

So we had brisket. I googled and whoa tons of links for how to barbecue it especially lots of slightly mad You-Tube clips. They all seemed to be talking about digging pits and cooking long and slow for 20+ hours. This seemed little excessive for a 1kg piece of meat…then I realised they were cooking about half a steer!

After a bit more searching I decided there were 5 key steps:

– marinating the meat in vinegar and spices (4-5 hours minimum for a piece the size I had)

– covering with some form of secret spicy rub

– cooking long and slow at a relatively low temperature

– getting smokiness into the meat – this could be at the same time as the slow cook or separately

– serving with a sticky sweet sour spicy barbecue sauce

So this is what we did:

– mixed some of TZ the Urban Spiceman‘s Dirty Liars Club spice mix with 4 tablespoons of white wine vinegar. Rolled the meat in it, covered and left for 5 hours to marinate.

– when it was time to cooke heated the oven to Gas 3 (150C)

– mixed the marinade with more of TZ’s spice mix and some oil and rubbed all over the meat

– placed the meat in a snuggly fitting oven proof dish, added 1 glass of red wine, covered and cooked for 3 hours

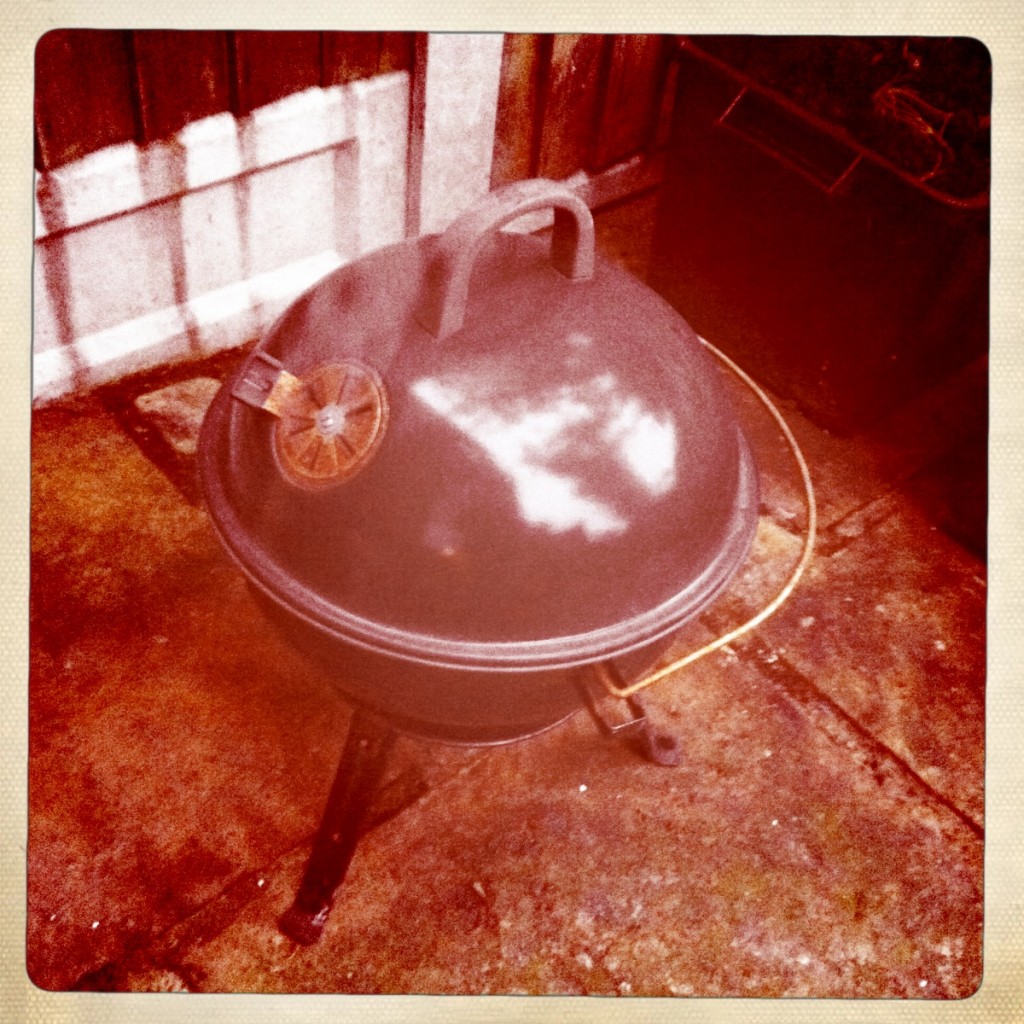
– with about 45 minutes to go we got the barbecue ready, light the coals and letting them burn down to the right level, we added some beech wood chips (you soak them first so they produce smoke rather than burn)

– smoked the meat on the barbecue for 40 minutes with the lid on

– reduced down the leftover cooking juices in the pan from the over cooking adding some of TZ’s Wor Sisters Sauce and some sugar to get a thick sweet sour spicy sauce

– let the meat relax for 10 minutes, cut in thick slices and served simply with boiled potatoes and buttered cabbage and the sauce on the side

IT WAS AMAZING

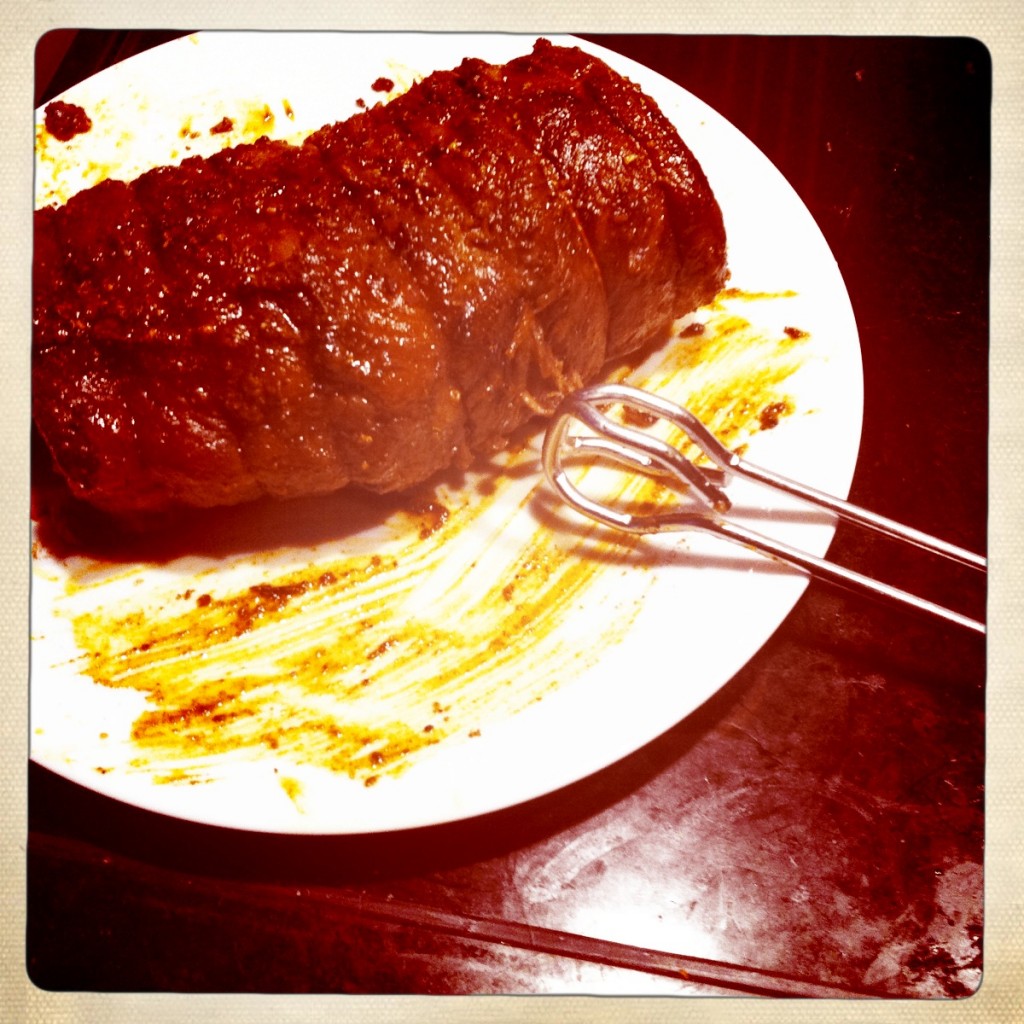
Ready to slice

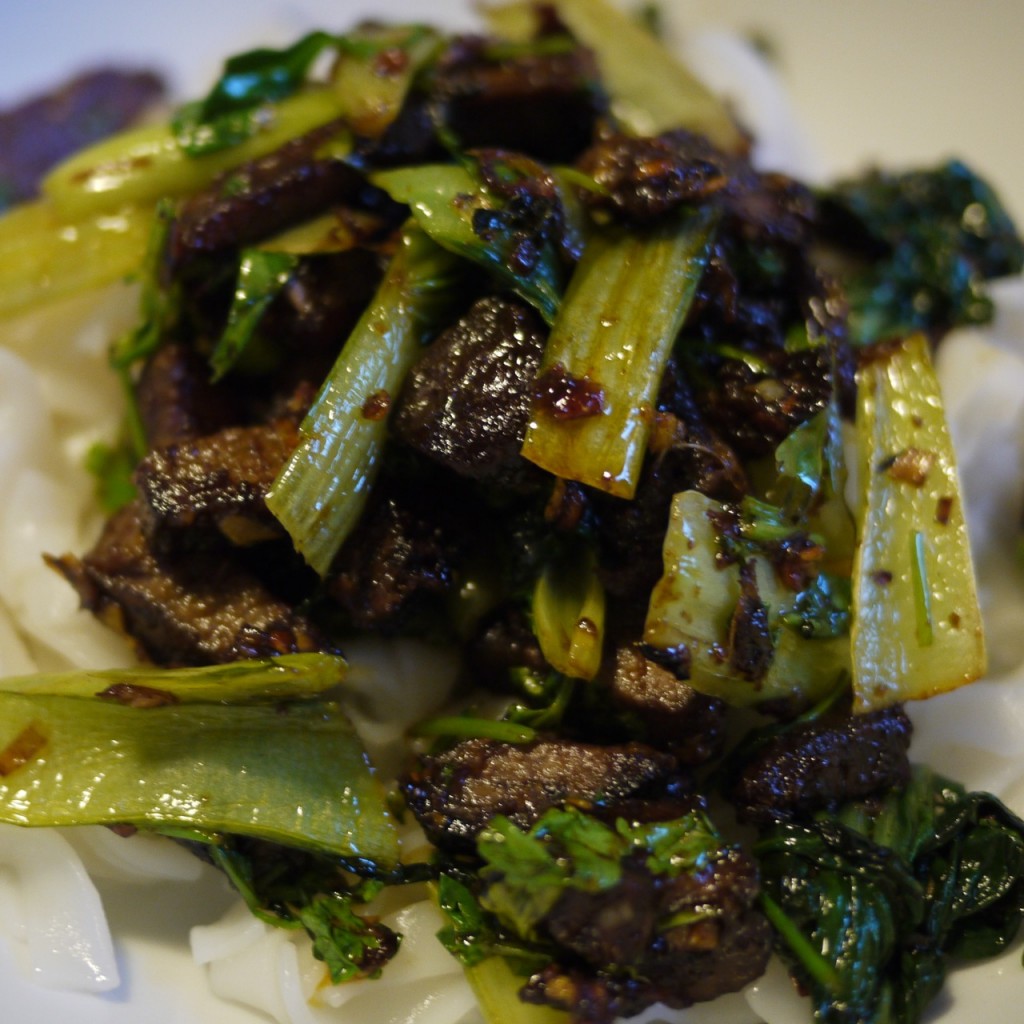
There was plenty left so we had some in homemade buns with slaw and potato salad later in the week and finally we stir fried the last bits with greens, fresh ginger and garlic  and served on rice noodles.

Leftovers made a tasty stir fry

So easy, so delicious. We are both now BBQ converts.


Lamb-chetta

Last weekend I was casting around for what to do with some lamb breast and neck I had defrosted and the weather seemed to good for hearty stews. I asked the hive mind that is twitter and carried on flipping though cook books for inspiration. At roughly the same time as I was eyeing up a porchetta recipes Chris from La Hogue Farm shop suggested a herby stuffing and wrapping the breast round the neck.

And so I set out to make lamb-chetta.

I didn’t want too dense a stuffing so I decided to simply use lots of fresh herbs.

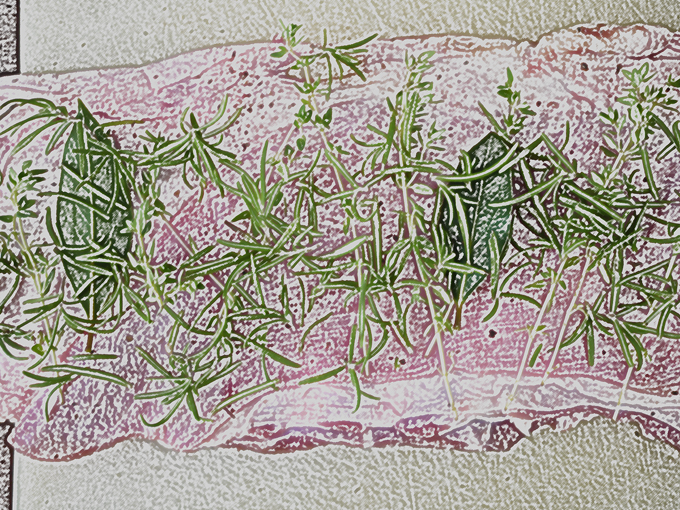
Rosemary, fresh bay leaves and lemon thyme from the garden

I laid out the meat and added some ground black pepper and the herbs

Lamb breast with herbs ready to roll with neck fillet

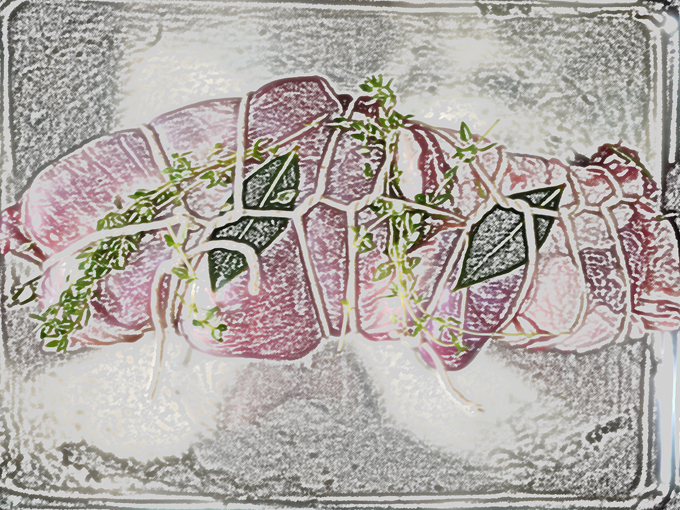
I rolled it up and tied with string

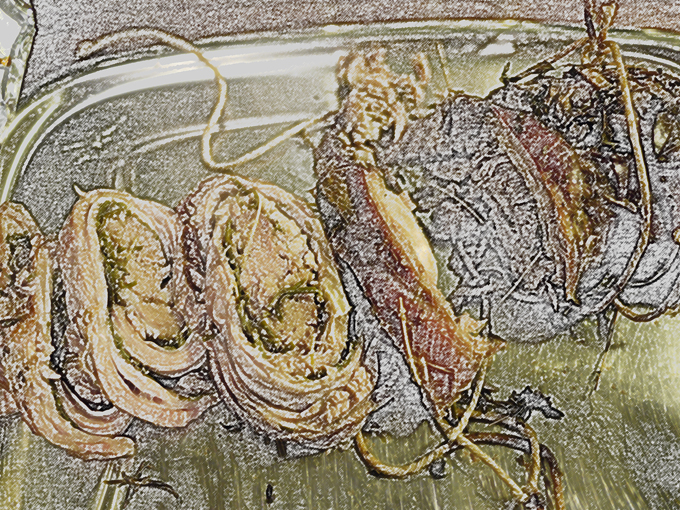
Rolled and tied lamb with extra herbs tucked under string

I’m not expecting any awards for my butchers joint tie-ing skills…

It went into the oven for 4 hours on gas mark 3 (150-160C). I’d loosely covered the tray with foil and part way through cooking I added a few splashes of white wine as well.


Fours hours in low oven temp....

We carved it into quite thick slices and I’d say there was enough for four people

lamb-chetta slices

We had it simply with some potatoes and cauliflower

It was totally delicious soft super sweet meat from the slow cooking and layers of fat the two cuts contain, the herbs gave is a fresh edge.

We had some left which last night we used in a barley and lamb risotto, again delicious. i also tried a few bits cold and think it would make a great sandwich or simple salad with a slice on top of some lentils.

And as these two cuts are very cheap it was nice and frugal too.

Panang Gai (dry chicken curry)

At the end of March I went off to the depths of Suffolk to meet Veronica from Leaf House. She’d asked me to come and visit to talk about how I might be able to help her as she switched the focus of her business. She also promised to make me a curry for lunch. We had a great day chatting business stuff and I can report that the curry was A-Mazing.

So I made sure I got the recipe. I’ve made it twice so far and it really is simple and gorgeous. Don’t be put off by the long list of ingredients for the paste its worth it.

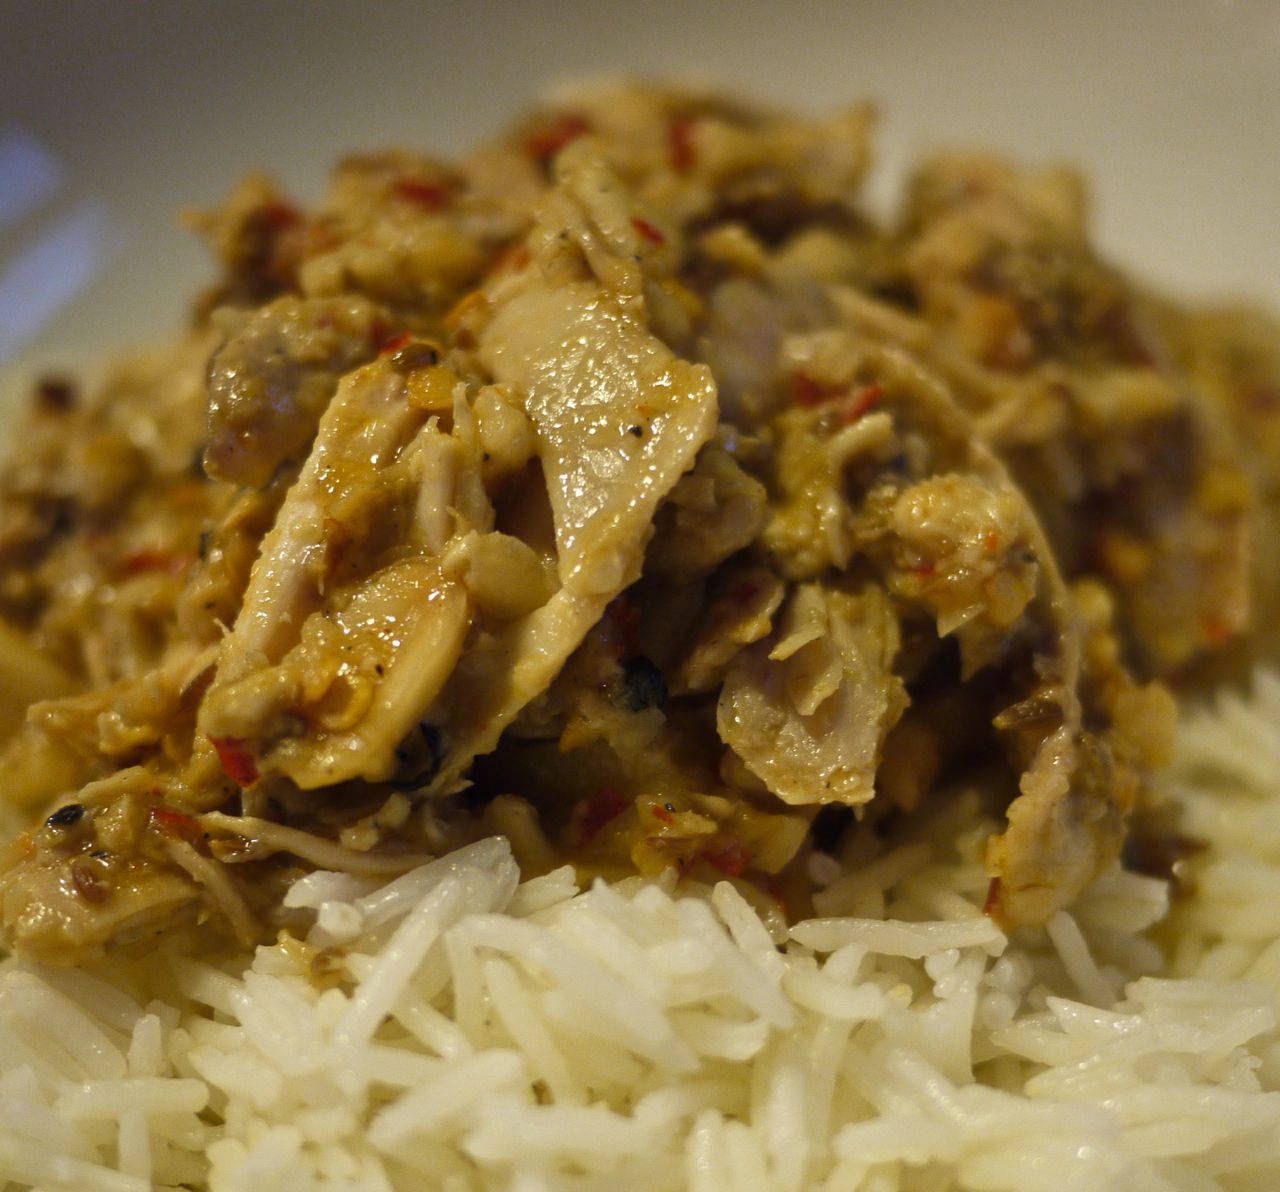
Panang Gai, dry chicken curry

This is the recipe as Veronica gave it to me, with my adaptations in brackets:

First you have to make the red curry paste but you can blitz this to make it easier (I did and it was super easy). And you will have heaps left over to either make this one again or just use it for a ‘normal’ red curry 9I did half the amount so had none leftover). If you blitz rather than pound the paste, its a good idea to do at least day before so flavours ‘meld’ together (I didn’t I wasn’t that organised).

Red Curry Paste

nb.. recipe is from an Australian book ‘Thai Cuisine’ by Mogens Bay Esbensen… 1 cup = 250mls and 1 tablespoon is 20ml

1 cup shallots (red onions) chopped
1 cup garlic, chopped
1 cup lemon grass, tender parts only, chopped (I didn’t have any)
2 tablespoons coriander root (I didn’t have any of this either)
2 tablespoons galangal/laos root… fresh or dried, chopped
2 teaspoons peppercorns
2 teaspoons coriander seeds, roasted
2 teaspoons cumin seeds, roasted
2 teaspoons lime or makrut zest, grated
1 teaspoon nutmeg, ground (I didn’t add this as am not much of a nutmeg fan)
1 teaspoon mace (I didn’t have any)
20 – 30 dried red chillies (I used chilli flakes about 2 teaspoons worth)
4 tablespoons shrimp paste (kapee) (didn’t have any of this either)
2 tablespoons salt

Grind all together really well. Store in large, well sealed jar in the fridge. Keeps well. (As you can see I didn’t have lots of the ingredients BUT it still made a lovely curry)

Panang Gai.. dry chicken curry

750g chicken breast (I used left over roast chicken as that what I had and it was a mix of breast and leg meat)
1 tablespoon fresh or tinned green peppercorns, crushed (didn’t have any)
50g plain flour (ooops forgot this)
100ml vegetable oil
50g red curry paste
250ml coconut cream (not milk)
25g sugar
40ml fish sauce
60g roasted peanuts, chopped
Basil leaves to garnish.

Remove skin from chicken and cut into bite sized pieces. Rub crushed green peppercorns into the chicken meat and then toss in flour (obviously I didn’t do this bit). Heat oil in wok and stir fry chicken pieces until well coloured and nearly cooked. Remove chicken to platter and set aside.

Add curry paste to wok and stir fry for 2 minutes. Stir in coconut cream, sugar, fish sauce and peanuts. Stir well for 5 minutes.
Toss in chicken and coat with the thick sauce. Turn out onto serving platter and garnish with basil leaves.

note: I cooked the curry paste and sauce first and cooked for longer to thicken it as I hadn’t used flour, probably for 10 minutes. Then I added the chicken and cooked for another 10 minutes. I added some bamboo shoots at the end because I had some.

I think the secret is in making the spice paste it seems to give a much better tasting result.

Soups and Stocks

Although spring definitely feels like it might be on the way some days are still pretty cold and so a warming soup is just what’s needed, here’s some thoughts on soup I wrote for Francoise Murat & Associates newsletter in January. I think I might just have soup for lunch tomorrow.

January is a funny month. For some people it feels slow and difficult, winter is most definitely with us, its cold and its dark, summer seems such a long way off whichever way you look at it. For others it’s a chance to think afresh of a new year with new challenges, making resolutions and feeling energised by the possibilities. But what has this got to do with soup? Well the versatility of soup and the range of recipes out there mean it can work for whichever way you see January. It can be warming and comforting or bright, lively and refreshing. Hearty or light, you can make it whichever way suits you best.
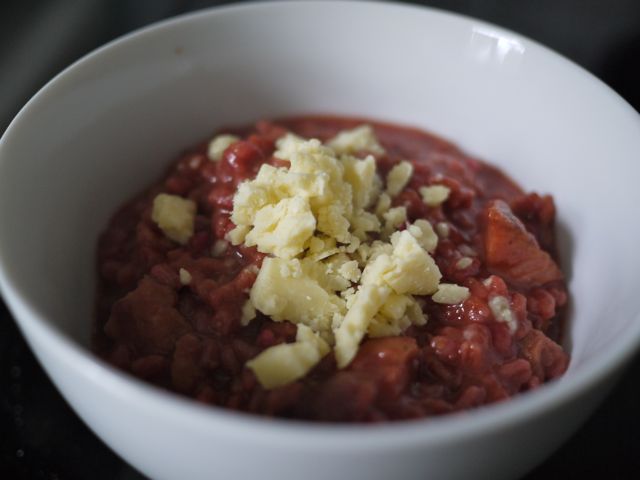
Roasted root vegetable soup with cheese

To make really good soup though you need some good stock. Water will work in many recipes but I’ve rarely made a soup that isn’t enhanced by using stock rather than water, there is an extra layer of flavour and complexity. People will compliment you on the simplest of soups if you’ve used stock. Making stock doesn’t have to be complicated; it can be as simple as simmering a few vegetables in water with or without a few herbs right up to making a consommé, essentially a beautiful clarified reduced stock. I usually make stocks with the carcass left over from a roast chicken or the bone from a rib of beef, or keep the liquid from cooking boiled ham and use that as a stock, I like doing this because each stock carries some of the flavours of the original meal and it makes best use of the meat you’ve bought. You can also get bones or chicken wings specifically and make a stock with those. Most recipe books will explain how to make a range of stocks but ‘A Celebration of Soup’ by Lindsey Bareham is particularly thorough, if you can track down a copy, with recipes for just about every type of stock you can imagine. Stock is perfect for freezing and then always to hand. If you don’t have a freezer then some good quality stock or bouillon cubes will give you a better result than plain water.

So you have your stock. Where might you head next? These are the things I think about when building a soup:

Thick or thin: Do I want a broth with interesting chunky additions or do I want something thick and velvety smooth in texture. Clearly you can pick somewhere between these two but I like to decide which direction I’m heading on this one before anything else.

Herbs or spices: I usually either head for something based round European flavours and herbs or something mainly based round spices whether Indian, Mexican, Middle or Far Eastern. Then I narrow down a bit to a more specific cuisine British, French, Italian, Spanish, Moroccan, Chinese, Thai, Indian and so on.

Then I take a look in the fridge and the cupboards and see what fits with the ideas I’ve got. Of course a little bit of tweaking happens at this stage when I find a critical part of my genius soup is sadly unavailable, but usually it is easy to stay fairly close to the original idea. If there is left over roast meat that might feature, sometimes there are roasted root vegetables that can be included, or beans of various types, pearl barley or lentils, tinned tomatoes or passata, chorizo or pancetta or salami, fresh ginger or chilli, mushrooms, potatoes (roast potatoes are lovely in soup), peas and so on …… but not all in the same soup. I rarely follow a recipe specifically but I do always take a look in a few books to help my ideas and also make sure I’m not making some horror of clashing ingredients. Sticking to a few key ingredients and combinations that you know work from your other cooking really helps and of course, so does making a soup to a particular recipe every now and then to expand your repertoire.

Here are guidelines to 3 quick soups I make quite often (all recipes for 2).

Beany Pork Soup

  • 500ml stock (preferably ham but chicken or vegetable also work)
  • 1 tins of beans (e.g. chickpea, haricots, butter, red kidney) including the liquid in the tin if its got no added salt
  • Pancetta, salami, chorizo, bacon, left over boiled ham or roast pork, whichever you have
  • Onion (chopped)
  • Oil (rapeseed or olive)
  • Herbs or spice to complement

Sauté the onion in some oil and when translucent add the meat that you are using and toss with the onions, allow to cook through if the meat is raw. Add the stock and the beans. Add your chosen spices and seasoning and simmer gently until it is properly heated through, about 20 minutes. Serve with bread. I sometimes add finely shredded cabbage, greens or spinach to this soup or if there are cold cooked potatoes a couple of those to make it thicker and heartier (mush them in with a fork) or leftover cooked pearl barley.

Roast Root Vegetable Soup

  • 500ml of stock
  • 500ml of roast vegetables (i.e. put them in jug to see how much you have), any mix you like. I particularly like it when there is beetroot as it makes the soup an amazing colour
  • Onion (chopped)
  • Oil (the same as you used to roast the vegetables)
  • Herbs or spices of your choice
  • Cheese to sprinkle on top

Sauté the onion in some oil and when translucent add the stock and the root vegetables. Add your chosen spices and seasoning and simmer gently until it is properly heated through, about 20 minutes. Either whizz in a blender, food processor or using a stick blender or mash with a potato masher. The texture can be anything from velvety smooth to quite chunky but it should all be well combined, this isn’t a broth with bits soup more a liquidy puree. Serve with cheese sprinkled on top and bread.

Spicy Soup

  • 500ml of stock
  • fresh ginger and chilli finely sliced
  • other spices of your choice
  • chicken or beef or prawns or vegetables, cut in small pieces (except prawns)
  • spring onions or garlic finely chopped
  • rapeseed oil

Have the stock already heated in a separate pan. Sauté the spring onions or garlic in the oil until softened. Add the ginger and chilli and sauté for a few minutes. Add any further spices and sauté briefly. Add the meat, vegetables or prawns and cook on a high heat like you would a stir-fry. Add the hot stock and bring to the boil. Serve immediately and add Asian seasoning such as soy sauce or nam pla if you wish. You can add noodles to the stock (cooking to the packet instructions).
Threes P’s Risotto and guest posting

I’ve been doing my regular post for Francoise Murat’s newsletter for a while now but recently I was asked to do a guest post for fellow blogger Jo, of Jo’s Kitchen, whilst she was away. So I thought why not its always fun to do a bit of writing elsewhere.

Here’s what I came up with for her….

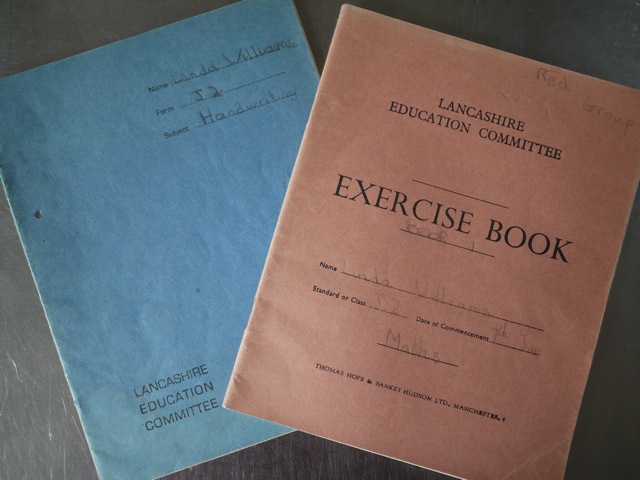
With monotonous regularity someone somewhere will go on about how an education system founded in “the 3 Rs” is just what we need to get back to basics and raise standards. Its always worried me a little that these three R’s don’t all start with “R”, hasn’t anyone but me spotted or is it phonetics for adults. Perhaps, despite the huff and puff that is was better in the past, its assumed those basics didn’t ever get through and so none of us know that only Reading actually begins with the letter R and that wRiting and aRithmetic start with other letters than “R”. Granted the “W” in wRiting is pretty silent in pronunciation but the “A” in ARithmetic isn’t, although there is an argument the R is for ‘Reckoning’ not ‘aRithmetic’. But the fundamental point of the three R’s is: get the basics right and all the rest will follow as day follows night. There is at least a grain of truth….. click here to read more over at Jo’s Kitchen blog …..and you get to see inside the exercise books!

Fresh from the oven – buns, curry buns

Last month I schlepped in right at the last minute with my Fresh from the oven challenge, this month I did better – hey I was there a whole week before the deadline baking away. How organised and complaint of me. Erm, well, maybe. Those who know me well know that doing what I’m told when I’m told is something I have mastered the art of mostly avoiding. So this month instead of taking the deadline to the wire I thought I’d ignore some of the very specific instructions and freeform the recipe a bit even though it wasn’t something I’d ever tried before. Did this lead me on a route to disaster  – lets see……

I was pleased when I saw that Ria (of Ria’s Collections) had picked what she calls stuffed buns, because I quick glance though the recipe suggested that these were going to be like the legendary curry buns I ate at a hill station in Malaysia with my husband on our very first holiday together. Wow. We have often reminisced about these little buns, which were wonderfully soft and had a lovely curry filling. We’d never tasted anything like them before and since I’m talking quite a few years back when only the (un)lucky few had email and the internetsuperhighwaythingy was in its very early infancy we never tracked down a recipe. They became a kind of mythical dish. Could Ria’s recipe live up to all this?? We both had very high hopes.

Curry buns right out of the oven

The recipe basically seems to be one for a kind of brioche type dough made with milk, a fair bit of sugar and also egg. Ria is very clear that it MUST be kneaded for 10 minutes to achieve the right consistency. The filling is a mild chicken curry, Ria suggests paneer can be used for vegetarians. And this is when I start to freeform. I happen to have some lamb curry leftover so I decided I’m going to use that as a filling – can’t go far wrong surely. The dough just sounds too rich – I quite like brioche but since this is a joint memory we are trying to live up to here and Ian doesn’t like sweet dough’s I cut back on the sugar a bit and swap the egg for the same volume of milk. Then I just go for it and ignore the 10 minute knead instruction as well. I blame Dan Lepard for this entirely. He doesn’t do a long knead and since learning his method in mid June I’ve become a bit of a convert…you make a rough dough, leave it for about 10 minutes, come back, 10 seconds of folding, repeat this rest and knead 3 times in the first hour and then once per hour during the first rise. It’s worked well on every loaf so far I can’t see why it won’t work here. The theory is that it’s not so much the vigorous kneading but the elapsed time that creates a good network of bubbles.

The dough is quite soft and a little sticky but not too difficult to work with as it has oil in it which makes it pliable. It rises quite quickly but it is a fairly warm day. After the first rise you divide it up and shape it into rounds put some curry mix in the middle and then shape rather like a round bread roll. It has a 20 minute rise like that and then it’s in the oven. You have to be careful because the richness of the dough means it browns very quickly – they are cooked in 10 minutes.


mmmm look at that delicious

So were they any good? Absolutely yes. They had a good soft texture and certainly lived up to our memory from Malaysia. Even with my changes the dough was still rather rich and sweet for our liking so when I try them again I’ll cut back on that further. It was a good way to use up some leftover curry and I don’t think they suffered from all my meddling – of course I might be wrong, the real deal might be even more delicious, but I’m more than happy to have found a way to recreate a happy food memory.

Thanks Ria for the recipe and I’m not sorry I meddled with it :0

Recipe for dough (I used the cup measures in Ria’s original):

1 tsp dry yeast (I used fast action yeast)
2 tbsp warm water
1/2 cup milk
salt to taste
1/2 cup oil (I used rapeseed)
2 cups all purpose flour (I used strong bread flour)
1/4 cup sugar (I sued about 1/3 cup and the dough was still too sweet I thought)
1 egg beaten (I used another couple of tablespoons of milk)
egg white and sesame seeds to decorate if you wish (I didn’t)

  •  dissolve yeast in warm water with 1/2 tbsp of the sugar and 1/2 tbsp of flour. Leave for 10 minutes.
  • Boil the milk and allow to cool (gosh I didn’t do this either). Once cool add sugar oil and salt and mix until the sugar dissolves.
  • Add 1 cup of flour and mix to a smooth paste.
  • Add the egg and also the yeast mix then the rest of the flour and mix to form a soft dough.
  • Knead using your preferred technique.
  • Rest and when its doubled in volume shape into flat rounds, fill and shape into buns by folding the the sides of the rounds to the centre. Decorate with egg and seeds if you wish.
  • Leave to rise for 20 minutes covered with a cloth then bake at 200C for 10 minutes. I actually did them at R6/180C and they took 10 minutes. Be careful they brown very quickly.

Back of the fridge pasta

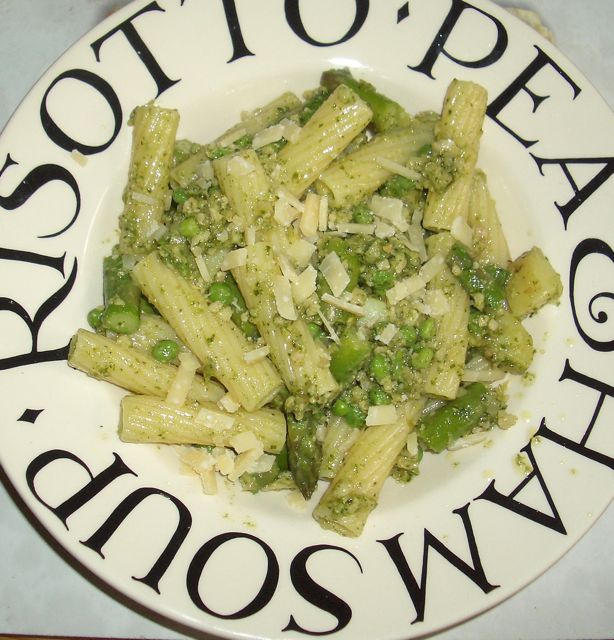
pasta with pestoYesterday when I was catching up with posts on a few of my favourite blogs I spotted a pasta blogging event that Mangocheeks at Allotment2Kitchen was taking part in. So I followed the links and ended up at Presto Pasta Nights, which this week (PPN #117) is hosted by Katie at Thyme for Cooking. The concept is that you blog about a pasta dish (well anything that has pasta or noodles in actually) and as pasta is one of my favourite quick dishes I thought it might be fun to take part especially as I had pasta for lunch on Monday from a mixture of things lurking in the fridge.

As I work from home quite a lot I get to rustle up whatever I fancy each day from whatever I can see in the fridge. I don’t often buy things specifically to use for lunch but instead muddle through with whatever I can find from leftovers and store cupboard basics. Its fair to say our cupboards and fridge are fairly well stocked so it not often that I struggle to make something tasty, but I do tend to really on pasta, salads and open sandwiches a lot.

On Monday the fridge yielded:

  • some cooked garden peas and new potatoes leftover from dinner the night before
  • the remains of a bunch of asparagus that had got hidden behind something else so it wasn’t in top form any more but still edible
  • some fresh tarragon pesto that was dangerously near its use by date
  • the last of a chunk of parmesan

So I headed to the cupboard and dug out the current pasta shape (some De Cecce Tortiglioni) and cooked it as per the packet instructions. I steamed the asparagus above the pasta for about 7 minutes and then cut it into 2cm lengths. Once the pasta was done I drained it, put it back in the pan and stirred in a couple of spoonfuls of pesto, and tossed it with the asparagus, peas and potatoes (cut into 1cm dice). Into a bowl with a good grating of parmesan on the top and there was my lunch. Maybe 15 minutes from fridge to table – not bad.

Note: The fresh pesto was Purely Pesto. I’m going to be doing a producer review soon so watch out for that.